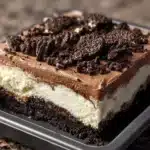
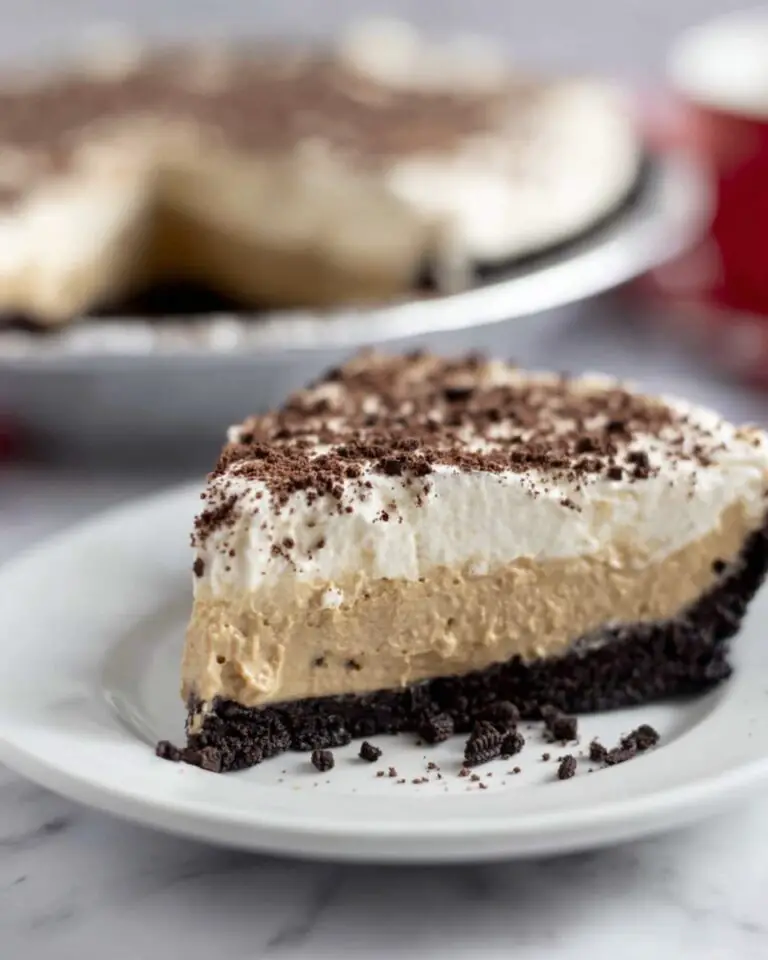
If you’re searching for the ultimate crowd-pleasing no-bake heavenly oreo dessert, your quest ends right here. This lush treat is the first thing to vanish at gatherings, thanks to its dreamy layers of crushed Oreos, creamy cheesecake filling, and rich chocolate pudding. Every bite delivers nostalgic crunch and velvety sweetness, while zero oven time means you can whip up dessert magic without breaking a sweat. Honestly, if there’s ever a moment you want to wow your family and friends—or just treat yourself—this is the no-bake showstopper you need.
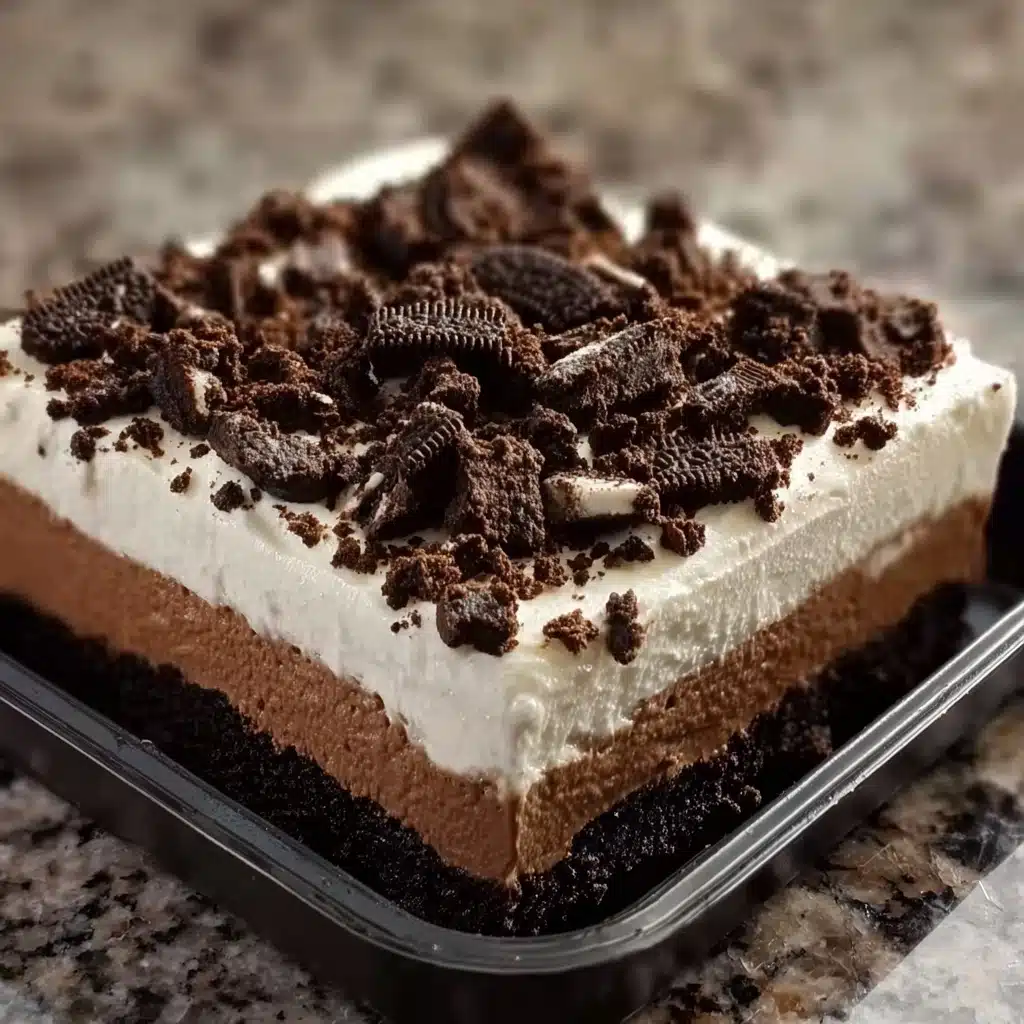
Ingredients You’ll Need
This simple recipe calls for pantry staples, yet each ingredient plays a vital role in building the irresistible taste, texture, and crave-worthy appearance. It’s proof that you don’t need complicated techniques to make something unforgettable—just a touch of patience and a handful of the right goodies.
- Oreo cookies: The chocolatey crunch and classic flavor is the star foundation (and the essential topping!) for the ultimate crowd-pleasing no-bake heavenly oreo dessert.
- Unsalted butter: Melted butter binds the crushed Oreos into a crunchy, satisfying crust.
- Cream cheese: Softened to creamy perfection, this is what makes the cheesecake layer melt-in-your-mouth dreamy.
- Powdered sugar: Dissolves smoothly and sweetens the cheesecake filling just right, no graininess here.
- Whipped topping: This gives the filling lightness and an almost cloud-like fluff, making it irresistibly airy.
- Instant chocolate pudding mix: Lightning-fast, decadent chocolate flavor that sets into a velvety, rich layer.
- Milk: Whisks the pudding into a smooth, thick layer and adds creamy body.
- Extra Oreos for topping: Provides that signature crunch and extra indulgence on top—don’t skip this final flourish!
How to Make the ultimate crowd-pleasing no-bake heavenly oreo dessert
Step 1: Create Your Cookie Crust
Start by blitzing Oreo cookies in a food processor until they’re pulverized to a fine crumb—don’t be shy, you want them uniform and sandy! No food processor? No problem! A sturdy zip-top bag and a rolling pin do the trick for stress-busting, hands-on fun. This crumbly chocolate mixture will be the base that holds everything together.
Step 2: Build Your Foundation
Transfer your cookie crumbs to a medium bowl and stir in the melted butter. Mix until everything looks like wet sand (you’ll know it by feel). Press the mixture into the bottom of a 9×13 inch pan, packing it down firmly and evenly—you can use a measuring cup or even your hands. This provides the dessert’s signature “bite” when serving.
Step 3: Whip Up Creamy Perfection
In another bowl, use an electric mixer to whip the softened cream cheese until it’s creamy and free of any lumps—about 2-3 minutes. Slowly blend in the powdered sugar, creating a silky-smooth, sweetened base that will become absolutely luscious.
Step 4: Fold in the Fluff
Now for the magic: gently fold the whipped topping into your cream cheese mixture. Use a spatula with a light hand, as you want to keep everything billowy and airy. This is what makes the filling ethereal and oh-so addicting.
Step 5: Layer the Luxury
Spread your cream cheese mixture evenly over the crust, smoothing from corner to corner. Take your time with this step, as an even layer makes for gorgeous slices and gives every single serving a balanced bite of each dreamy layer.
Step 6: Pudding Perfection
Whisk together the instant chocolate pudding mix with cold milk in a separate bowl. This comes together lightning-fast, so whisk confidently! Once thickened, you’re ready for dreamy chocolate decadence that flows right over the cream layer.
Step 7: Complete Your Masterpiece
Pour the pudding over your cream cheese layer, spreading it to the edges. Then shower the whole pan with a generous sprinkle of extra crushed Oreos. Not only does this add texture, but it makes the final dish as visually stunning as it is delicious.
Step 8: The Patience Game
Cover your masterpiece with plastic wrap and refrigerate for at least 4 hours, though overnight is best. This chilling time helps the layers set and the flavors meld together, so every bite is perfectly creamy and sliceable.
Step 9: Slice and Serve
When ready to serve, cut with a sharp knife (dipping in warm water in between for the cleanest lines). Serve chilled—watch as eyes light up and forks dive in. It’s pure dessert bliss!
How to Serve the ultimate crowd-pleasing no-bake heavenly oreo dessert
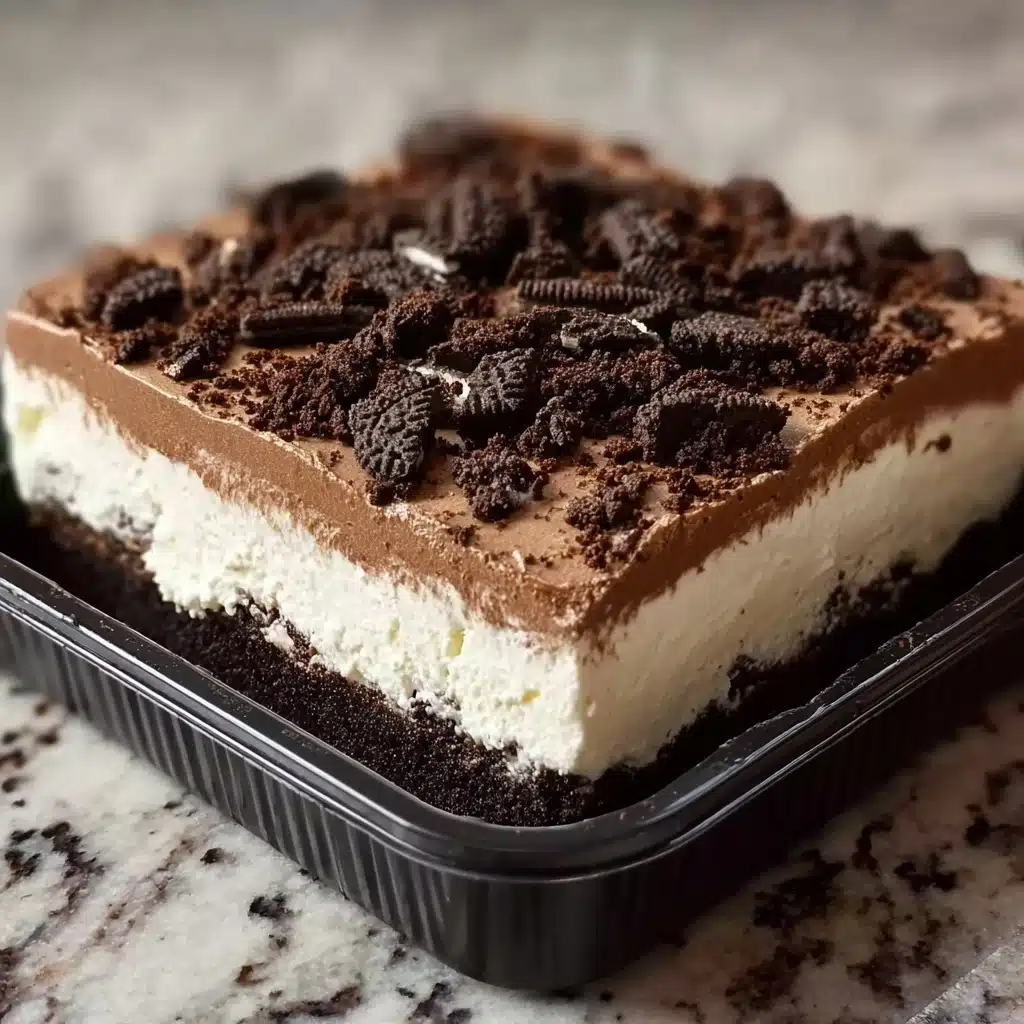
Garnishes
The finishing touch is all about those flourishes—extra-crushed Oreos add crunch and drama, but you can take it even further with a dollop of whipped cream, chocolate shavings, or a drizzle of chocolate sauce. If you’re feeling fancy, a cherry on top channels classic dessert vibes!
Side Dishes
This dreamy dessert is a star on its own, but you can round things out with some fresh berries or a simple fruit salad. The tartness of fruit is the perfect foil for the richness, and it looks beautiful plated side by side.
Creative Ways to Present
Why not use individual cups or mason jars for a party-ready twist on the ultimate crowd-pleasing no-bake heavenly oreo dessert? Mini parfaits or elegant trifle bowls make each portion feel extra special, while keeping things no-fuss and no-mess for serving a crowd.
Make Ahead and Storage
Storing Leftovers
Got leftovers? Transfer any remaining slices to an airtight container or cover your pan with plastic wrap—the dessert keeps beautifully in the fridge for up to 4 days. The layers will stay soft and fresh, maintaining that irresistible creamy crunch.
Freezing
To freeze, simply cut the dessert into portions and wrap each piece tightly in plastic wrap, then foil. Store in an airtight container for up to a month. Thaw in the refrigerator overnight—the layers stay remarkably delicious, making it a true make-ahead treat.
Reheating
No need to reheat! Part of the magic is serving the ultimate crowd-pleasing no-bake heavenly oreo dessert chilled, straight from the fridge or after a gentle thaw from the freezer. If it’s extra firm, let it sit at room temp for 10-15 minutes before serving.
FAQs
Can I make this dessert ahead of time?
Absolutely! In fact, making it a day in advance improves the flavor and texture. The layers meld together and the crust softens just enough, making each slice even more cohesive and delicious. Perfect for parties or busy days!
Can I use homemade whipped cream instead of store-bought whipped topping?
Yes! Whip up cold heavy cream with a bit of powdered sugar to stiff peaks for a homemade touch. Just remember, homemade cream may not hold up as long as store-bought, so best to serve within a day or two if you go that route.
Is there a way to make this gluten-free?
Definitely! Simply swap out the regular Oreos for your favorite gluten-free chocolate sandwich cookies. Every other ingredient on the list is naturally gluten-free, so you won’t have to miss out on this heavenly treat.
Can I try different pudding flavors?
Of course! Chocolate is classic, but vanilla or even cheesecake-flavored pudding add a whole new twist. You can even layer two flavors for a fun marbled effect—the ultimate crowd-pleasing no-bake heavenly oreo dessert is endlessly customizable.
How do I get super clean slices?
The best trick is a sharp knife dipped in hot water and wiped between cuts. This helps glide through the creamy layers without messy edges, ensuring every serving looks as tempting as it tastes.
Final Thoughts
If you’re looking for pure joy in dessert form, it’s time to make the ultimate crowd-pleasing no-bake heavenly oreo dessert. I promise, one bite and you’ll understand why this treat is always the star of every party. Give it a try and watch your guests fall head over heels just like mine do!
Printthe ultimate crowd-pleasing no-bake heavenly oreo dessert Recipe
This No-Bake Heavenly Oreo Dessert is a crowd-pleasing favorite that combines layers of crushed Oreo cookies, creamy cheesecake filling, and rich chocolate pudding. It’s a show-stopping treat that disappears within minutes at any gathering!
- Prep Time: 30 minutes
- Cook Time: 0 minutes
- Total Time: 4 hours 30 minutes
- Yield: 12-15 servings
- Category: Dessert
- Method: No-Bake
- Cuisine: American
- Diet: Vegetarian
Ingredients
Oreo Cookie Crust:
- 1 package (15.35 oz) Oreo cookies, crushed
- 1/2 cup unsalted butter, melted
Cream Cheese Filling:
- 1 package (8 oz) cream cheese, softened
- 1 cup powdered sugar
- 1 container (8 oz) whipped topping, thawed
Chocolate Pudding Layer:
- 1 package (3.9 oz) instant chocolate pudding mix
- 2 cups milk
- Additional crushed Oreo cookies for topping
Instructions
- Create Your Cookie Crust: Place Oreo cookies in a food processor and pulse until they form fine crumbs. Alternatively, crush in a sealed bag.
- Build Your Foundation: Combine crushed Oreos with melted butter. Press into a baking dish.
- Whip Up Creamy Perfection: Beat cream cheese until smooth. Add powdered sugar and mix until silky.
- Fold in the Fluff: Gently fold in whipped topping until combined.
- Layer the Luxury: Spread cream cheese mixture over crust.
- Pudding Perfection: Whisk pudding mix with milk until smooth.
- Complete Your Masterpiece: Pour pudding over cream cheese layer.
- The Patience Game: Refrigerate for at least 4 hours.
- Slice and Serve: Cut into squares and enjoy!
Nutrition
- Serving Size: 1 serving
- Calories: 285
- Sugar: 28g
- Sodium: 230mg
- Fat: 15g
- Saturated Fat: 9g
- Unsaturated Fat: 5g
- Trans Fat: 0g
- Carbohydrates: 35g
- Fiber: 1g
- Protein: 4g
- Cholesterol: 30mg

