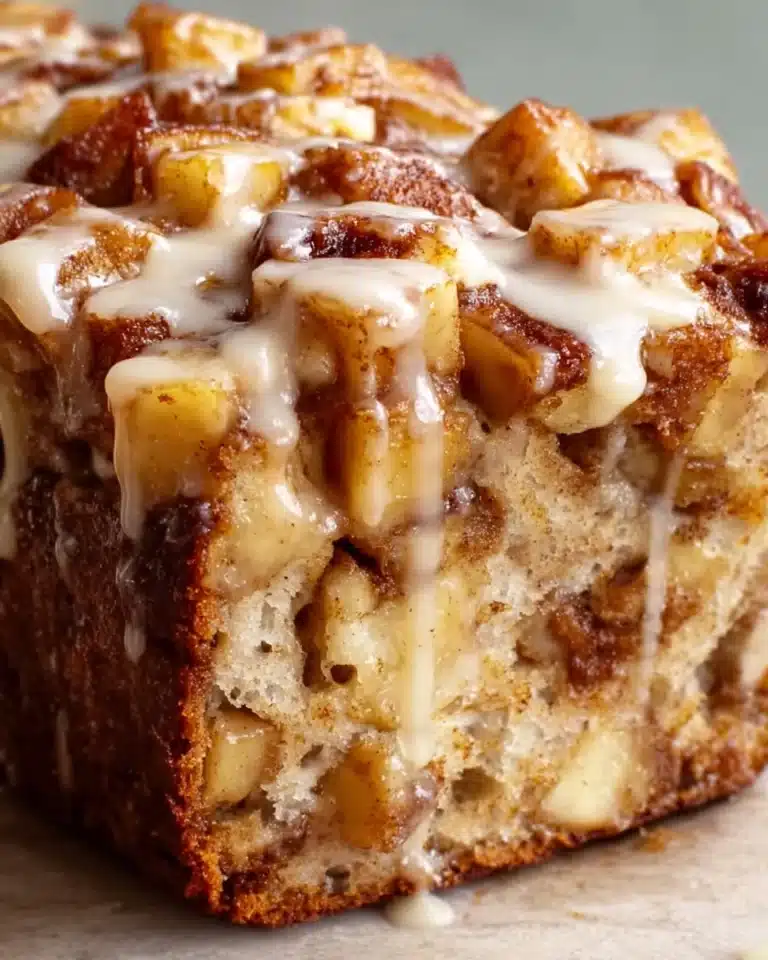
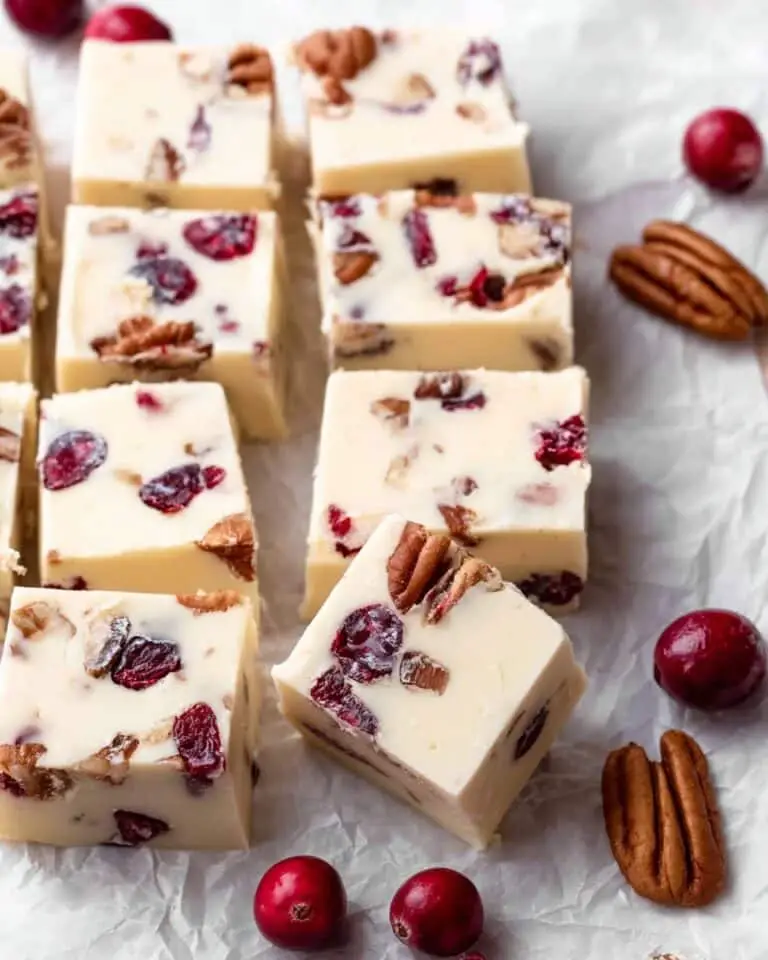
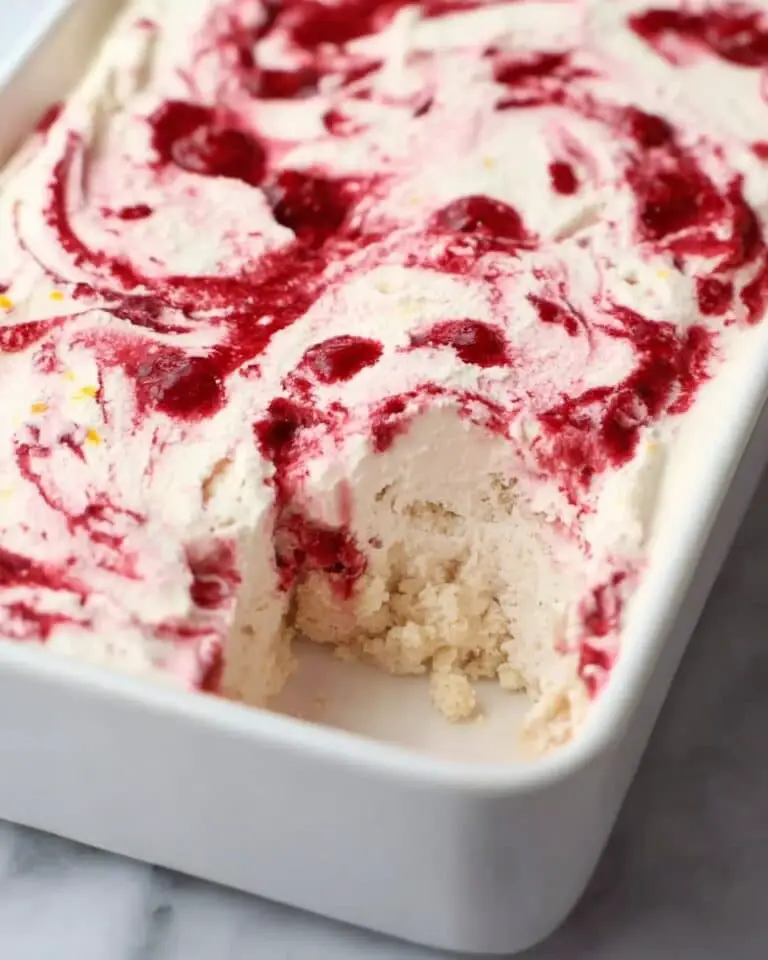
Why You’ll Love This Recipe
This coconut ice slice is a perfect blend of creamy coconut flavor and sweet, colorful layers. It’s simple to make, requires no baking, and is ready in just 10 minutes. Whether you’re looking for a quick dessert for a gathering or just want a treat to enjoy at home, this recipe will quickly become a go-to. The best part is you can adjust the sweetness and colors to suit your taste or any occasion!
Ingredients
-
2 cups desiccated coconut
-
1 can sweetened condensed milk
-
1 ½ cups icing sugar
-
1 teaspoon vanilla extract
-
Red food coloring (optional)
(Tip: You’ll find the full list of ingredients and measurements in the recipe card below.)
Directions
-
In a large mixing bowl, combine the desiccated coconut, sweetened condensed milk, icing sugar, and vanilla extract. Stir well until all the ingredients are thoroughly mixed.
-
Divide the mixture into two portions. Leave one portion plain and add a few drops of red food coloring to the other portion. Mix well until the color is evenly distributed.
-
Line a square baking dish (approximately 8×8 inches) with parchment paper for easy removal.
-
Press the plain coconut mixture into the base of the dish, smoothing it out evenly.
-
Next, spread the colored coconut mixture on top of the plain layer, pressing it down gently to ensure it sticks.
-
Refrigerate the slice for at least 2 hours or until it has set.
-
Once set, slice into squares or rectangles and enjoy!
Servings and Timing
-
Servings: This recipe makes about 16 small squares.
-
Preparation Time: 10 minutes
-
Setting Time: 2 hours
Variations
-
Different Colors: You can use different food colors to create layers of various shades. This is perfect for themed parties or holidays.
-
Chocolate Layer: Add a layer of melted chocolate on top of the coconut mixture for an extra indulgent twist.
-
Add Nuts: For a bit of crunch, incorporate chopped almonds or cashews into the coconut mixture.
-
Lemon Zest: Add a teaspoon of lemon zest for a tangy contrast to the sweetness of the coconut.
Storage/Reheating
-
Storage: Keep the coconut ice slice in an airtight container in the refrigerator for up to 1 week.
-
Freezing: You can also freeze the slices for up to 3 months. Just make sure to layer parchment paper between each slice to prevent sticking.
-
Reheating: There’s no need to reheat this treat, as it’s served cold and firm from the fridge.
FAQs
Can I use unsweetened coconut instead of desiccated coconut?
Yes, you can use unsweetened shredded coconut, but it might be less sweet. You may want to adjust the sugar accordingly.
Can I make this recipe dairy-free?
Yes, you can substitute the sweetened condensed milk with a dairy-free version. Look for coconut milk or other plant-based condensed milk alternatives.
How can I make the slices firmer?
To make the slices firmer, ensure they are refrigerated for the full 2 hours. If you prefer an even firmer texture, you can freeze them for about 30 minutes before slicing.
Can I use a different sweetener instead of icing sugar?
You can try powdered stevia or powdered erythritol if you’re looking for a low-sugar alternative. However, the texture and sweetness may vary slightly.
How do I know when the coconut ice is fully set?
The coconut ice will be firm and hold its shape when fully set. You can test it by gently pressing on the top; it should feel solid and not sticky.
Can I make this recipe in advance?
Yes, this recipe is perfect for preparing ahead of time. Just make sure to store it in the fridge and serve it chilled.
How do I prevent the food coloring from bleeding?
To prevent food coloring from bleeding, be sure to mix it into the coconut mixture gently and avoid overmixing. Layering the colors carefully also helps keep them separated.
Can I add other flavorings to the mixture?
Yes! You can add different flavorings like coconut essence, lemon extract, or even a dash of almond extract for variety.
Is this recipe suitable for kids?
Absolutely! This coconut ice slice is a kid-friendly treat, easy to make, and fun with its colorful layers.
Can I use a different type of milk for the recipe?
Sweetened condensed milk is key to achieving the right texture and sweetness, but if you’re using a substitute, make sure it’s sweetened and thick enough to create the right consistency.
Conclusion
This easy coconut ice slice recipe is the perfect no-bake treat for any occasion. It’s quick, customizable, and incredibly satisfying. With just a few ingredients and minimal effort, you can create a deliciously sweet snack that everyone will love. Whether you’re preparing it for a party or simply treating yourself, this coconut ice slice is sure to become a favorite!
PrintEasy Coconut Ice Slice Recipe: No-Bake Sweet Treat Ready in 10 Minutes
This easy coconut ice slice recipe is a no-bake sweet treat made with desiccated coconut, sweetened condensed milk, and icing sugar, ready in just 10 minutes. It’s a colorful, creamy, and sweet dessert that’s perfect for any occasion.
- Prep Time: 10 minutes
- Cook Time: 0 minutes
- Total Time: 2 hours 10 minutes
- Yield: 16 small squares
- Category: Dessert
- Method: No-bake
- Cuisine: General
- Diet: Vegetarian
Ingredients
2 cups desiccated coconut
1 can sweetened condensed milk
1 ½ cups icing sugar
1 teaspoon vanilla extract
Red food coloring (optional)
Instructions
- In a large mixing bowl, combine the desiccated coconut, sweetened condensed milk, icing sugar, and vanilla extract. Stir well until all the ingredients are thoroughly mixed.
- Divide the mixture into two portions. Leave one portion plain and add a few drops of red food coloring to the other portion. Mix well until the color is evenly distributed.
- Line a square baking dish (approximately 8×8 inches) with parchment paper for easy removal.
- Press the plain coconut mixture into the base of the dish, smoothing it out evenly.
- Next, spread the colored coconut mixture on top of the plain layer, pressing it down gently to ensure it sticks.
- Refrigerate the slice for at least 2 hours or until it has set.
- Once set, slice into squares or rectangles and enjoy!
Notes
- For a firmer texture, refrigerate for 2 hours or freeze for 30 minutes before slicing.
- If you prefer a dairy-free version, use plant-based condensed milk alternatives.
- You can adjust the sweetness or colors to suit your preferences or for themed occasions.
- Store in an airtight container in the fridge for up to 1 week or freeze for up to 3 months.
- Add nuts or lemon zest for added flavor variations.
Nutrition
- Serving Size: 1 square
- Calories: 150
- Sugar: 15g
- Sodium: 30mg
- Fat: 7g
- Saturated Fat: 6g
- Unsaturated Fat: 1g
- Trans Fat: 0g
- Carbohydrates: 21g
- Fiber: 2g
- Protein: 2g
- Cholesterol: 10mg


