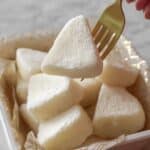
If you are on the lookout for a delightfully chewy and subtly sweet treat, the Milk Mochi Recipe is sure to become your new favorite dessert. This soft, pillowy mochi captures the perfect balance of creamy milk and tender glutinous rice texture, bringing a comforting and addictive bite that melts in your mouth. Whether you’re a mochi aficionado or new to this Japanese classic, this Milk Mochi Recipe offers a simple yet deeply satisfying way to indulge in homemade mochi that’s every bit as charming as those from your favorite shop.
Ingredients You’ll Need
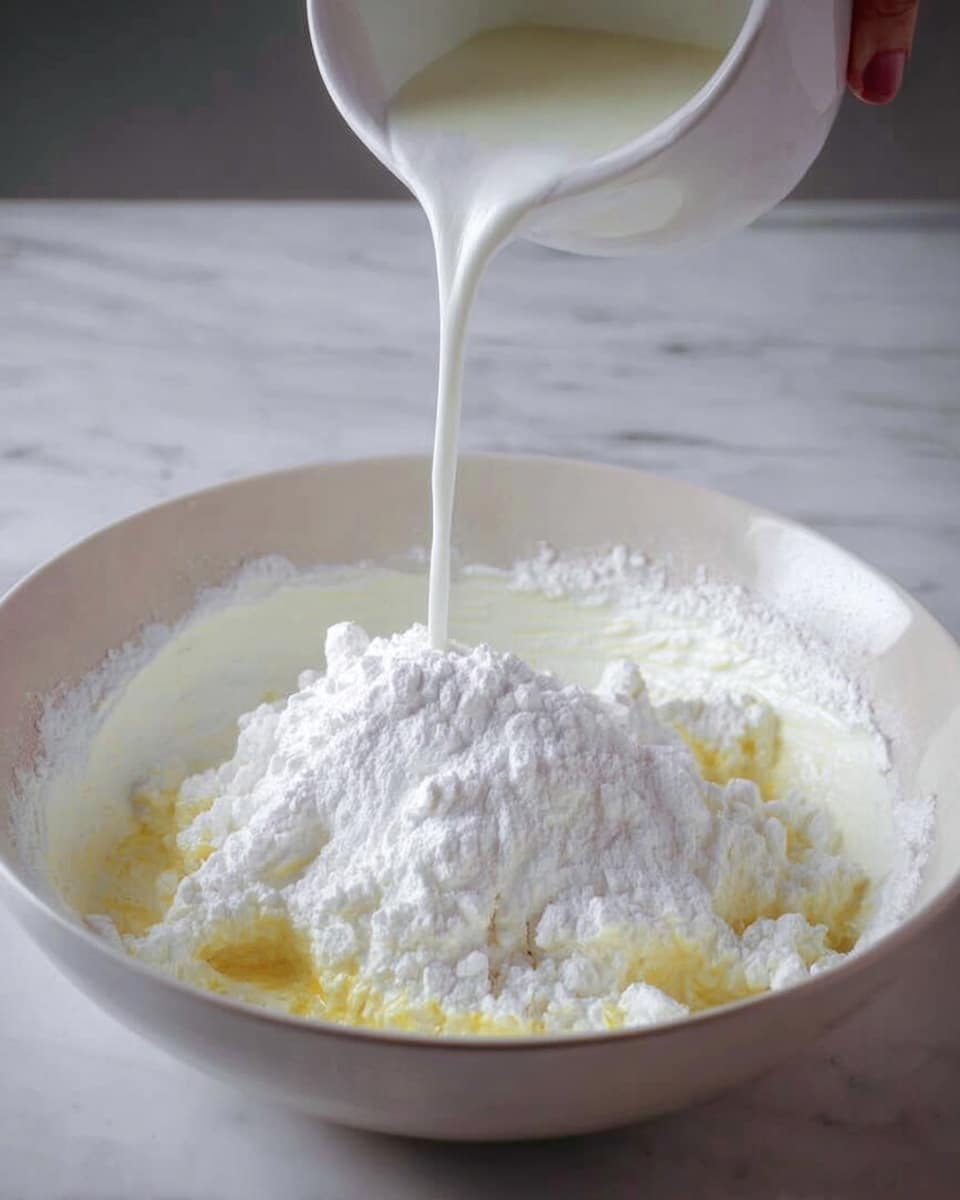
Don’t let the short list fool you—each ingredient here plays a vital role in giving this Milk Mochi Recipe its signature chewy texture, gentle sweetness, and lovely milky flavor. From the sticky glutinous rice flour that forms the base to the creamy whole milk and light corn oil, every element is essential for that perfect bite.
- Glutinous rice flour (150 g): This is the star ingredient, providing the chewy, stretchy texture that defines mochi.
- Cornstarch (30 g): Helps to lighten the dough and prevents it from becoming too dense.
- Sugar (25 g): Adds a subtle, gentle sweetness to balance the milk’s creaminess.
- Corn oil (20 g): Ensures the mixture stays soft and enhances the mochi’s smooth mouthfeel.
- Whole milk (290 g): Brings richness and a silky flavor, making these mochi irresistibly creamy.
You’ll find the full ingredient list, instructions, and print option in the recipe card below.
How to Make Milk Mochi Recipe
Step 1: Mix Your Ingredients
Start by combining the glutinous rice flour, cornstarch, sugar, corn oil, and whole milk in a large bowl. Stir them together until the mixture is smooth and well incorporated, giving you a batter that’s ready to transform into mochi magic.
Step 2: Optional Straining
If you want an extra-silky texture, feel free to strain the mixture through a fine sieve. This step helps remove any small lumps, although it’s not absolutely necessary if you’ve stirred well.
Step 3: Cook the Mixture
Pour the mixture into a non-stick pan and cook it over low heat. Stir slowly and continuously; this is key to ensuring the mochi cooks evenly and doesn’t stick or burn. You’re aiming for the batter to thicken until it forms a cohesive, elastic mass, signaling that it’s fully cooked.
Step 4: Cool and Knead the Dough
Once cooked, transfer the mochi dough to a clean surface and let it cool just enough to handle. Wearing gloves, knead the dough by stretching and pulling it for about five minutes. This kneading develops the elasticity that makes the mochi so wonderfully chewy.
Step 5: Shape Your Mochi
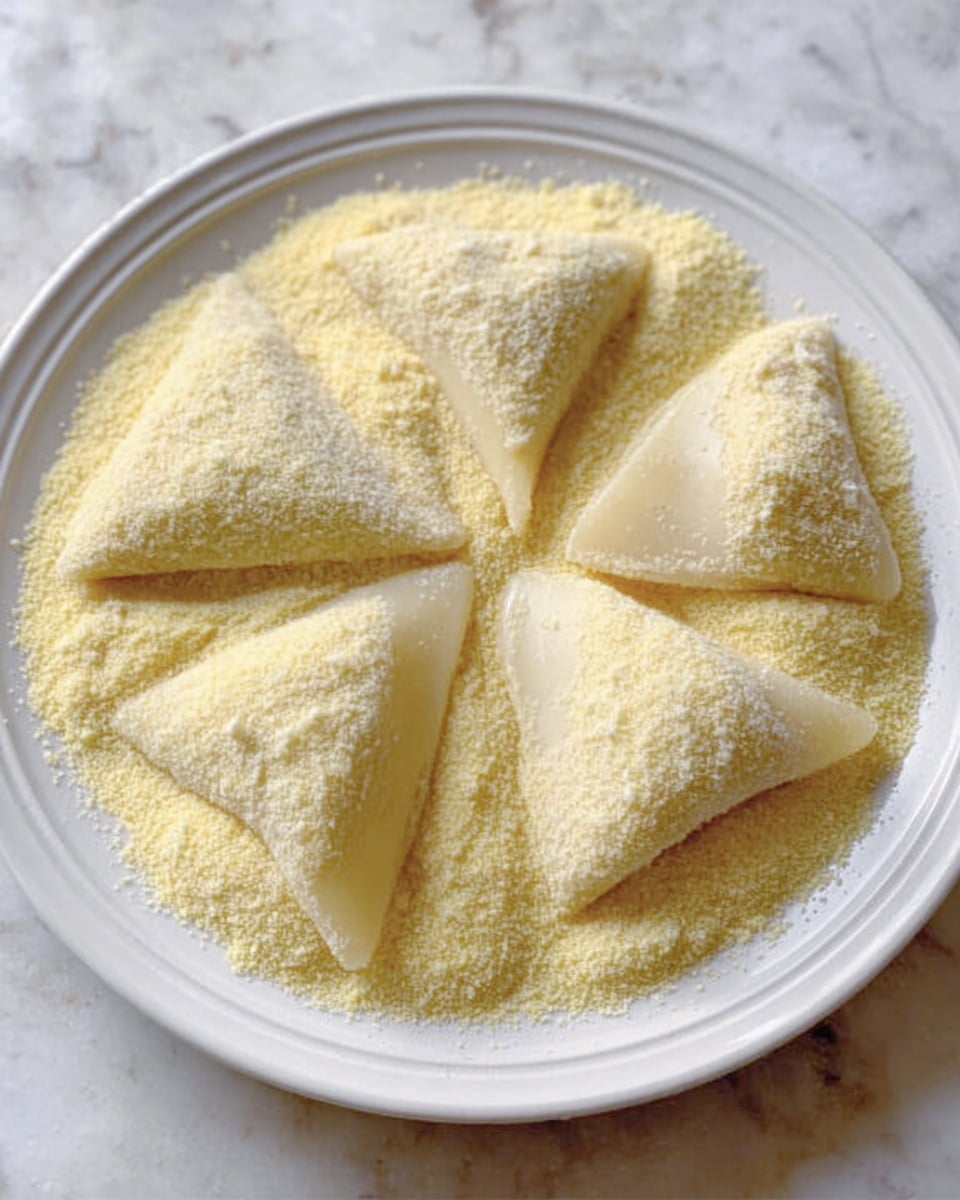
Roll the dough into a long strip, sprinkling a bit of cooked glutinous rice flour to keep it from sticking. Cut the strip into triangular pieces or any shape you prefer. These shapes are perfect for the next step.
Step 6: Coat and Finish
Finally, coat each piece generously with roasted soybean flour. This not only prevents sticking but adds a toasty, nutty flavor that completes the mochi experience beautifully.
How to Serve Milk Mochi Recipe
Garnishes
Adding a sprinkle of toasted sesame seeds or a light dusting of matcha powder instantly elevates your Milk Mochi Recipe with extra aroma and a subtle complexity. These garnishes make each bite even more enjoyable and visually enticing.
Side Dishes
Milk mochi pairs wonderfully with fresh fruit like ripe mango or juicy berries. The coolness and natural sweetness of the fruit contrast beautifully with the chewy mochi, creating a refreshing balance that makes for a perfect snack or dessert.
Creative Ways to Present
For a fun twist, serve these milk mochi pieces on small skewers or trays with dipping sauces such as sweetened condensed milk or black sesame syrup. Presentation can turn a simple Milk Mochi Recipe into a charming party treat that impresses guests with its unique texture and flavor.
Make Ahead and Storage
Storing Leftovers
Leftover mochi should be stored in an airtight container at room temperature for up to two days. Make sure to keep them separate with parchment paper between layers to avoid sticking.
Freezing
You can freeze milk mochi by wrapping each piece individually in plastic wrap, then placing them in a freezer-safe bag. Frozen mochi stays good for up to a month and thaws beautifully without compromising its soft texture.
Reheating
To enjoy mochi after storage, simply microwave for 10–15 seconds or let it come to room temperature. You can also steam for a few minutes to regain that fresh, tender chewiness.
FAQs
Can I use milk alternatives in this Milk Mochi Recipe?
Absolutely! Plant-based milks like almond or coconut milk can be used, though they might slightly alter the flavor and texture. Whole milk gives the creamiest result, but experimenting with alternatives can be fun.
What is the purpose of cornstarch in this recipe?
Cornstarch lightens the dough’s texture and helps prevent the mochi from becoming too sticky or dense — it’s the secret behind that perfect chewiness.
Is it necessary to knead the mochi dough?
Yes, kneading develops the essential elasticity and smoothness that make the mochi chewy and enjoyable to eat. It’s a small step that makes a big difference.
Can I steam the milk mochi instead of pan cooking?
You can! Steaming is a traditional method used in many mochi varieties, and it preserves moisture well. If you prefer steaming, check out similar recipes like mango mochi for detailed instructions.
How long does milk mochi keep fresh?
Milk mochi is best enjoyed fresh within a couple of days. Beyond that, it may harden or lose its tender texture, but proper storage and reheating can help extend its enjoyment.
Final Thoughts
There is something truly magical about making mochi at home, especially when it’s as luscious and comforting as this Milk Mochi Recipe. It’s an invitation to slow down, enjoy the process, and savor each chewy bite that reminds you of simple pleasures. Give it a try, and prepare to fall in love with your new go-to treat that’s as cozy as it is delicious.
PrintMilk Mochi Recipe
Milk mochi is a soft, chewy Japanese-inspired dessert made using glutinous rice flour, sugar, and whole milk. This recipe uses a stovetop method to gently cook and stir the dough until it becomes elastic and perfectly tender. The mochi is then shaped and coated with roasted soybean flour for a subtle nutty finish. Ideal as a fun, homemade sweet treat with a creamy milk flavor and satisfying texture.
- Prep Time: 10 minutes
- Cook Time: 15 minutes
- Total Time: 40 minutes
- Yield: 4 servings
- Category: Dessert
- Method: Stovetop
- Cuisine: Japanese
Ingredients
Main Ingredients
- 150 g glutinous rice flour
- 30 g cornstarch
- 25 g sugar
- 20 g corn oil
- 290 g whole milk
- Roasted soybean flour (for coating)
Instructions
- Mix Ingredients: In a large bowl, combine 150 g glutinous rice flour, 30 g cornstarch, 25 g sugar, 20 g corn oil, and 290 g whole milk. Stir thoroughly until the mixture is smooth and well incorporated.
- Strain the Mixture (Optional): Strain the batter through a fine mesh sieve to remove any lumps for a smoother texture. This step is optional but recommended for consistent results.
- Cook on Stovetop: Pour the mixture into a non-stick pan over low heat. Stir slowly and continuously to prevent burning and to evenly cook the batter. Continue cooking until the mixture thickens and forms a cohesive, fully cooked mass.
- Cool and Knead: Remove the cooked mochi from the pan and let it cool down. Once cool enough to handle, wear gloves and knead the dough for about 5 minutes. Stretch and pull until the mochi becomes elastic and pliable.
- Shape the Mochi: Roll the kneaded dough into a long strip. To prevent sticking, sprinkle some cooked glutinous rice flour on the surface. Cut the strip into triangular or any desired shapes.
- Coat Mochi Pieces: Generously coat each mochi piece with roasted soybean flour to add flavor and prevent sticking.
Notes
- Cooking over low heat and stirring slowly is key to achieving the perfect chewy texture.
- Using gloves while kneading makes the process cleaner and prevents the dough from sticking to your hands.
- Roasted soybean flour adds a nutty flavor and keeps the mochi pieces from sticking together.
- You can shape the mochi into any form, not just triangles, according to personal preference.
- For a steamed variation, refer to mango mochi recipes for steaming instructions.

