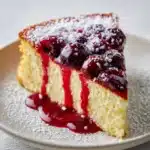
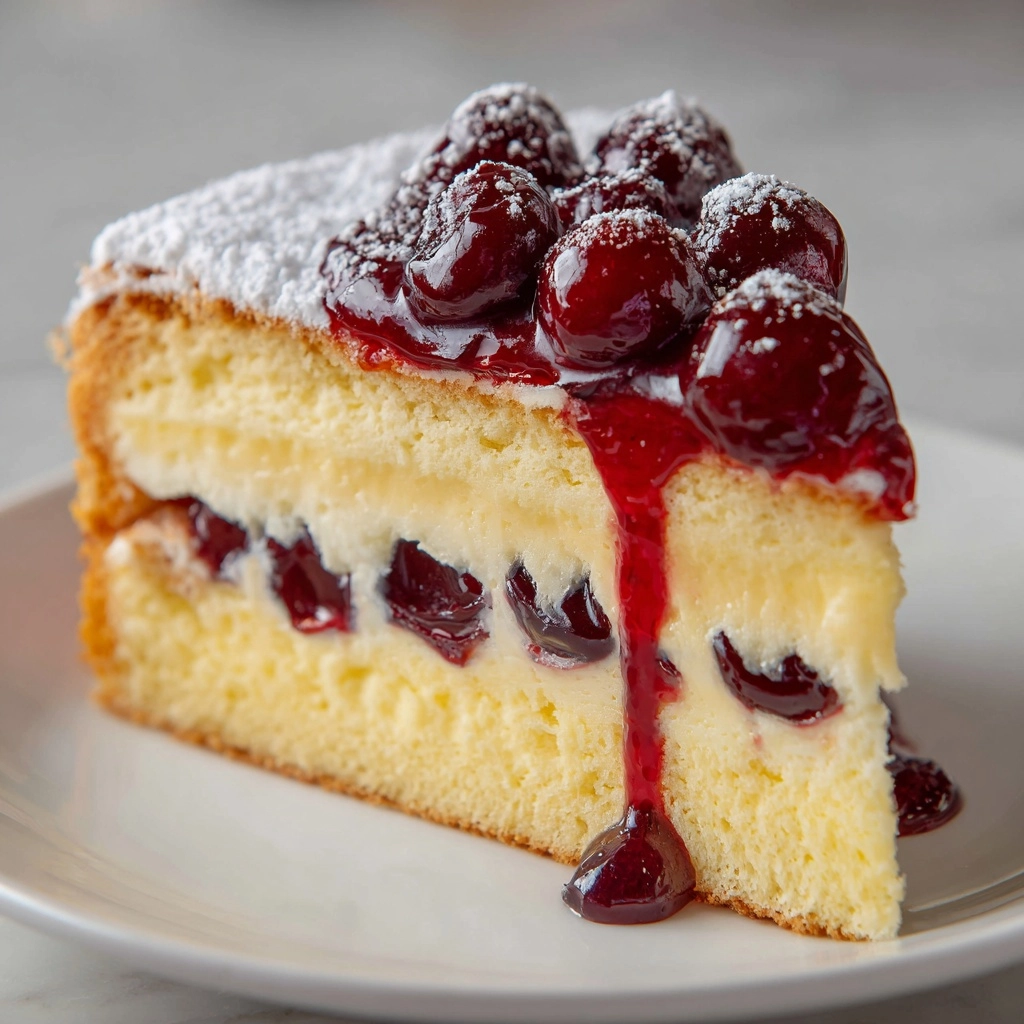
If you’ve ever dreamed of a cloud you could eat, this Japanese Cheesecake is going to make your dessert fantasies come true. Famous for its signature jiggle and souffle-like texture, this delicate cake delivers unbelievable creaminess and an airy lightness that ordinary cheesecakes simply can’t touch. Every forkful practically melts in your mouth, with a kiss of lemon dancing behind silky cream cheese. And, just when you think it can’t get better, you spoon over a homemade cherry sauce for the perfect sweet-tart finish. Japanese Cheesecake is pure, joyful comfort by the slice.
Ingredients You’ll Need
Don’t let the short ingredient list fool you! Each item is chosen for a reason, combining to create the irresistible texture, flavor, and signature wobble of authentic Japanese Cheesecake. Here’s what you’ll need and why they matter:
- Butter: Adds richness and keeps the cheesecake moist and tender.
- Reduced-fat cream cheese: Gives a creamy tang without being too heavy, which helps with that iconic light texture.
- Heavy whipping cream: Delivers a luxurious mouthfeel and ensures a silky finish.
- All-purpose flour: Provides just enough structure to hold the cake’s delicate rise.
- Cornstarch: Makes the crumb extra soft and helps create the “cloud” effect.
- Egg yolks (room temperature): Bind ingredients and add a bit of color and flavor.
- Vanilla extract: Offers subtle sweetness and aromatic depth.
- Grated lemon zest: Brightens the flavor and cuts richness, making each bite refreshing.
- Egg whites (room temperature): Beaten into glossy peaks, they’re the secret to the cake’s featherlight rise.
- Sugar: Sweetens and stabilizes the egg whites for that perfect souffle lift.
- For the cherry topping – Sugar: Provides sweetness and helps the sauce come together.
- Cornstarch (for topping): Thickens the cherry sauce, turning it gorgeously glossy.
- Cayenne pepper (optional): Just a tiny pinch will wake up the berries with a gentle surprise.
- Water: Combines ingredients for the cherry topping and helps with texture.
- Fresh or frozen pitted tart cherries: Adds fruity brightness and lovely color contrast.
- Butter (for the sauce): Finishes the cherry topping with a silky sheen and flavor.
- Confectioners’ sugar: The classic snowy dusting over the finished cake for a pretty finish.
How to Make Japanese Cheesecake
Step 1: Prepare Your Pan and Oven
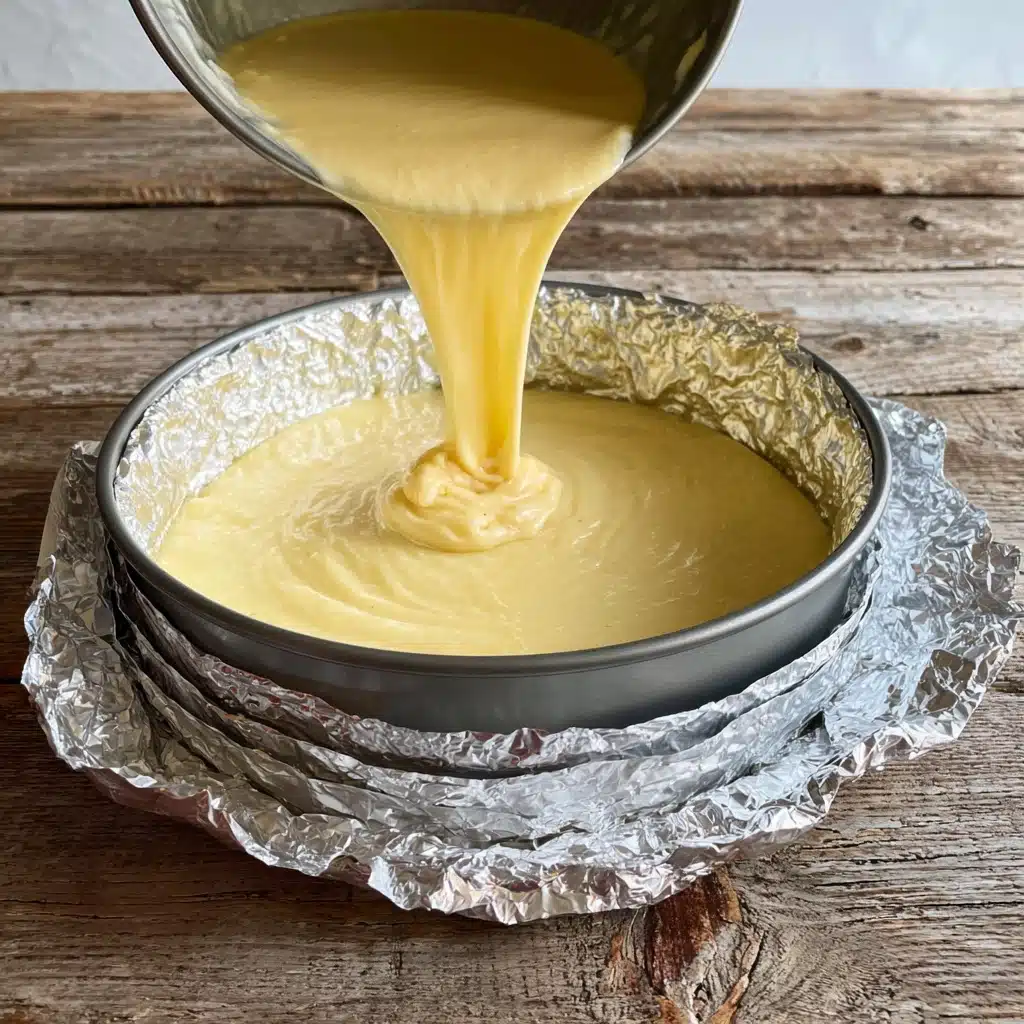
To get that perfectly tall, jiggly cake, you’ll want to set up your pan correctly from the start. Preheat your oven to 325°F. Wrap your 9-inch springform pan in a double layer of heavy-duty foil to prevent leaks, and line both the bottom and the sides with parchment. This extra care makes sure your Japanese Cheesecake bakes up cleanly, with no soggy bottom.
Step 2: Make the Cream Cheese Base
In a small saucepan, gently melt the cubed butter and cream cheese over medium heat, stirring constantly until perfectly smooth and combined. Once melted, whisk in the heavy cream and set aside to cool completely. Taking the time to let this mixture cool ensures your batter is smooth and lump-free without scrambling the next additions.
Step 3: Create the Main Batter
Double-sift the flour and cornstarch together for ultra-lightness—trust me, this step really matters! In a separate bowl, whisk together the egg yolks, vanilla, grated lemon zest, and your cooled cream cheese mixture. Pour this silky blend into your sifted flour mixture and beat gently until just combined. Now your batter should already smell like cheesecake heaven!
Step 4: Whip the Egg Whites
Get a large, meticulously clean bowl (even a hint of fat can sabotage your peaks) and beat room-temperature egg whites on medium speed until foamy. Gradually add the sugar, a tablespoon at a time, beating on high after each addition until soft, glossy peaks form. This is where your Japanese Cheesecake gets its lift and signature jiggle.
Step 5: Combine and Prepare for Baking
Gently fold one-fourth of the whipped egg whites into your batter to lighten it up. Carefully fold in the remaining whites, taking care not to deflate all that precious air. Pour the batter into your prepared springform pan, smoothing the top as needed. Place this into a larger baking pan and pour in about 1 inch of hot water to create a cozy water bath—essential for the cake’s famously creamy texture.
Step 6: Bake Low and Slow
Bake for 25 minutes at 325°F, then reduce the oven temperature to 280°F without opening the door. Continue baking another 55 to 65 minutes, until the top is puffed, springs back when lightly touched, and the center only gently wobbles. This gentle baking process ensures that sensationally airy crumb Japanese Cheesecake is all about!
Step 7: Make the Cherry Topping
While the cake bakes, whisk together sugar, cornstarch, and a pinch of cayenne in a small saucepan (for a slight kick—optional but fun!). Whisk in water, add tart cherries, and cook, stirring, until bubbly and thickened—about 5 minutes. Off heat, whisk in the butter for a gorgeous finish. Let this sauce cool completely while your cheesecake bakes and cools.
Step 8: Cool and Unmold
Once baked, carefully lift your pan from the water bath. Run a knife around the rim, remove the foil, and let cool. Carefully unmold from the springform and peel away the parchment. Dust with confectioners’ sugar and serve warm, topping each slice with a generous spoonful of cherry sauce. Get ready for that glorious jiggle!
How to Serve Japanese Cheesecake
Garnishes
A simple cloud of confectioners’ sugar is a must to highlight the cake’s delicate top. Pair it with the homemade cherry sauce for a bright, tangy contrast, and if you’re feeling fancy, a few lemon zest curls or even a dollop of softly whipped cream will add a special touch. Let the Japanese Cheesecake shine—it doesn’t need much else!
Side Dishes
Keep sides light and refreshing to balance the cake’s rich, creamy flavor. Fresh berries, a simple fruit salad, or a cup of green tea or iced matcha make wonderful accompaniments. The combination of Japanese Cheesecake and these gentle flavors creates a dessert course that feels like a breath of fresh air.
Creative Ways to Present
Don’t be afraid to play! Try serving slices on pastel plates for a sweet retro look, or go elegantly minimal with slate or white. For gatherings, pre-slice the cheesecake and top each piece with a little cherry sauce and a tiny edible flower—watch the smiles bloom around your table. Japanese Cheesecake is a showstopper whether dressed up or down.
Make Ahead and Storage
Storing Leftovers
After cooling completely, cover leftover Japanese Cheesecake tightly with plastic wrap and store in the refrigerator. It will stay fresh and delicious for up to four days, making it ideal for enjoying throughout the week (if it lasts that long!). The cherry sauce should also be refrigerated in a separate container.
Freezing
If you’d like to freeze Japanese Cheesecake, wrap slices or the whole cake (without toppings) in multiple layers of plastic wrap and then foil. Freeze for up to one month. Thaw overnight in the refrigerator before serving, then dust with sugar and spoon over fresh cherry sauce just before eating for best results.
Reheating
Japanese Cheesecake is wonderful enjoyed cold or at room temperature. If you’d like to warm it slightly (to bring back the fresh-baked softness), remove the slice from the fridge and let it sit out for 30 minutes, or give it a quick 10-15 seconds in the microwave. The cherry sauce can also be gently rewarmed if you prefer.
FAQs
What makes Japanese Cheesecake different from classic New York cheesecake?
Japanese Cheesecake is ever-so-light, almost souffle-like, thanks to its whipped egg whites and gentle baking in a water bath. In contrast, New York-style cheesecake is dense and creamy, relying on lots of cream cheese and a heavier texture. The Japanese version is fluffy, jiggly, and just melts away on your tongue.
Why did my Japanese Cheesecake crack on top?
Cracks usually mean the cake baked too quickly or the temperature changed suddenly. To avoid this, make sure to bake in a water bath, don’t overmix your batter, and cool the cake gradually. But a few cracks just add homemade charm—and confectioners’ sugar can hide any imperfections!
Can I make Japanese Cheesecake ahead for a party?
Absolutely! In fact, Japanese Cheesecake often tastes even better a day after baking, once the flavors and texture have settled. Just store it in the fridge and wait to dust with sugar and add cherry topping until right before serving.
Do I have to use the cherry sauce?
Not at all—the cheesecake is delicious all on its own! However, the tart, juicy cherry sauce creates a beautiful color contrast and balances the subtle sweetness of the cake. You could also swap in another berry compote or serve plain with seasonal fruit.
Can I use full-fat cream cheese instead of reduced-fat?
Yes, you can! The reduced-fat version just ensures the cake stays ultra-light, but if you prefer a richer flavor and don’t mind a slightly denser crumb, full-fat cream cheese works perfectly well for Japanese Cheesecake.
Final Thoughts
If you’ve ever wanted to impress friends or family with something unique yet comforting, Japanese Cheesecake is the way to go. Its jiggly, fluffy charm is unforgettable, and once you try that dreamy combination with homemade cherry sauce, you’ll be hooked. Give it a whirl—you might just discover your new favorite dessert!
PrintJapanese Cheesecake Recipe
Enjoy the delightful wobble of this Japanese Cheesecake, a heavenly dessert with a light, creamy texture that melts in your mouth. Topped with a luscious homemade cherry sauce, it’s a perfect balance of flavors.
- Prep Time: 1 hour
- Cook Time: 1 hour 20 minutes
- Total Time: 2 hours 20 minutes
- Yield: 12 Servings
- Category: Dessert
- Method: Baking
- Cuisine: Japanese
- Diet: Vegetarian
Ingredients
Cheesecake:
- 6 tablespoons butter, cubed
- 4 ounces reduced-fat cream cheese
- 2/3 cup heavy whipping cream
- 1/4 cup all-purpose flour
- 1/4 cup cornstarch
- 6 large egg yolks, room temperature
- 2 teaspoons vanilla extract
- 1–1/2 to 2 teaspoons grated lemon zest
- 12 large egg whites, room temperature
- 3/4 cup sugar
Topping:
- 1/2 cup sugar
- 2 tablespoons cornstarch
- 1/4 teaspoon cayenne pepper, optional
- 1/2 cup water
- 2 cups fresh or frozen pitted tart cherries
- 1 tablespoon butter
- Confectioners’ sugar
Instructions
- Preheat and Prepare: Preheat oven to 325°F. Prepare a 9-inch springform pan with foil and parchment.
- Melt Butter and Cream Cheese: Heat butter and cream cheese until melted, then whisk in cream. Let cool.
- Combine Ingredients: Sift flour and cornstarch; mix with egg yolks, vanilla, zest, and cream cheese mixture.
- Whip Egg Whites: Beat egg whites with sugar until glossy peaks form; fold into batter.
- Bake: Bake in a water bath until set.
- Make Topping: Cook cherries with sugar, cornstarch, and water until thickened. Cool.
- Serve: Dust cheesecake with confectioners’ sugar, top with cherry sauce, and enjoy!
Notes
- Make sure all ingredients are at room temperature for best results.
- This cheesecake is best served chilled.
Nutrition
- Serving Size: 1 piece
- Calories: 294
- Sugar: 24g
- Sodium: 157mg
- Fat: 16g
- Saturated Fat: 9g
- Unsaturated Fat: 6g
- Trans Fat: 0g
- Carbohydrates: 31g
- Fiber: 1g
- Protein: 7g
- Cholesterol: 132mg

