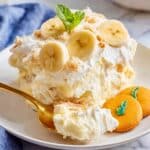
If you have a sweet tooth that craves a creamy, dreamy dessert, look no further than The Best Banana Pudding Recipe. This luscious, no-cook delight brings together the silky smoothness of cream cheese and sweetened condensed milk, the irresistible texture of Nilla wafers, and the fresh goodness of ripe bananas in every bite. Perfectly layered and incredibly easy to whip up, it’s a timeless crowd-pleaser that feels like a warm hug on a spoon, guaranteed to become your go-to recipe for potlucks, family gatherings, or a special treat any night of the week.
Ingredients You’ll Need
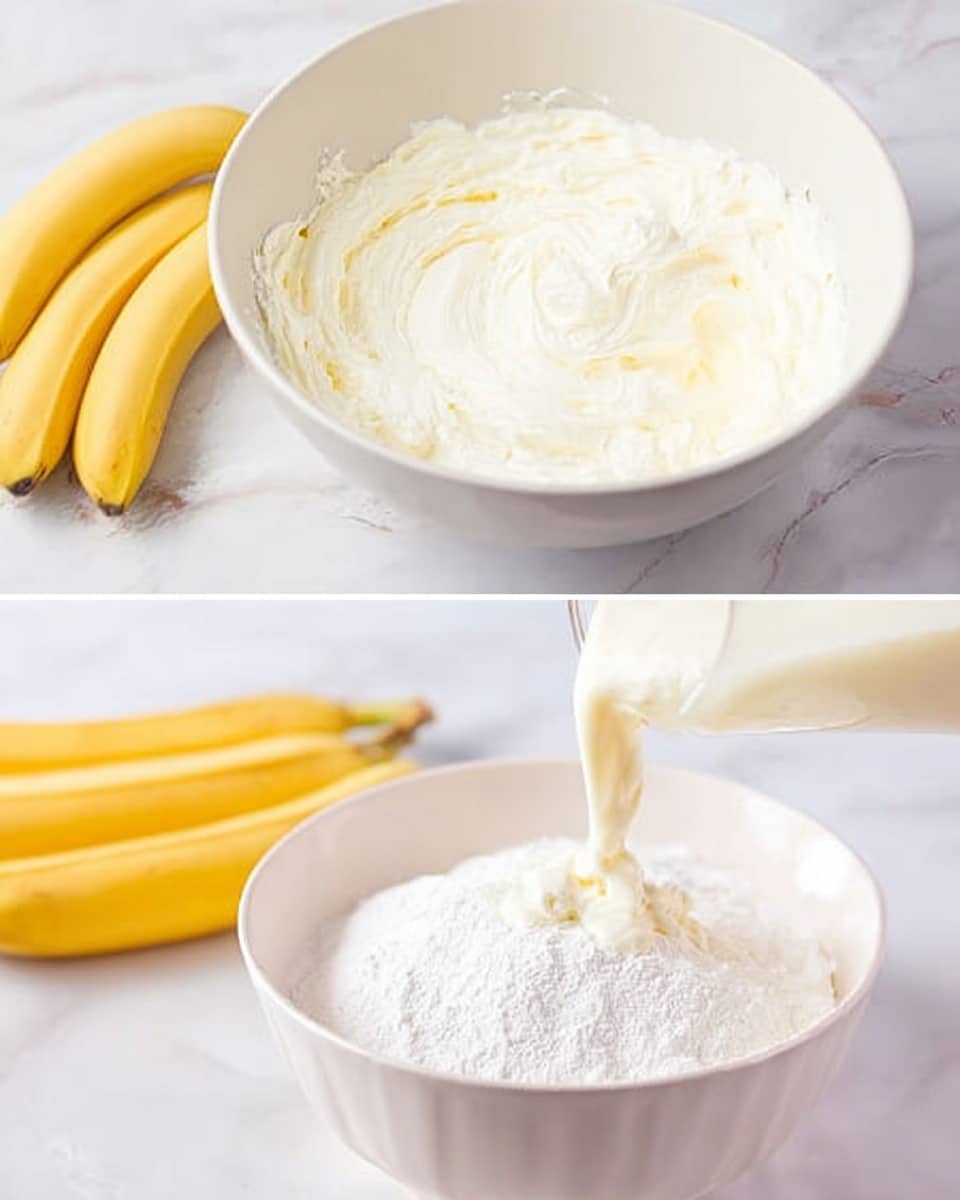
Each ingredient in The Best Banana Pudding Recipe plays a crucial role in building that classic, beloved flavor and texture. From the creaminess of softened cream cheese to the light, fluffy whipped topping, every component is simple yet essential for creating this dessert’s perfect balance between richness and freshness.
- Cream cheese (8 oz, softened): Adds a rich, tangy creaminess that deepens the puddings’ flavor while keeping it smooth and luscious.
- Sweetened condensed milk (14 oz can): Provides sweetness and a velvety texture without needing extra sugar.
- Instant vanilla pudding mix (5 oz package): The classic vanilla flavor that thickens the pudding and gives it that nostalgic taste.
- Milk (3 cups, 2% or higher): Helps activate the pudding and maintain the creamy consistency throughout.
- Vanilla extract (2 teaspoons): Boosts the vanilla notes, making every spoonful aromatic and flavorful.
- Whipped topping (8 oz tub, thawed): Lightens the pudding mixture and adds a fluffy texture for that melt-in-your-mouth sensation.
- Nilla wafers (11 oz box): The iconic crunchy layer that softens just right when it soaks up the pudding’s creaminess.
- Bananas (5-7, peeled and sliced): Fresh and sweet, they provide the natural fruitiness that balances the dessert perfectly.
You’ll find the full ingredient list, instructions, and print option in the recipe card below.
How to Make The Best Banana Pudding Recipe
Step 1: Prepare the Creamy Base
Start by beating the softened cream cheese in a large bowl with an electric mixer on medium speed until it’s smooth and fluffy. This step is key to achieving that rich, velvety texture that defines The Best Banana Pudding Recipe. Cream cheese brings a slight tang that perfectly balances the sweetness later on.
Step 2: Mix in the Sweetness and Flavor
Next, add the sweetened condensed milk, instant vanilla pudding mix, milk, and vanilla extract to the cream cheese. Beat everything together until it’s well combined. The pudding mix thickens the mixture while the vanilla extract elevates the flavor, making each bite melt into pure vanilla bliss.
Step 3: Fold in the Fluffy Whipped Topping
Gently stir in half of the thawed whipped topping. This lightens the dense pudding mixture and adds an airy creaminess that will make your banana pudding irresistibly soft and silky.
Step 4: Layer the Goodness
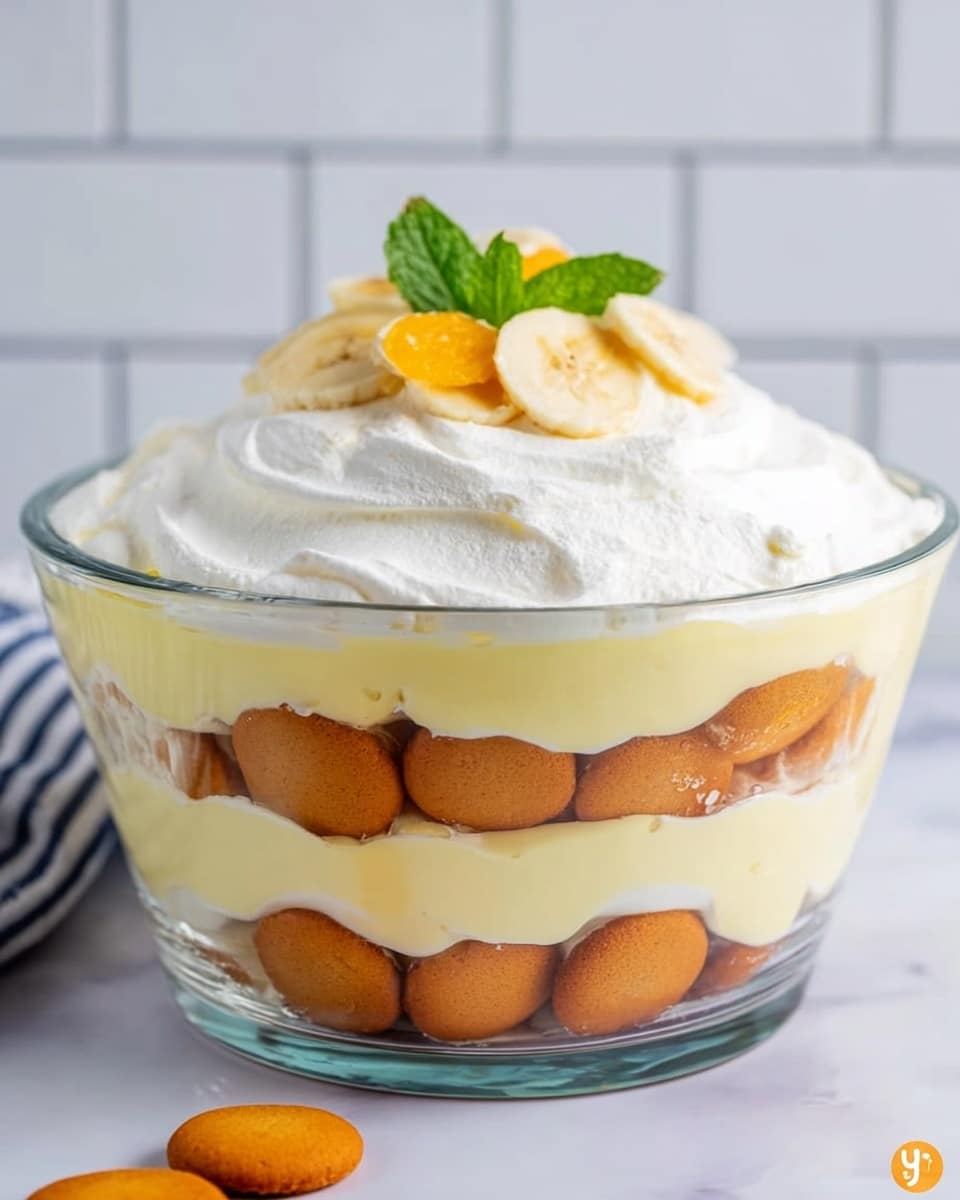
Now for the fun part — layering! Begin with one-third of the Nilla wafers spread evenly across the bottom of your trifle dish, large bowl, or a 9×13-inch baking dish. Follow with a generous layer of sliced bananas, then pour one-third of the pudding mixture over the fruit, spreading it to cover all the bananas. Repeat this two more times, creating beautiful layers of wafers, bananas, and pudding.
Step 5: Finish and Chill
Top the entire pudding with the remaining whipped topping for that perfect creamy cap. Cover the dish with plastic wrap and refrigerate for at least one to two hours. During this chill time, the pudding thickens beautifully, and the wafers soften just enough to add tender crunchiness to each spoonful.
How to Serve The Best Banana Pudding Recipe
Garnishes
Serve with a sprinkle of crushed Nilla wafers or a few fresh banana slices on top for extra texture and visual appeal. For a touch of color, a light dusting of cinnamon or a few chocolate shavings makes a delightful garnish that complements the flavors perfectly.
Side Dishes
This banana pudding is a fantastic dessert after a casual barbecue or southern-style meal. Pair it with simple, fresh fruit salad or a scoop of vanilla ice cream for a truly indulgent feast. It also pairs beautifully with light beverages like iced tea or sparkling water to keep the palate refreshed.
Creative Ways to Present
Make The Best Banana Pudding Recipe extra special by serving it in individual mason jars or decorative glass cups. Layering it this way turns it into an elegant treat for parties or intimate dinner gatherings. You can also transform leftovers into parfaits with some granola on top for a delicious breakfast twist.
Make Ahead and Storage
Storing Leftovers
Keep any leftover pudding covered tightly in the refrigerator for up to 3 days. The flavors actually deepen and the pudding firms up even more after chilling, making it a perfect make-ahead dessert for busy days.
Freezing
While freezing banana pudding isn’t generally recommended due to the bananas and pudding texture, you can freeze the pudding mixture itself (without bananas and wafers) for up to one month. Thaw overnight in the fridge and add fresh bananas and wafers just before serving.
Reheating
This pudding is best enjoyed cold, so reheating isn’t necessary. Simply allow refrigerated leftovers to come to a comfortable serving temperature right out of the fridge or let it sit for a few minutes at room temperature to take the chill off.
FAQs
Can I use homemade pudding instead of instant pudding mix?
Absolutely! If you prefer making pudding from scratch, you can substitute it for the instant pudding mix. Just make sure it’s thick and well chilled before blending with the other ingredients to keep the texture of The Best Banana Pudding Recipe intact.
What type of bananas are best for this recipe?
Use ripe but firm bananas that are free from bruises. Overripe bananas may become too mushy once layered and affect the overall texture. Fresh, just-ripe bananas provide the perfect balance of sweetness and firmness.
Can I make this recipe dairy-free?
To make a dairy-free version, substitute cream cheese and whipped topping with dairy-free alternatives like vegan cream cheese and coconut whipped cream. Use a pudding mix or homemade pudding recipe made with plant-based milk to keep everything smooth and creamy.
How long can I refrigerate the pudding before it loses quality?
You can refrigerate The Best Banana Pudding Recipe for up to 3 days. After this, the bananas may begin to brown and the wafers could become too soft, so it’s best enjoyed fresh to keep the flavors vibrant and textures balanced.
Why is the pudding no-cook? Is it safe to eat?
This no-cook pudding recipe uses instant pudding mix and sweetened condensed milk that require no baking or cooking, making it super quick and safe to eat. All ingredients are ready-to-eat, so you can enjoy your dessert without any worries.
Final Thoughts
There’s just something so comforting and universally delightful about The Best Banana Pudding Recipe. Whether you’re making it for a special occasion or simply whipping it up on a whim, it delivers creamy layers of happiness with every bite. I encourage you to try it soon—you might just find your new favorite dessert for any time of the year!
PrintThe Best Banana Pudding Recipe
This Best Banana Pudding recipe is a creamy, no-bake dessert combining smooth cream cheese, sweetened condensed milk, instant vanilla pudding, fresh bananas, and classic Nilla wafers. Layered to perfection and chilled until set, it’s a quick and delightful treat perfect for any occasion.
- Prep Time: 25 minutes
- Cook Time: 0 minutes
- Total Time: 25 minutes
- Yield: 12 servings
- Category: Dessert
- Method: No-Cook
- Cuisine: American
Ingredients
Pudding Base
- 8 ounce block cream cheese, softened to room temperature
- 14 ounce can sweetened condensed milk
- 5 ounce package instant vanilla pudding mix
- 3 cups milk (2% or higher)
- 2 teaspoons vanilla extract
Other Ingredients
- 8 ounce tub whipped topping (COOL WHIP), thawed (divided use)
- 11 ounce box Nilla wafers (divided use)
- 5–7 bananas, peeled and sliced (divided use)
Instructions
- Prepare the Cream Cheese Mixture: In a large bowl, beat the softened cream cheese with an electric mixer on medium speed until smooth and fluffy, ensuring no lumps remain.
- Mix Pudding Ingredients: Add the sweetened condensed milk, instant vanilla pudding mix, 3 cups of milk, and 2 teaspoons vanilla extract to the cream cheese. Mix everything together until well combined and smooth.
- Incorporate Whipped Topping: Gently fold in half of the thawed whipped topping into the pudding mixture, blending until evenly distributed and creamy.
- Layer the Pudding: In a trifle dish, large bowl, or 9×13-inch baking dish, start by placing one-third of the Nilla wafers as a bottom layer.
- Add Bananas: Arrange a single layer of sliced bananas over the wafers.
- Pour Pudding: Pour one-third of the prepared pudding mixture over the bananas, spreading to cover evenly.
- Repeat Layers: Repeat layering two more times with the remaining wafers, bananas, and pudding, finishing with the pudding layer.
- Top with Whipped Topping: Spread the remaining whipped topping evenly over the top of the final pudding layer as a garnish.
- Chill: Cover the dish tightly with plastic wrap and refrigerate for at least 1 to 2 hours so the pudding thickens and the Nilla wafers soften.
- Serve: Once chilled and set, serve the banana pudding cold as a delicious dessert.
Notes
- Use ripe but firm bananas to prevent them from turning mushy too quickly.
- Make sure cream cheese is fully softened for a smooth pudding base.
- For best results, prepare the pudding a few hours in advance to allow layers to meld and wafers to soften properly.
- Leftover banana pudding can be refrigerated for up to 2 days but may become softer over time.
- Feel free to swap out the 2% milk for whole milk for a richer pudding texture.

