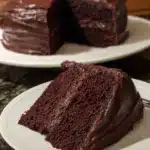
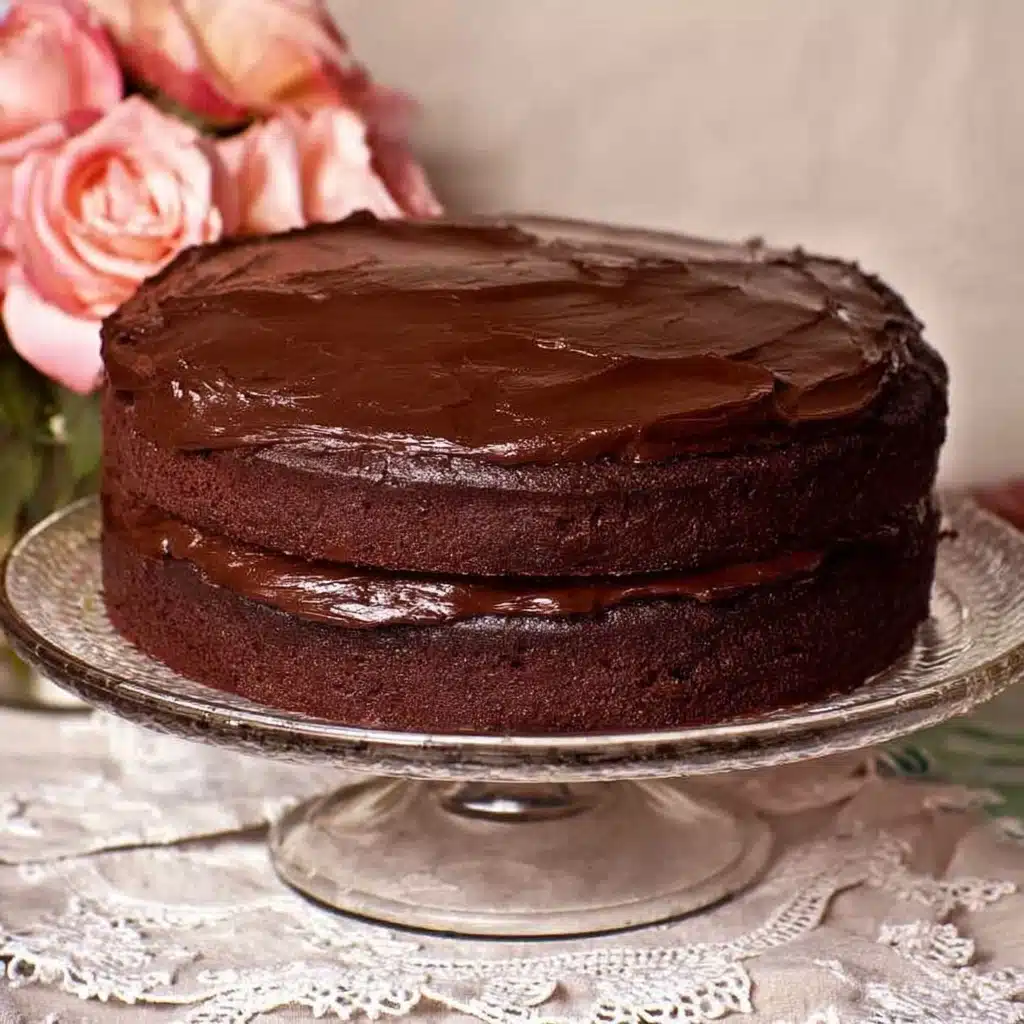
Bake up a cozy slice of nostalgia with this Old Fashioned Chocolate Cake With Glossy Chocolate Icing! Classic, rich, and effortlessly impressive, this cake feels like the best kind of hug in dessert form. Everything about it—from its tender, moist crumb to that deeply chocolatey, shiny icing—delivers pure comfort and a bit of old-school magic. It’s the kind of recipe you’ll want to pass down, perfect for birthdays, holidays, or just because your kitchen needs the intoxicating aroma of chocolate cake.
Ingredients You’ll Need
The ingredients for this recipe may look simple, but each one plays a vital role in building intense flavor and melt-in-your-mouth texture. Gather these, and you’re well on your way to a showstopping Old Fashioned Chocolate Cake With Glossy Chocolate Icing.
- All-purpose flour: Gives the cake its structure and a fine, tender crumb—don’t substitute with cake flour or bread flour for this classic texture.
- Sugar: Brings just the right amount of sweetness, balancing out the dark cocoa and adding moistness to the cake.
- Unsweetened cocoa powder: Deep chocolate flavor starts here; use a good quality brand for the most decadent result.
- Baking soda: Ensures the cake rises tall and fluffy—you’ll need freshness here!
- Table salt: Enhances the chocolate and makes all the flavors pop.
- Hot water: Blooming the cocoa with hot water releases all the rich flavors and helps the cake stay moist.
- Vegetable oil: The secret to an extraordinarily soft and tender crumb; better than butter for a lighter texture in this cake.
- White vinegar: A touch of tang that reacts with the baking soda for extra lift—don’t worry, you won’t taste it!
- Instant coffee granules: Coffee deepens the chocolate flavor without making the cake taste like coffee.
- Vanilla extract: Rounds out and elevates all the flavors; essential for that bakery-style aroma.
- Unsalted butter (for icing): Gives the icing a smooth, creamy base and luxurious mouthfeel.
- Sugar (for icing): Sweetens and gives body as it melts into the chocolate mixture.
- Unsweetened cocoa powder (for icing): More cocoa means double the chocolate kick in every bite.
- Pinch of salt (for icing): Just a pinch does wonders, keeping the icing from tasting flat.
- Heavy cream (for icing): Makes the frosting extra rich and glossy, perfect for spreading.
- Sour cream (for icing): Adds tang, balance, and prevents the icing from being overwhelmingly sweet.
- Instant coffee granules (for icing): Intensifies the icing’s chocolate notes.
- Vanilla extract (for icing): A final touch that brings warmth and complexity to the glossy icing.
How to Make Old Fashioned Chocolate Cake With Glossy Chocolate Icing
Step 1: Prep Your Pans and Oven
Start by preheating your oven to 350°F and position the rack in the center. Grab two 8-inch round cake pans, spritz them with nonstick spray, and set aside. A little patience in prepping the pans means your cakes will slide out like a dream—no sticking, no stress!
Step 2: Whisk Together the Dry Ingredients
In a large mixing bowl, whisk the flour, sugar, cocoa powder, baking soda, and salt until evenly combined. This step ensures every bite of your Old Fashioned Chocolate Cake With Glossy Chocolate Icing is perfectly mixed and that luscious chocolate flavor is spread throughout.
Step 3: Mix the Wet Ingredients
In a large measuring cup, combine hot water, vegetable oil, white vinegar, instant coffee granules, and vanilla extract. Stir until well blended. The hot water helps melt and marry the flavors, unlocking the cocoa’s richness.
Step 4: Combine and Mix
Pour the wet ingredients into the dry mixture and whisk just until everything is combined. A few small lumps are completely okay—think of them as little pockets of moisture for a super-tender crumb.
Step 5: Bake to Perfection
Divide the batter evenly between your prepared cake pans (about 3 cups each). Slide them into the oven and bake for 35 to 40 minutes, or until a toothpick inserted into the center comes out clean. Your kitchen will smell glorious!
Step 6: Cool the Cakes
Once baked, let the cakes rest in their pans on a wire rack for 15 minutes. After that, gently invert them onto the rack and leave them upside down until completely cool. This helps flatten any domed tops for stacking and frosting later.
Step 7: Make the Glossy Chocolate Icing
In a large saucepan over medium heat, melt the unsalted butter. Stir in the sugar, cocoa powder, and a pinch of salt—the mixture will be thick and a little grainy at this stage. In a separate measuring cup, whisk together heavy cream, sour cream, and instant coffee granules until smooth, then gradually add this to the chocolate mixture. Keep stirring until the icing is hot, smooth, and the sugar has dissolved, but make sure not to let it boil!
Step 8: Finish and Cool the Icing
Take the pan off the heat, stir in the vanilla extract, and let the icing cool at room temperature until it’s thickened to a spreadable consistency—this could take up to three hours. If you’re in a rush, pop it in the fridge, checking every 10 minutes or so. If it ever gets too thick, just warm it gently in the microwave for 20 seconds at a time, stirring after each zap until it’s just right.
Step 9: Assemble and Frost
Spread a generous layer of that dreamy, glossy icing on the first cake layer, top with the second, then cover the top and sides. Admire the deep shine of the frosting—it turns every slice into a showstopper. Your Old Fashioned Chocolate Cake With Glossy Chocolate Icing is ready to steal the spotlight!
How to Serve Old Fashioned Chocolate Cake With Glossy Chocolate Icing
Garnishes
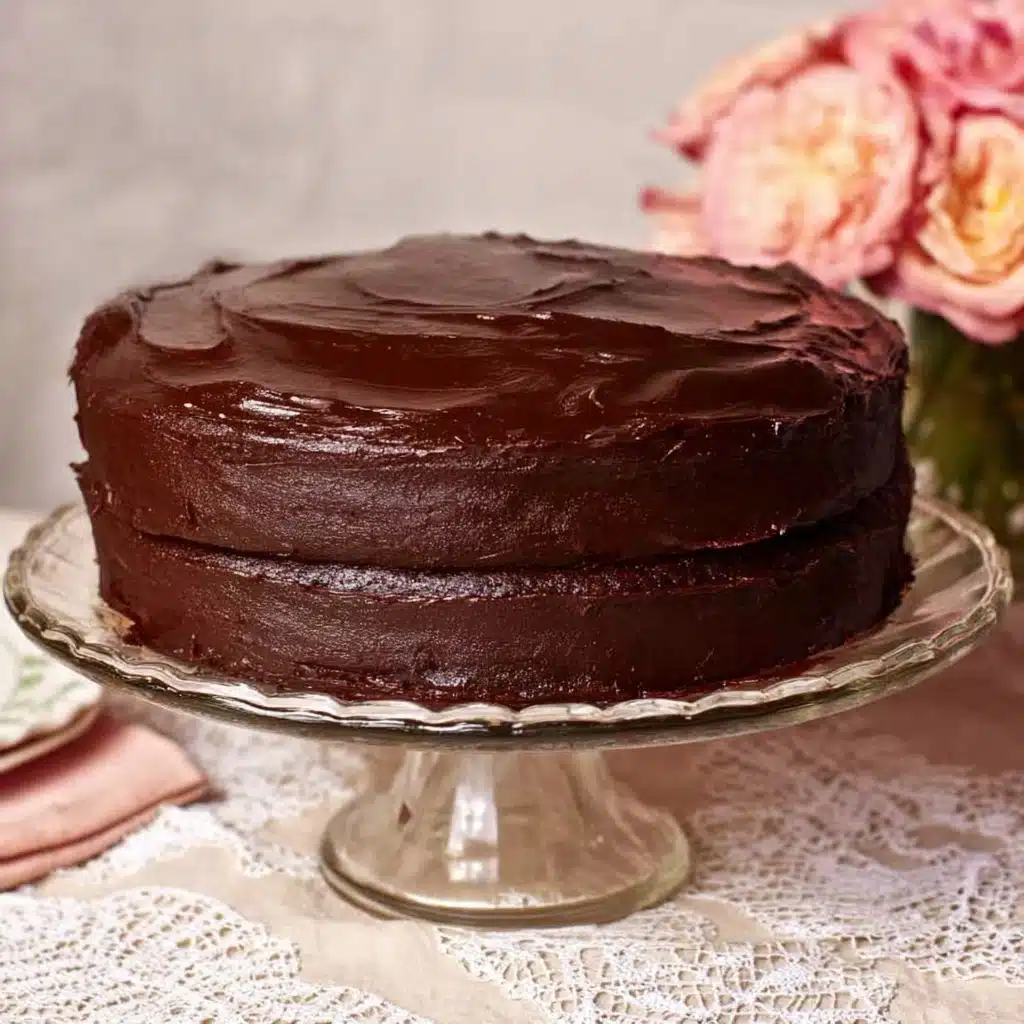
Add a flourish and make each slice feel special. Try a scatter of chocolate curls, a dusting of powdered sugar, or even a handful of fresh raspberries to add tartness and color. Sometimes, a few toasted nuts around the base can give a lovely crunch to contrast that smooth, glossy icing.
Side Dishes
This cake is rich but pairs beautifully with a scoop of vanilla ice cream or a dollop of whipped cream. For something a bit more indulgent, serve alongside stewed cherries or a small bowl of fresh strawberries to brighten up the deep chocolate flavors.
Creative Ways to Present
You don’t have to stick with traditional wedges! Try slicing your Old Fashioned Chocolate Cake With Glossy Chocolate Icing into petite squares for a dessert platter, or layer chunks with whipped cream and berries in glass cups for instant parfaits. Even cupcakes are possible—just adjust the baking time and keep the glossy icing on thick.
Make Ahead and Storage
Storing Leftovers
Keep any leftover cake covered at room temperature for up to two days or in the fridge for up to a week. The glossy chocolate icing helps lock in the moisture, so every bite stays luscious even after a day or two.
Freezing
This cake freezes surprisingly well! Just wrap slices or whole layers tightly in plastic wrap and foil before popping them in the freezer for up to three months. For the best texture, freeze without the icing and frost after thawing, but honestly, even a fully-iced slice holds up beautifully after a little time in the freezer.
Reheating
If you want that “just baked” softness, let the cake come to room temperature first, then give individual slices a quick zap in the microwave (about 10 seconds) to revive their tender crumb and make the glossy icing irresistibly melty again.
FAQs
Can I use Dutch-process cocoa powder instead of natural?
Natural cocoa works best here, but Dutch-process will give a deeper color and a slightly different flavor. Just be aware that the cake might rise a bit less, as Dutch cocoa doesn’t react with baking soda in the same way.
Do I really need instant coffee in both the cake and the icing?
Absolutely—coffee enhances the chocolate without making it taste like mocha. You won’t taste the coffee, but the cake and Old Fashioned Chocolate Cake With Glossy Chocolate Icing will be even more decadent and rich.
Can I make this recipe gluten free?
Yes! Just swap in a high-quality cup-for-cup gluten-free flour blend for the all-purpose flour. The rest of the recipe stays the same, and you’ll still end up with a moist, delicious cake.
My icing is too thick or too thin. How do I fix it?
If your glossy icing is too thick, microwave it in short bursts (about 20 seconds), stirring until spreadable. If it’s too thin, let it cool longer at room temperature or pop it in the fridge for a few minutes and stir until it thickens up.
Can I make this cake in advance?
Definitely! The cake actually gets better after a day as the flavors meld. Bake the layers and make the icing a day ahead; store separated, then frost just before serving for the freshest, glossiest finish.
Final Thoughts
If you’ve been dreaming of a cake that’s simple to make but always wows, give this Old Fashioned Chocolate Cake With Glossy Chocolate Icing a try. It’s the kind of dessert that brings smiles and second helpings, no matter the occasion. You’re going to love every bite!
PrintOld Fashioned Chocolate Cake With Glossy Chocolate Icing Recipe
Indulge in the rich and decadent flavors of this Old Fashioned Chocolate Cake with Glossy Chocolate Icing. A classic dessert that never goes out of style!
- Prep Time: 25 mins
- Cook Time: 40 mins
- Total Time: 1 hr 10 mins
- Yield: 1 layer cake
- Category: Dessert
- Method: Baking
- Cuisine: American
- Diet: Vegetarian
Ingredients
Cake:
- 3 cups all-purpose flour
- 2 cups sugar
- 1⁄2 cup unsweetened cocoa powder
- 2 teaspoons baking soda
- 1 teaspoon table salt
- 2 cups hot water
- 3⁄4 cup vegetable oil
- 2 tablespoons white vinegar
- 1 tablespoon instant coffee granules
- 1 tablespoon vanilla extract
Glossy Chocolate Icing:
- 8 tablespoons unsalted butter
- 1 1⁄2 cups sugar
- 1 1⁄4 cups unsweetened cocoa powder
- 1 pinch salt
- 1 1⁄4 cups heavy cream
- 1⁄4 cup sour cream
- 1 teaspoon instant coffee granules
- 2 teaspoons vanilla extract
Instructions
- Preheat oven to 350°F with rack in the center. Spray two 8″ round cake pans with nonstick spray.
- Whisk dry cake ingredients together in a large mixing bowl.
- Combine water, oil, vinegar, instant coffee granules, and vanilla in a large measuring cup. Add to the dry ingredients and whisk until combined – a few lumps are okay.
- Divide batter between the two pans (about 3 cups each), then bake until a toothpick inserted in the center comes out clean (35-40 minutes).
- Cool cakes for 15 minutes on a rack, then invert them onto the rack. Leave upside down until completely cooled before frosting them.
- To make icing, melt butter in a large saucepan over medium heat. Stir in sugar, cocoa, and salt – the mixture will be thick and grainy.
- Combine cream, sour cream, and coffee granules in a large measuring cup, mixing until smooth. Gradually add cream mixture to chocolate until blended and smooth.
- Cook until sugar has dissolved and mixture is smooth and hot to the touch. DO NOT BOIL.
- Take mixture off the heat and add vanilla. Cool at room temperature until spreadable (up to three hours).
- If icing isn’t getting thick enough to be spreadable, put it in the refrigerator until thick enough to spread. If it gets too thick to spread easily, warm gently in the microwave until it’s just right (20 seconds or so, repeat if necessary).
- Stir well and ice cake, frosting the first layer, then placing the second layer on top, and icing the top and then the sides.
Nutrition
- Serving Size: 1 slice (1/12 of cake)
- Calories: 450
- Sugar: 40g
- Sodium: 320mg
- Fat: 25g
- Saturated Fat: 12g
- Unsaturated Fat: 10g
- Trans Fat: 0g
- Carbohydrates: 55g
- Fiber: 3g
- Protein: 5g
- Cholesterol: 50mg

