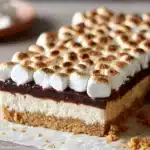
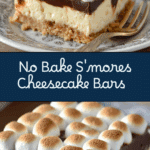
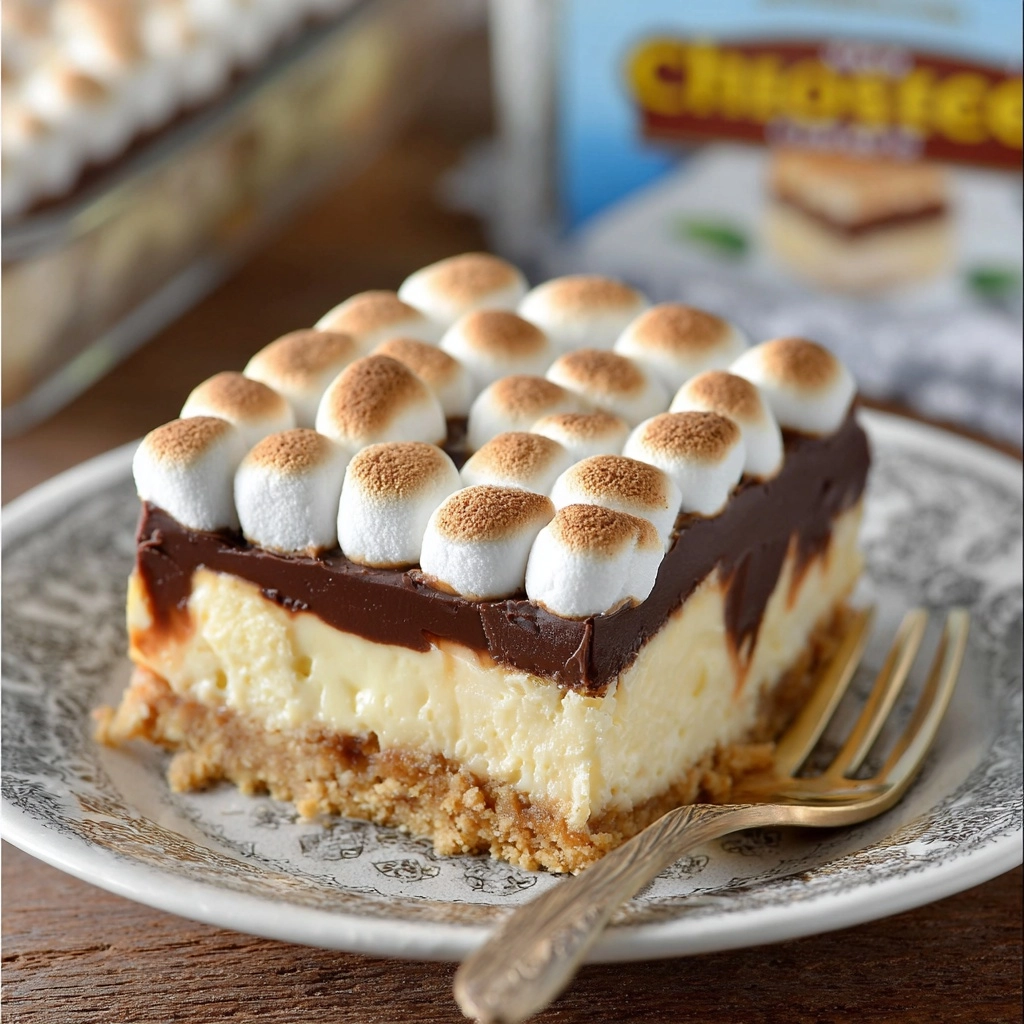
No Bake S’mores Cheesecake Bars are the answer to all those summer dessert cravings—cool, creamy, nostalgic, and absolutely impossible to resist! These bars blend the best of cheesecake with the gooey, chocolatey magic of everyone’s favorite campfire treat, all with zero baking involved. Whether you’re hosting a barbecue, picnic, or just want a crowd-pleasing simple dessert, this recipe guarantees classic s’mores flavor, no fire pit required.
Ingredients You’ll Need
A handful of easy-to-find ingredients is all you’ll need to build layers of flavor and texture in these dreamy No Bake S’mores Cheesecake Bars. Each part—from the crunchy crust to the toasted marshmallow topping—comes together to create the full s’mores experience in bar form.
- Graham cracker crumbs: The essential s’mores base with a toasty, sweet flavor and sandy crunch.
- Granulated sugar: Adds a touch of extra sweetness to the crust and helps everything stick together.
- Unsalted butter: The secret to a buttery, perfectly bound crust that holds up to the creamy filling.
- Cream cheese (softened): Provides a tangy, rich, and fluffy cheesecake filling that melts in your mouth.
- Heavy whipping cream: Makes the filling ultra smooth and helps set the ganache topping.
- Miniature marshmallows: Star ingredient for both the cheesecake filling and gooey topping—don’t skimp!
- Vanilla extract: For an aroma and flavor that lifts the creaminess of the cheesecake layer.
- Powdered sugar: Adds sweetness and structure to the creamy filling—no grittiness here.
- Milk chocolate bars: Perfectly melty and classic for that true s’mores taste in the ganache layer.
- Cooking spray and parchment paper: Makes for easy removal and slicing—absolutely worth it.
How to Make No Bake S’mores Cheesecake Bars
Step 1: Prepare the Pan and Crust
Start by spraying a 9-inch baking pan with nonstick spray, then line it with parchment paper. This simple step ensures that your No Bake S’mores Cheesecake Bars will lift straight out of the pan later, looking fabulously clean and ready to slice. Combine graham cracker crumbs, sugar, and melted butter in a bowl, then stir until every crumb is coated in buttery goodness. Press this mixture firmly into the bottom of your prepared pan, creating an even, compact crust. Pop it into the fridge for at least 30 minutes to set. This step is vital—it makes sure your base is sturdy enough to hold all that luscious filling!
Step 2: Whip Up the Marshmallow Cheesecake Filling
With the crust chilling, beat softened cream cheese in a large bowl for 2 to 3 minutes until it’s light and irresistibly fluffy. Next, add the heavy whipping cream and continue beating for another 2 minutes—it makes the filling silky and luxurious. In a separate bowl, melt 2 cups of mini marshmallows in the microwave for about 30 seconds, stir until smooth, and blend in vanilla extract. Fold this marshmallow mixture right into your cream cheese, mixing until gloriously smooth and well-combined. Finish by adding powdered sugar and mixing just to combine. Spread this fluffy filling over the chilled crust, smooth out the top, then cover and refrigerate for at least 4 hours (or overnight!) until firm and sliceable.
Step 3: Make the Milk Chocolate Ganache Layer
Up next: chocolate! Break milk chocolate bars into pieces and place in a heat-proof bowl. Heat heavy whipping cream until hot (just before it simmers), then pour it over the chocolate. Let it sit for three minutes to melt gently, then stir until smooth and glossy. Pour the ganache over your chilled cheesecake layer and use a spatula to spread it right to the edges. Chill the bars in the fridge for at least 30 minutes to let the ganache set up beautifully.
Step 4: Add the Toasted Marshmallow Topping
Just before serving, top the chilled bars with another generous layer of mini marshmallows. For that classic campfire look and flavor, place the bars under a broiler for 20 to 30 seconds—watching closely!—until the marshmallows are golden and just toasted. No broiler? A kitchen torch works wonders too, or leave the marshmallows as-is for extra gooey nostalgia.
Step 5: Slice and Serve
Once the topping is set, lift the bars out of the pan using the parchment paper and transfer to a cutting board. Slice into perfect, dreamy squares—16 is the magic number here. Each bar is a mini taste of summer, ready to share!
How to Serve No Bake S’mores Cheesecake Bars
Garnishes
For picture-perfect No Bake S’mores Cheesecake Bars, a little extra touch goes a long way. Sprinkle on a few more graham cracker crumbs, drizzle with melted chocolate, or add a sprinkle of flaky sea salt for a gourmet finish. Serve on a cool plate for the ultimate indulgence!
Side Dishes
Pair these bars with fresh berries or a light fruit salad to balance their rich sweetness. A scoop of vanilla or coffee ice cream on the side creates a heavenly, recreative s’mores sundae experience, while a tall glass of icy cold milk keeps the vibe perfectly classic.
Creative Ways to Present
Get playful: serve No Bake S’mores Cheesecake Bars in cupcake liners for single servings at picnics or parties, or set up a DIY s’mores dessert bar with bowls of toppings like chopped nuts, caramel sauce, or chocolate shavings. Little flags or skewers in each bar add a fun, festive touch for gatherings.
Make Ahead and Storage
Storing Leftovers
Keep any leftover No Bake S’mores Cheesecake Bars in an airtight container in the refrigerator. They’ll stay fresh and creamy for up to five days. If you toasted the marshmallow topping, the texture may soften a bit by day two, but the flavor stays wonderful!
Freezing
These bars freeze surprisingly well! Simply wrap individual bars tightly in plastic wrap and pop them into a freezer-safe bag or container. For best results, freeze them without the toasted marshmallow topping, then add and toast the marshmallows just before serving for that gooey, fresh effect.
Reheating
Since they’re a no-bake, cold dessert, reheating isn’t necessary—but if you want to refresh the toasted marshmallow topping, just pop the bars under the broiler or toast with a kitchen torch for a quick 10–15 seconds straight from the fridge or freezer before serving.
FAQs
Can I use chocolate chips instead of milk chocolate bars?
Absolutely! While milk chocolate bars give that classic s’mores flavor, good-quality milk chocolate chips work well in the ganache. Just check they’re a style that melts smoothly for the best drizzle.
What if I don’t have a broiler or torch for the topping?
No worries—your No Bake S’mores Cheesecake Bars will still taste amazing! The marshmallow topping can also be left untoasted, or you can use a hot oven (on the highest rack) for just a few seconds to lightly toast them.
Can I make these bars gluten-free?
Yes! Simply grab your favorite gluten-free graham crackers for the crust. All other ingredients should be naturally gluten-free, so everyone can enjoy a bite (or two!).
Why does my cheesecake layer seem soft?
Make sure you give the cheesecake layer plenty of time to chill—at least 4 hours, or overnight for best results. Using full-fat cream cheese will also help it set up firm and slice cleanly.
Is it possible to double the recipe for a larger crowd?
Definitely. You can double all the ingredients and prepare them in a 9×13-inch pan. Just remember that the chilling time may be slightly longer to ensure the bigger batch sets perfectly before slicing.
Final Thoughts
If you want the utter joy of gooey, chocolatey, nostalgic s’mores with a luscious cheesecake twist, look no further than these No Bake S’mores Cheesecake Bars. They’re a true summer showstopper, and I know your friends and family will fall in love after the very first bite. Treat yourself and let every bite bring a little campfire magic—no stick required!
PrintNo Bake S’mores Cheesecake Bars Recipe
Indulge in the delicious flavors of summer with these No Bake S’mores Cheesecake Bars. A perfect blend of creamy marshmallow cheesecake, rich chocolate ganache, and a graham cracker crust, all without the need for an oven!
- Prep Time: 20 minutes
- Total Time: 5 hours
- Yield: 16 bars
- Category: Dessert
- Method: No Bake
- Cuisine: American
- Diet: Vegetarian
Ingredients
Graham Cracker Crust
- 1 1/2 cups graham cracker crumbs
- 1/4 cup granulated sugar
- 8 tbsp unsalted butter
Marshmallow Cheesecake
- 24 oz cream cheese, softened
- 2 tbsp heavy whipping cream
- 2 cups miniature marshmallows
- 1 tsp vanilla extract
- 1/2 cup powdered sugar
Milk Chocolate Ganache
- 9.3 oz milk chocolate bars (6 – 1.55 oz bars)
- 1/3 cup heavy whipping cream
- 2 cups miniature marshmallows
Topping
Instructions
- Graham Cracker Crust: Spray a 9-inch baking pan with cooking spray and line with parchment paper. Combine graham cracker crumbs, sugar, and melted butter. Press onto the bottom of the pan and refrigerate.
- Marshmallow Cheesecake: Beat cream cheese until fluffy, add cream, then mix in melted marshmallows, vanilla, and powdered sugar. Spread over crust and chill.
- Milk Chocolate Ganache: Melt chocolate with hot cream, stir until smooth. Pour over cheesecake and chill.
- Topping: Top with marshmallows and broil until golden. Slice and serve.
Notes
- For a smoky flavor, try using a kitchen torch to toast the marshmallows.
- Store leftovers in the refrigerator for up to 3 days.
Nutrition
- Serving Size: 1 bar
- Calories: 419 kcal
- Sugar: 21g
- Sodium: 205mg
- Fat: 31g
- Saturated Fat: 18g
- Carbohydrates: 33g
- Fiber: 2g
- Protein: 5g
- Cholesterol: 72mg

