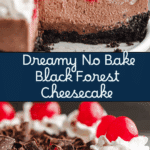
If you’re searching for the ultimate show-stopping dessert that delivers decadence with ease, look no further than this No Bake Black Forest Cheesecake. With layers of chocolate, a luscious cherry swirl, and a cloud of whipped cream on top, this treat manages to feel both dreamy and totally do-able, no matter the occasion. It’s the kind of recipe that brings people together around the table, forks at the ready, laughter filling the room. The best part? You won’t even need to fire up the oven—just a little mixing, layering, and plenty of anticipation while it chills. Whether you’re entertaining friends, sharing a family dinner, or simply satisfying a chocolate craving, the No Bake Black Forest Cheesecake is bound to become a new favorite.
Ingredients You’ll Need
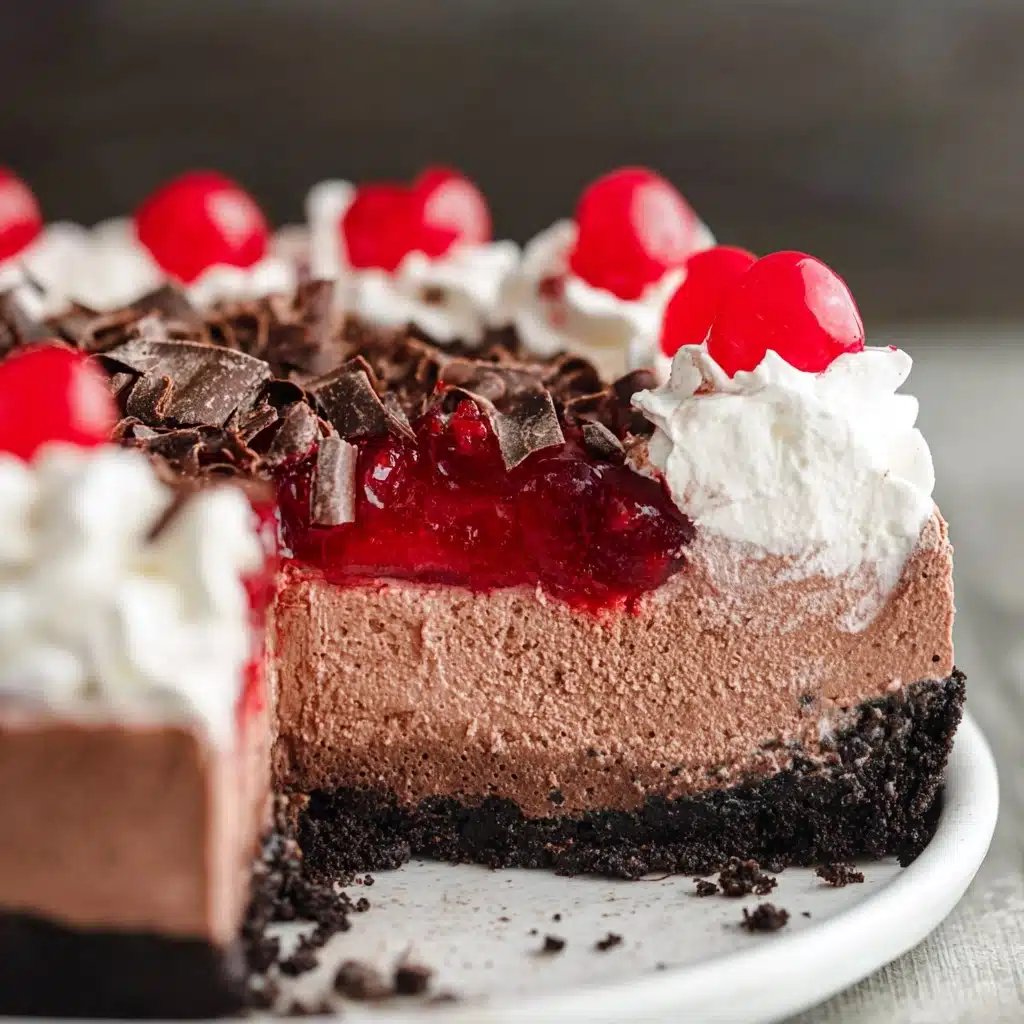
What truly makes this dessert shine are the thoughtful, everyday ingredients that come together in perfect harmony. Each one brings its own flair—whether that’s creamy richness, deep chocolate intensity, or a bright pop of fruit—so choosing good quality items is key for incredible flavor and texture.
- Oreos: These classic cookies create the deeply chocolatey, slightly crunchy base for your cheesecake; don’t forget to use the whole cookie (filling included) for maximum richness.
- Salted butter: Just a touch binds the Oreo crumbs together and adds a subtle savory note that balances out the sweetness.
- Cream cheese: Room temperature is essential—it whips up seamlessly and gives the filling its signature velvety texture.
- Granulated sugar: Sweetens just the right amount so the bitterness of the cocoa and tang of sour cream shine through.
- Unsweetened cocoa powder: Use a cocoa you love, since it’s the base of this chocolate cheesecake’s bold flavor.
- Sour cream or plain Greek yogurt: Both work beautifully, lending creaminess and a gentle tang that lightens up the filling.
- Cherry pie filling: This shortcut brings the classic Black Forest cherry note—look for big, whole cherries and a bright, glossy sauce.
- Whipped topping (thawed): Gently folded in, this makes the filling airy and lets you skip homemade whipped cream if you want total ease.
- Whipped cream (or extra whipped topping): Piped on top, it adds a decorative finish and creamy contrast to the cherries.
- Chocolate shavings (optional): For an extra touch of elegance and a bittersweet accent, shave a little dark chocolate on last.
How to Make No Bake Black Forest Cheesecake
Step 1: Prepare the Pan
Lightly coat a 9-inch springform pan with nonstick cooking spray. This ensures your beautiful No Bake Black Forest Cheesecake releases effortlessly when it’s time to serve, keeping those edges clean and neat every single time.
Step 2: Make the Oreo Crust
In a food processor, pulse 32 Oreos (yes, cream filling and all) until they’re reduced to fine crumbs. Mix in the melted salted butter until the texture is like wet sand. Pour this mixture into your prepared pan, pressing it firmly and evenly onto the bottom. Pop the crust in the freezer to chill while you whip up the filling—it’ll set perfectly and hold its shape.
Step 3: Whip the Chocolate Cheesecake Filling
In a large mixing bowl, combine the cream cheese, granulated sugar, and unsweetened cocoa powder. Using a hand or stand mixer, beat everything for 3 to 5 minutes until it’s light, fluffy, and irresistible. Next, mix in the sour cream until fully combined for that unmistakable, slightly tangy cheesecake flavor.
Step 4: Fold in the Cherries and Whipped Topping
Gently fold one cup of cherry pie filling into your chocolate cheesecake batter—try not to crush the cherries, you want them to stay whole for a pop of color and flavor in every bite. Then carefully fold in the thawed whipped topping for a dreamy, mousse-like texture.
Step 5: Assemble and Chill
Spread the cheesecake filling evenly over your frozen crust, smoothing the top. Cover the pan with plastic wrap and refrigerate for at least four hours, or ideally overnight, to let the No Bake Black Forest Cheesecake fully set and for the flavors to marry and mellow.
Step 6: Add Toppings and Serve
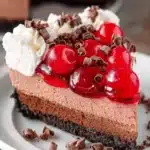
On serving day, pipe generous swirls of whipped cream around the edge of the cheesecake. Spoon the remaining cherry pie filling into the center, letting it naturally spread towards the edges. For a final flourish, sprinkle a shower of chocolate shavings over the top. Slice, serve, and bask in the compliments!
How to Serve No Bake Black Forest Cheesecake
Garnishes
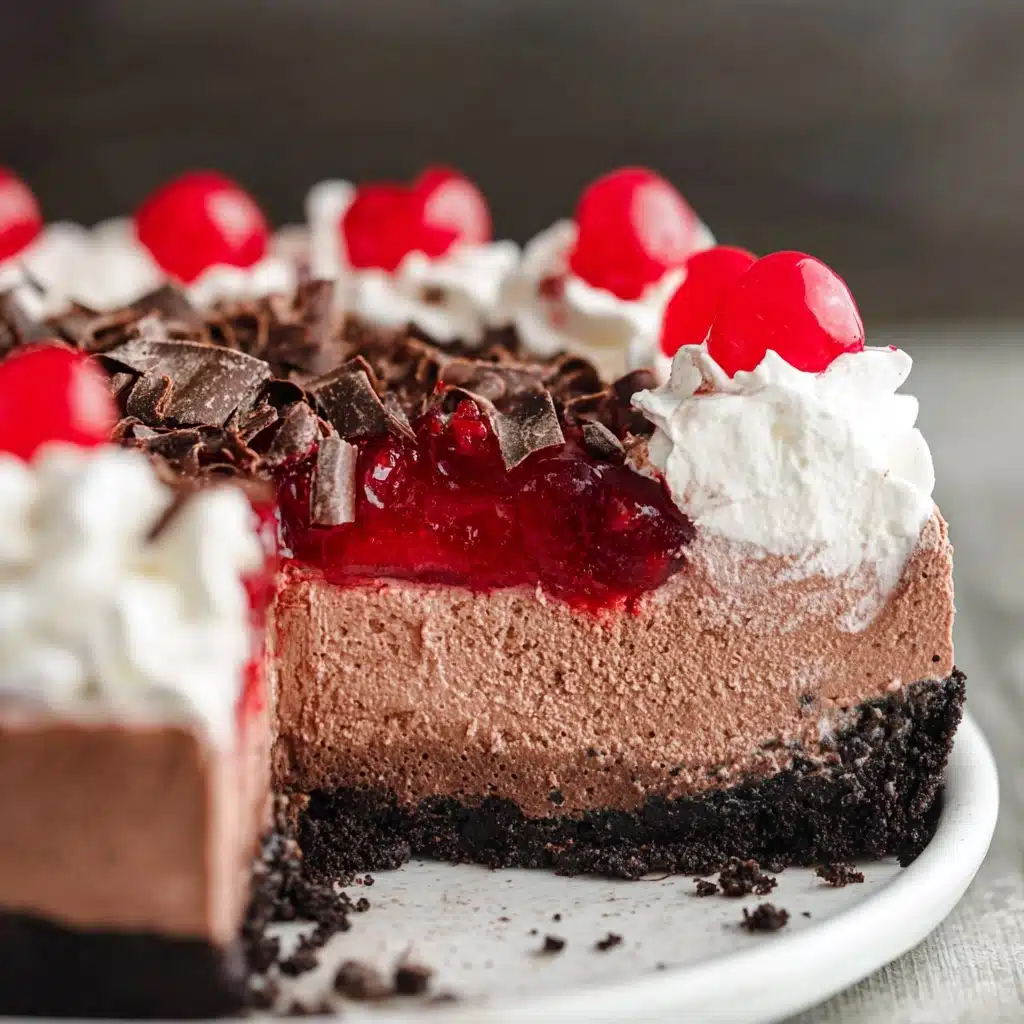
A No Bake Black Forest Cheesecake is a visual masterpiece before you even take a bite. For the ultimate finish, pile on fluffy swirls of whipped cream, add a generous spoonful of glossy cherry pie filling to the center, and top everything with delicate chocolate shavings. These touches make it look bakery-worthy and even more inviting at your table.
Side Dishes
Serve each slice with strong, freshly brewed coffee to offset the dessert’s richness, or try a simple glass of cold milk for a nostalgic treat. If you’re feeling fancy, a scoop of vanilla ice cream alongside adds an extra layer of creamy decadence. The cheesecake is a showstopper on its own, so keep sides simple and complementary.
Creative Ways to Present
Turn your No Bake Black Forest Cheesecake into mini desserts by assembling individual portions in mason jars or dessert glasses—perfect for parties or gatherings where everyone gets their own. You could also cut the cheesecake into bars for a picnic-style treat, or slice them into small cubes and serve as part of a dessert platter with fresh cherries and chocolates.
Make Ahead and Storage
Storing Leftovers
Place any leftover No Bake Black Forest Cheesecake in an airtight container or cover the pan tightly with plastic wrap. It will stay fresh in the refrigerator for up to five days, retaining its creamy texture and bold flavor. The crust may soften a touch, but the overall dessert remains utterly irresistible.
Freezing
If you want to plan ahead, you can freeze the cheesecake (without the toppings) tightly wrapped in both plastic wrap and aluminum foil, or in a freezer-safe container, for up to three months. Thaw overnight in the refrigerator, then add whipped cream, cherries, and chocolate shavings just before serving. Freezing helps maintain the structure and keeps it tasting fresh even if made well in advance.
Reheating
There’s no need to reheat a No Bake Black Forest Cheesecake, as it’s best enjoyed cold right out of the fridge. If slicing is tricky straight from the fridge, let the cake sit at room temperature for about 10 to 15 minutes to soften slightly. This little rest also helps the chocolate aroma bloom.
FAQs
Can I use homemade cherry pie filling instead?
Absolutely! Homemade cherry pie filling can make your No Bake Black Forest Cheesecake even more special and allows you to control the sweetness or tartness to taste. Just let it cool fully before folding it into the filling or topping the cheesecake.
Is there a substitute for Oreos in the crust?
Yes, you can swap in chocolate graham crackers or another chocolate cookie of your choice. Adjust the amount of butter if needed so your crust holds together nicely—you’re aiming for that wet sand texture as with the original recipe.
Can I make this cheesecake gluten-free?
Definitely! Simply use your favorite gluten-free chocolate sandwich cookies for the crust. Double-check that your other ingredients (especially cocoa and toppings) are certified gluten-free as well, and you’re set.
What’s the best way to get clean slices?
For picture-perfect slices, run a sharp knife under hot water, wipe it dry, and cut. Wipe the blade between each slice to keep edges tidy. This extra step really makes each piece look like it came from a bakery.
Can I prepare No Bake Black Forest Cheesecake ahead for a party?
Yes, it’s actually even better when made ahead! The flavors meld and the cheesecake sets to perfection. Just wait to add the whipped cream and cherry topping until just before serving so everything stays fresh and vibrant.
Final Thoughts
When you want an unforgettable dessert that looks as amazing as it tastes, this No Bake Black Forest Cheesecake delivers—without any hassle or oven required. It’s a pure celebration of chocolate and cherries, designed to make memories and moments extra sweet. Give it a try and watch it disappear one joyful bite at a time!
PrintNo Bake Black Forest Cheesecake Recipe
Indulge in the creamy and rich flavors of this no-bake Black Forest Cheesecake. With a luscious chocolate cheesecake filling on an Oreo crust, topped with cherry pie filling and whipped cream, this dessert is sure to delight your taste buds!
- Prep Time: 25 minutes
- Total Time: 4 hours 25 minutes
- Yield: 10 servings
- Category: Dessert
- Method: No-Bake
- Cuisine: American
- Diet: Vegetarian
Ingredients
Oreo Crust
- 32 Oreos, whole cookie including filling
- 4 tablespoons salted butter, melted
Chocolate Cheesecake
- 16 ounces cream cheese, room temperature
- ¾ cup granulated sugar
- ½ cup unsweetened cocoa powder
- 1 cup sour cream or plain Greek yogurt
- 1 cup cherry pie filling
- 8 ounces whipped topping, thawed
Toppings
- 1 cup whipped cream or whipped topping
- 1 cup cherry pie filling
Optional Garnish
- chocolate shavings
Instructions
- OREO Crust
Place Oreos in a food processor and pulse until small crumbs remain. Add melted butter and pulse until mixture resembles wet sand. Press into a springform pan and freeze.
- Cheesecake Filling
Beat cream cheese, sugar, and cocoa until fluffy. Add sour cream, then fold in cherry pie filling and whipped topping. Spread over crust and refrigerate.
- Serving Day
Pipe whipped cream swirls on the edge, spoon cherry pie filling in the middle, and garnish with chocolate shavings before serving.
Notes
- Make Ahead: Can be made up to 2 days in advance and stored covered in the fridge.
- Storing Leftovers: Store in an airtight container in the fridge for up to 5 days.
- Freezing: Freeze (without toppings) for up to 3 months; thaw in the fridge before serving.
Nutrition
- Serving Size: 1 slice
- Calories: 611 kcal
- Sugar: 39g
- Sodium: 361mg
- Fat: 37g
- Saturated Fat: 20g
- Trans Fat: 0.2g
- Carbohydrates: 68g
- Fiber: 3g
- Protein: 7g
- Cholesterol: 76mg

