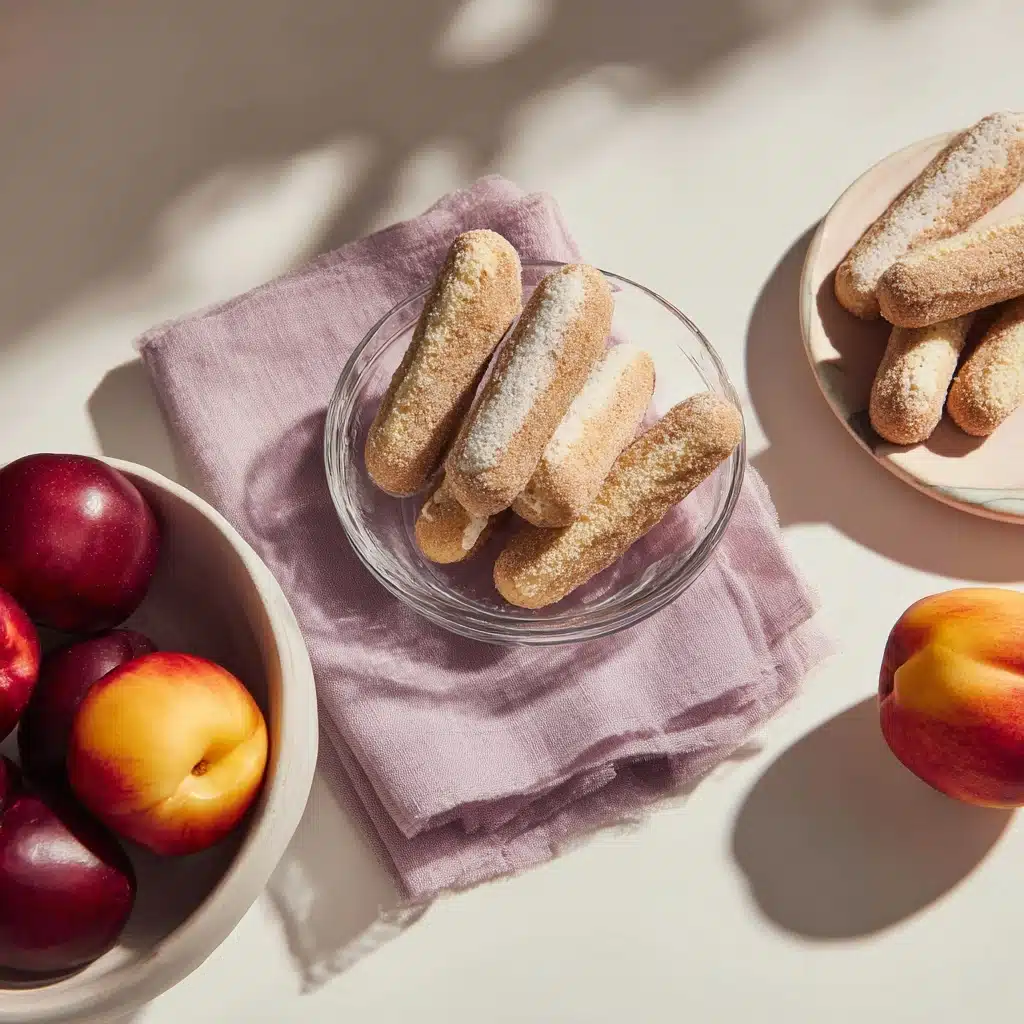
If you’ve ever dreamed of crafting the perfect Ladyfingers cookies at home, this is the recipe you need. With crisp, golden exteriors and cloud-like centers, these delicate Italian cookies are more than just a Tiramisu staple—they’re incredible with a cup of coffee or as a show-stopping treat on their own. Whip up a batch of Ladyfingers cookies and you’ll see why they’ve earned their place as a timeless classic in the world of desserts!
Ingredients You’ll Need
Simple, quality ingredients come together to create the magic in Ladyfingers cookies. Each one plays a starring role, bringing beautiful texture, subtle flavor, and irresistible aroma to this recipe. Don’t skip the details—each addition is carefully chosen for maximum effect!
- Eggs (3 large, free range): Eggs are the backbone, giving the cookies structure and an airy lift.
- Granulated sugar (2/3 cup): Sweetens the batter while helping to whip the eggs into luxuriously thick ribbons.
- Salt (pinch): Just a hint wakes up all the other flavors beautifully.
- Vanilla extract (1/4 tbsp): Adds gentle warmth and fragrance; real extract shines in this recipe.
- All-purpose flour (1 cup, sifted): The foundation for those signature, tender yet crisp cookies.
- Cornstarch (2 tbsp): Lightens the crumb and gives Ladyfingers cookies their signature airy snap.
- Lemon zest (1 tsp, optional): An optional (but delightful!) burst of brightness that elevates the flavor.
- Powdered sugar (for dusting): Adds that classic final touch and the prettiest look.
How to Make Ladyfingers cookies
Step 1: Prep Your Equipment
Begin by setting your kitchen up for success—move the oven rack to the middle and preheat to 350°F. Line two cookie sheets with baking paper so your cookies slide off easily and keep their shape. Prepare a large piping bag with a 1/2-inch round tip, standing it upright in a glass for easy filling later. Getting organized makes Ladyfingers cookies a breeze to bake!
Step 2: Separate the Eggs
Carefully separate the egg yolks and whites, placing yolks in a large bowl and whites in a stand mixer fitted with the whisk attachment. Ladyfingers cookies truly rely on perfectly whipped eggs for their airy crumb, so take your time during this step to avoid any yolk in your whites.
Step 3: Whip the Yolks with Sugar
Using a hand mixer, whip the egg yolks with half the granulated sugar until they’re pale and fluffy. This builds a rich, creamy base that will give the cookies their structure. Beat in the vanilla extract, and if you’re adding lemon zest, fold it in gently with a spatula for a hint of fresh zestiness.
Step 4: Beat the Egg Whites
In your stand mixer, whip the egg whites on medium-high speed until they become light and fluffy. Gradually pour in the remaining sugar while whisking—keep going until stiff peaks form. This is the secret to Ladyfingers cookies that puff up in the oven with that unmistakable airy crumb!
Step 5: Fold Everything Together
Using a silicone spatula, gently fold the whipped egg whites into the yolk mixture. Go slow and don’t over-mix; you want to preserve all that precious air you’ve whipped in. Combine the flour, cornstarch, and salt with a small whisk, then sift this mixture into the batter, folding gently to create a lump-free, light batter.
Step 6: Pipe and Shape the Cookies
Transfer your batter into the prepared piping bag. Pipe 3-inch long fingers onto the lined sheets, leaving about 1 inch between cookies. Hold the bag at an angle and release the pressure before lifting straight up at the end of each piped cookie—this gives Ladyfingers cookies their classic, uniform look.
Step 7: Dust and Bake
Dust the shaped cookies generously with powdered sugar, which creates a beautiful, crackly finish. Bake in your preheated oven for 12 to 15 minutes, or until they’re puffed up and just turning golden. Bake the second tray once the first is done for even cooking.
Step 8: Cool and Store
Allow the Ladyfingers cookies to cool completely on the baking sheets. They’ll crisp up as they rest, achieving that signature crackly surface. To preserve their perfect texture, transfer any you won’t use right away to an airtight container at room temperature—otherwise, they’ll soften fairly quickly in the open air.
How to Serve Ladyfingers cookies
Garnishes
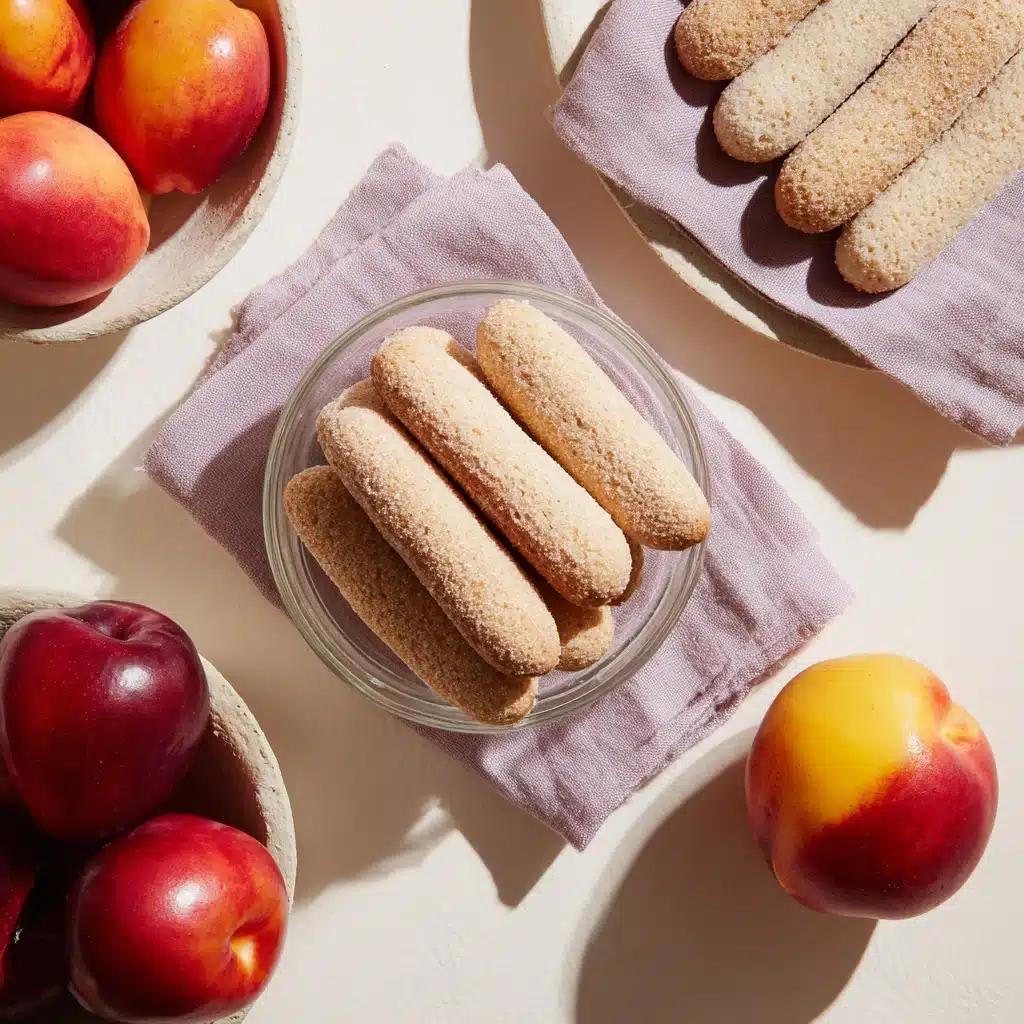
A light dusting of powdered sugar is a timeless classic, but for an extra pop, try dipping the ends in melted dark chocolate or garnish with a whisper of lemon zest. The elegance of Ladyfingers cookies makes even the simplest presentation look special!
Side Dishes
Serve your Ladyfingers cookies alongside a frothy cappuccino, a rich cup of hot chocolate, or a bowl of fresh berries. Their delicate sweetness makes them the perfect match for coffee and fruit alike, or you can sandwich them with mascarpone cream for a playful twist.
Creative Ways to Present
Get playful by layering Ladyfingers cookies in a dish with whipped cream and fruit for a rustic trifle, or stack them on an elegant platter for afternoon tea. Their light structure also makes them ideal for building festive dessert towers for celebrations.
Make Ahead and Storage
Storing Leftovers
If you don’t devour the entire batch immediately, keep leftover Ladyfingers cookies in an airtight container at room temperature. They’ll stay delightfully crisp for up to three weeks, making them the perfect make-ahead treat for busy weeks or sudden dessert cravings.
Freezing
Ladyfingers cookies freeze exceptionally well! Once fully cooled, arrange them in layers separated by parchment paper in a freezer-safe container. They’ll keep beautifully for up to two months and are ready to use (straight from the freezer) in Tiramisu or other no-bake desserts.
Reheating
If your Ladyfingers cookies have softened or you just want to refresh them, pop them in a low oven (about 275°F) for 5 to 6 minutes. They’ll crisp right back up as they cool, almost as if freshly baked.
FAQs
Why are my Ladyfingers cookies flat?
This is usually due to under-whipped egg whites or over-mixing the batter. For best results, make sure your egg whites are whipped to stiff, glossy peaks and fold everything together gently to keep as much air in the batter as possible.
Can I make Ladyfingers cookies without a piping bag?
Absolutely! You can snip the corner off a resealable plastic bag in a pinch or even shape them with two spoons, though you might lose some of their signature shape. A piping bag does make them look more uniform, but don’t let a lack of equipment stop you from homemade cookies!
What can I substitute for cornstarch?
If you’re out of cornstarch, potato starch is a good swap and will keep the cookies light. Avoid using extra flour, as it will make the cookies denser and less delicate.
Are Ladyfingers cookies gluten-free?
This classic recipe uses all-purpose flour, so it isn’t gluten-free. However, you can experiment with a high-quality gluten-free flour blend—just check for one that mimics the protein content of wheat flour for the best results.
How do I keep my Ladyfingers cookies crisp?
Store them in an airtight container as soon as they’ve cooled. If you live in a very humid area, try adding a silica gel packet (the kind made for food storage) to the container, as moisture in the air can soften the cookies quickly.
Final Thoughts
There’s something magical about pulling a tray of homemade Ladyfingers cookies from the oven—the scent, the delicate texture, and the endless dessert possibilities! Whether you’re building an impressive tiramisu or sharing them with friends over coffee, you’ll be so glad you tried this recipe. Give these classic cookies a whirl and watch them disappear in a flash!
PrintLadyfingers cookies Recipe
Learn how to make light, crisp, and airy ladyfinger cookies with this easy, no-fail recipe, perfect for creating the ultimate Tiramisu cake!
- Prep Time: 20 minutes
- Cook Time: 15 minutes
- Total Time: 35 minutes
- Yield: 30 cookies
- Category: Dessert
- Method: Baking
- Cuisine: Italian
- Diet: Vegetarian
Ingredients
Egg Mixture:
- 3 large eggs, free-range
- 2/3 cup granulated sugar
- Pinch of salt
- 1/4 tbsp vanilla extract
Flour Mixture:
- 1 cup all-purpose flour, sifted
- 2 tbsp cornstarch
- 1 tsp lemon zest (optional)
Additional:
- Powdered sugar for dusting
Instructions
- Preheat Oven: Adjust oven rack to the middle position and preheat to 350°F.
- Prepare Baking Sheets: Line two cookie sheets with baking paper.
- Prepare Piping Bag: Fit a large piping bag with a 1/2-inch round tip.
- Whip Egg Yolks: Whip egg yolks with half the sugar until pale and fluffy. Beat in vanilla extract.
- Add Lemon Zest: Fold in lemon zest using a silicone spatula.
- Whip Egg Whites: Whip egg whites until stiff peaks form.
- Combine Mixtures: Fold in whipped egg whites into the yolk mixture. Add flour mixture gradually.
- Pipe Cookies: Transfer batter to the piping bag and pipe fingers onto prepared sheets.
- Bake: Dust with powdered sugar and bake until puffed and golden, 12 to 15 minutes.
- Cool and Store: Cool cookies in the tray, then transfer to an airtight container.
Notes
- Ensure egg whites are whipped to stiff peaks for best results.
- Store cookies in an airtight container at room temperature for up to 3 weeks.
Nutrition
- Serving Size: 1 cookie
- Calories: 41 kcal
- Sugar: 4g
- Sodium: 6mg
- Fat: 0.5g
- Saturated Fat: 0.1g
- Unsaturated Fat: 0.3g
- Trans Fat: 0.002g
- Carbohydrates: 8g
- Fiber: 0.1g
- Protein: 1g
- Cholesterol: 16mg


