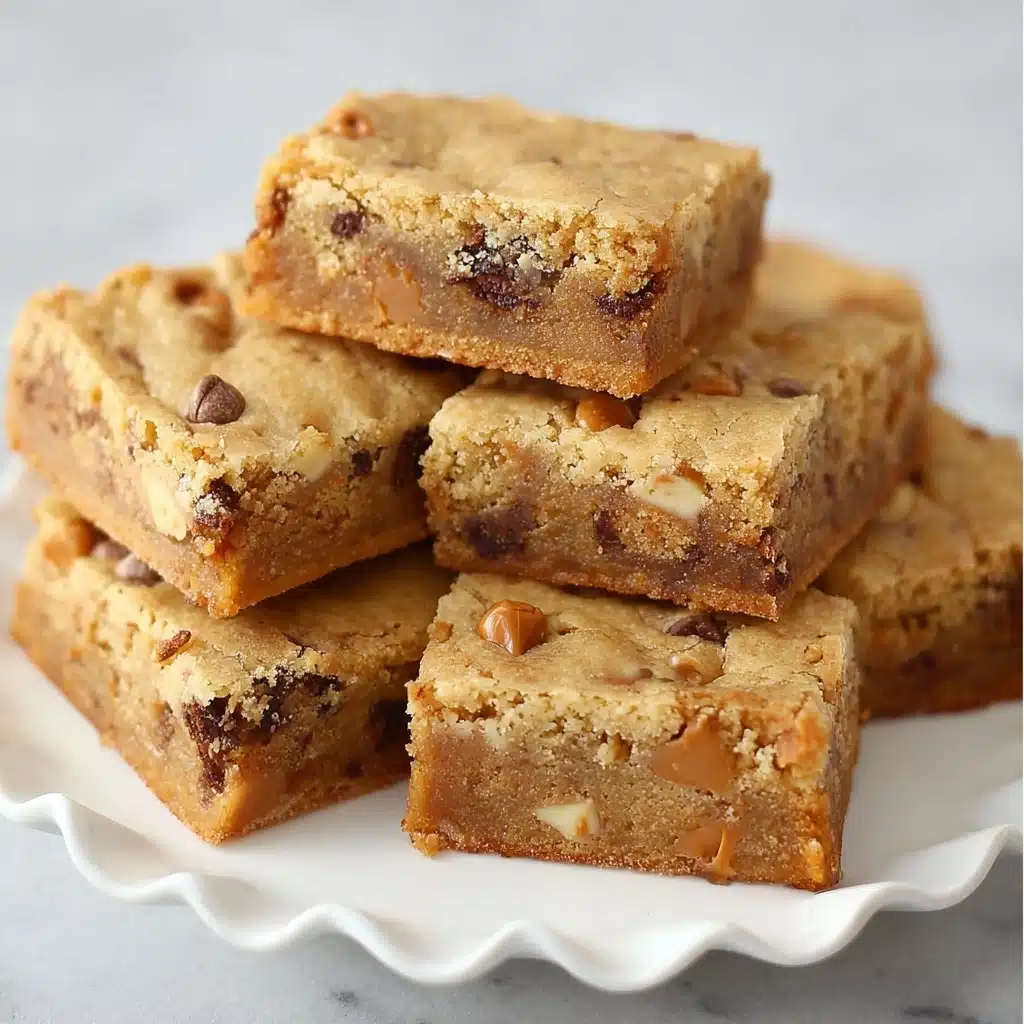
Imagine biting into a thick, chewy square filled with melty chocolate, toasted nuts, and sweet surprises in every bite — that’s the magic of Kitchen Sink Blondies. This recipe is a dessert lover’s dream, crafting a buttery blondie bar that’s loaded with whatever mix-ins your heart (or kitchen pantry) desires. Perfect for bake sales, potlucks, or spontaneous cravings, these bars are irresistibly golden and decadent, making them an instant favorite whether you stick with classics like walnuts and chocolate chips or toss in everything but the kitchen sink.
Ingredients You’ll Need
The best part about these Kitchen Sink Blondies is how their simple foundation lets you get creative with extras. Each ingredient plays a specific role, from building the rich, caramelized flavor to delivering that perfect chewy bite and golden top that makes these bars truly unforgettable.
- Granulated sugar: Adds sweetness and balances the deep notes from the brown sugar for that bakery-style finish.
- Brown sugar: Brings a wonderfully rich, caramel flavor and extra moisture, helping to keep the blondies chewy.
- Unsalted butter, melted: Gives the bars their irresistible richness and helps bind everything together.
- Eggs: Three eggs create structure and give the blondies a fudgy, dense texture — don’t skip any!
- Vanilla extract: A must for adding warm, aromatic depth to every single bite.
- Flour: The base of your blondies, creating their thick, sturdy form that can handle all those wonderful mix-ins.
- Baking powder: Just a touch helps lighten the bars so they don’t get too heavy or dense.
- Salt: Enhances all the flavors and keeps the sweetness in check; if you use salted butter, cut the added salt in half.
- Mixed chips (1 ½ cups): Go wild — chocolate chips, butterscotch, white chocolate, toffee bits, or whatever you have around will all shine here.
- Chopped nuts (1 cup): Walnuts, pecans, or even toasted coconut for crunch and flavor; toast them first for best results.
How to Make Kitchen Sink Blondies
Step 1: Prep Your Pan
Start by heating your oven to 325°F. Line a baking pan with parchment paper or foil, making sure some hangs over the sides for easy lifting later. Lightly butter any exposed parts of the pan. This step makes removing and cutting the bars a breeze — no fighting for clean slices!
Step 2: Toast Your Mix-ins (If Desired)
If you’re using nuts or coconut, chop and toast them for extra flavor. Spread them on a baking sheet and place in the oven to toast for 3 to 6 minutes, watching closely so they don’t burn. Toasting elevates the crunch and brings out delicious, nutty undertones.
Step 3: Blend the Wet Ingredients
In a large mixer, combine the granulated sugar, brown sugar, and warm melted butter. Mix until completely blended and smooth. Next, beat in the eggs one at a time, followed by the vanilla. This method ensures a truly rich and cohesive flavor base for your Kitchen Sink Blondies.
Step 4: Combine Dry Ingredients and Add Slowly
Whisk together the flour, baking powder, and salt in a separate bowl. With your mixer on low, gradually add the dry ingredients into the butter-sugar mixture. Stop as soon as the flour mixture is fully incorporated. This step ensures your blondies stay tender, not tough.
Step 5: Fold in the Mix-ins
Now comes the fun part: pour in your chips, nuts, coconut, or any other goodies you like. Mix just until evenly distributed. Don’t over-mix — you want pockets of chocolate, butterscotch, or crunch in every bite.
Step 6: Spread and Bake
Spoon the thick dough into your prepared pan, using an off-set spatula to level the surface. Bake for 35 to 40 minutes, until the top is golden and there’s no wet batter in the middle. The smell alone will have everyone wandering into the kitchen hoping for a taste.
Step 7: Cool Completely and Cut
Resist the urge to dive right in! Let your Kitchen Sink Blondies cool fully (at least 1 hour) before lifting them from the pan using the parchment edges. For ultra-neat slices, use a serrated knife and clean it between cuts. Patience pays off with perfectly chewy edges and gooey centers.
How to Serve Kitchen Sink Blondies
Garnishes
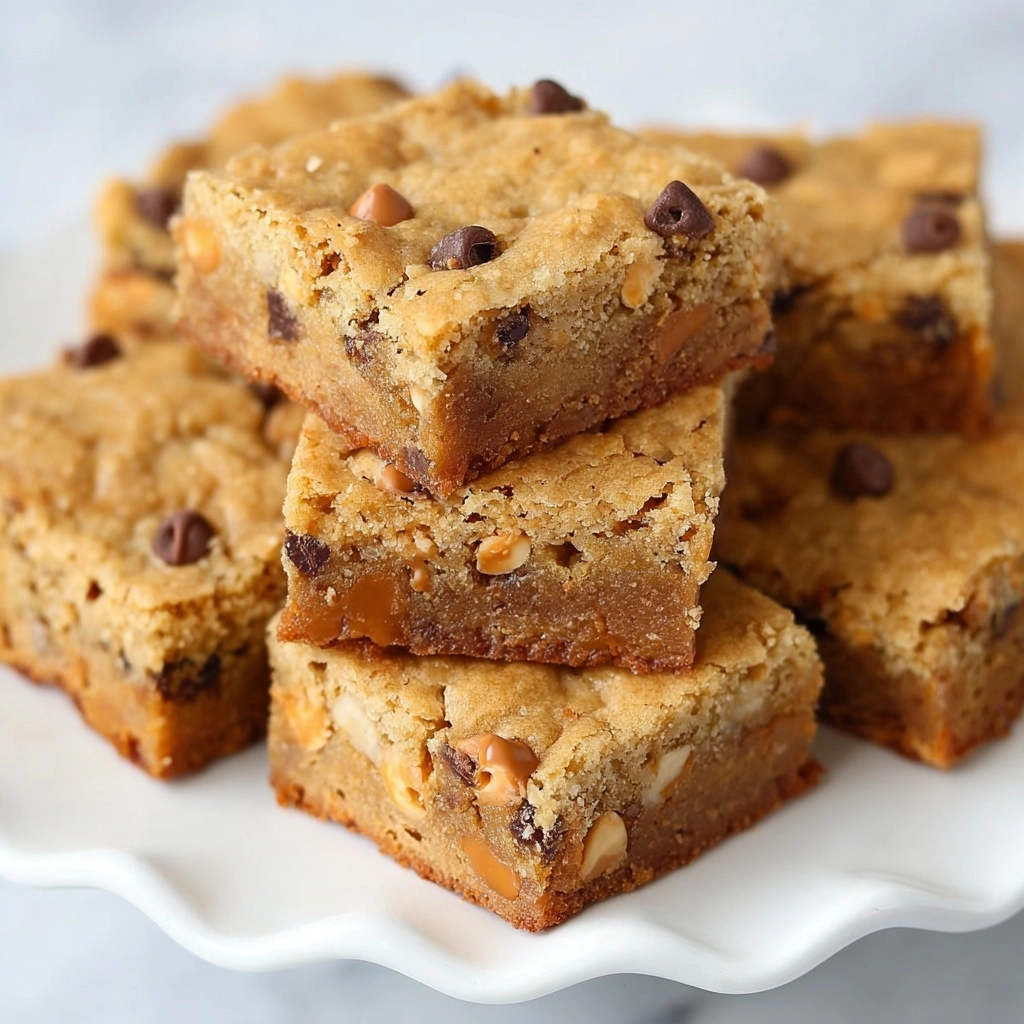
A little flourish goes a long way! Sprinkle flaky sea salt on top while the blondies are still warm for a sweet-salty crunch, dust with powdered sugar for a bakery-chic finish, or drizzle with melted white or dark chocolate for extra decadence.
Side Dishes
Kitchen Sink Blondies are delicious all on their own, but they pair perfectly with vanilla ice cream, fresh berries, or a latte on the side. For a more festive dessert table, serve alongside bowls of fresh fruit or a tangy lemon sorbet for contrast.
Creative Ways to Present
Cut your blondies into big squares for a classic look or slice into small bite-size rectangles for party trays. Layer pieces in mason jars with whipped cream and fruit for dessert parfaits, or wrap individually in pretty parchment for sweet, portable favors.
Make Ahead and Storage
Storing Leftovers
Keep your leftover Kitchen Sink Blondies fresh by storing them in an airtight container at room temperature for up to 4 days. To prevent dryness, place a slice of bread in the container — it’ll help maintain the gooey chewiness you love.
Freezing
To freeze, cool the blondies completely and cut into squares. Wrap each square tightly in plastic wrap, then place in a freezer-safe bag. They’ll stay delicious for up to 2 months — just allow them to thaw at room temperature before enjoying.
Reheating
If you crave a just-baked feel, pop your blondie in the microwave for 10-15 seconds. The chips get melty, the center turns gooey, and that warm-from-the-oven magic is back — just what you need with a scoop of ice cream!
FAQs
Can I use different types of mix-ins in my Kitchen Sink Blondies?
Absolutely! The beauty of Kitchen Sink Blondies is in the customization — mix in any combination of chocolate chips, nuts, dried fruits, coconut, or even candy-coated chocolates. Raid your pantry and have fun creating your own signature version.
Why do my blondies get tough instead of chewy?
The secret to ultra-chewy blondies is to avoid overmixing after you add the flour. Mix just until the dry ingredients disappear, and don’t skip the step of fully cooling before cutting, which sets the chewy texture.
Can I make Kitchen Sink Blondies gluten-free?
Yes! Swap in a good-quality 1-for-1 gluten-free flour blend in place of regular flour. Everything else stays the same, and you’ll still get thick, chewy bars everyone can enjoy.
What size baking pan works best?
A 9 x 13-inch baking pan is perfect for thick, bakery-style blondie bars. If you use a smaller pan, the bars will be even thicker and may need extra baking time. For thinner blondies, a larger pan works — just start checking doneness earlier.
Do Kitchen Sink Blondies need to be refrigerated?
No refrigeration is needed for these bars. Storing them at room temperature keeps them perfectly textured. Only refrigerate if you live in a particularly hot or humid climate, or if you want extra-set, firm squares.
Final Thoughts
If you’re looking for an easy, crowd-pleasing treat that lets your creativity (and sweet tooth) shine, give Kitchen Sink Blondies a try. Grab whatever chips, nuts, and goodies you have on hand, and whip up a batch — you’ll be hooked on their chewy, customizable charm from the very first bite!
PrintKitchen Sink Blondies Recipe
These Kitchen Sink Blondies are perfect for adding your choice of mix-ins! This recipe produces thick, chewy, flavorful Blondie Bars that are sure to be a hit with your family and friends.
- Prep Time: 20 minutes
- Cook Time: 40 minutes
- Total Time: 2 hours
- Yield: 24 bars
- Category: Dessert
- Method: Baking
- Cuisine: American
- Diet: Vegetarian
Ingredients
Main Ingredients:
- 1 cup granulated sugar
- 1 1/4 cups brown sugar
- 1 cup unsalted butter, melted
- 3 eggs
- 2 teaspoons vanilla extract
- 3 cups flour
- 2 teaspoons baking powder
- 1 teaspoon salt
Mix-Ins:
- 1 1/2 cups mixed chips (e.g., dark chocolate, mini chocolate, butterscotch, white chocolate, toffee bits)
- 1 cup chopped nuts (e.g., walnuts, toasted)
Instructions
- Preheat Oven: Preheat your oven to 325°F and line a baking pan with parchment or foil, leaving some paper hanging over the sides.
- Prepare Mix-Ins: If desired, chop and toast nuts and/or coconut in the oven until fragrant and golden.
- Mix Batter: In a large mixer, combine sugars, melted butter, eggs, and vanilla. In a separate bowl, whisk flour, baking powder, and salt. Slowly add flour mixture to the wet ingredients. Add mix-ins and blend.
- Bake: Spread dough in the pan and bake for 35-40 minutes until golden brown.
- Cool and Cut: Allow to cool fully before cutting into bars.
Notes
- Mix-ins: Feel free to customize the mix-ins to your preference.
- Patience Is Key: Ensure the bars are fully cooled before cutting for easier slicing.
- Salt Adjustment: Reduce salt if using salted butter.
- Butter Choice: Use a high-quality butter brand for best results.
Nutrition
- Serving Size: 1 bar
- Calories: 247 kcal
- Sugar: 21g
- Sodium: 145mg
- Fat: 12g
- Saturated Fat: 5g
- Unsaturated Fat: 7g
- Trans Fat: 0g
- Carbohydrates: 34g
- Fiber: 1g
- Protein: 3g
- Cholesterol: 41mg

