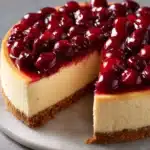
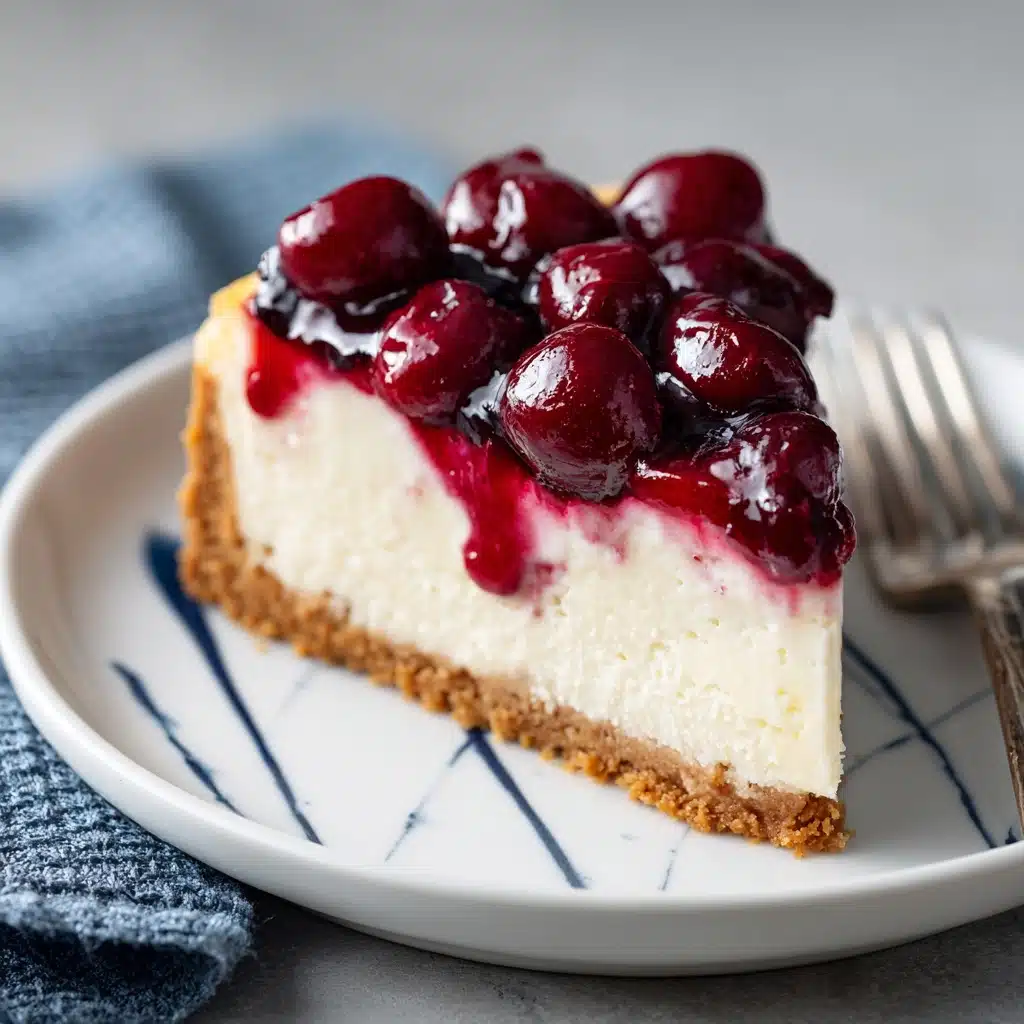
If there’s one dessert that has the power to instantly brighten up any table, it’s a Classic Cherry Cheesecake. This sweet treat marries a velvety, tangy filling with a buttery graham cracker crust and that glorious glossy cherry topping we all know and love. It’s the kind of nostalgic dessert that makes you think of family gatherings, special occasions, and maybe even a surprise visit from grandma herself. Whether you’re looking to impress guests or just craving the familiar comfort of a real classic, this recipe for Classic Cherry Cheesecake will be your new go-to.
Ingredients You’ll Need
Ingredients You’ll Need
Every layer of this cheesecake is pure magic, and it all starts with a handful of straightforward, essential ingredients. Each one plays an important role in creating the taste, texture, and color that makes Classic Cherry Cheesecake absolutely irresistible.
- Graham crackers: The foundation of your cheesecake! These add crunch and their slightly sweet flavor balances the tangy filling.
- Unsalted butter: This binds the crust and enriches both the crust and filling with creamy, decadent flavor.
- Granulated sugar: Sweetens every layer, enhancing the tart cherries and smoothing out the tang of the cream cheese.
- Cream cheese: The star of the show, it brings that luscious, airy texture and signature tang you want in a Classic Cherry Cheesecake.
- Sour cream: Adds extra silkiness and a hint of tang, making the filling irresistible.
- Cornstarch: Essential for stabilizing both the filling and the cherry topping so every slice comes out beautifully.
- Vanilla extract: Rounds out the flavors and adds lovely aromatic warmth.
- Fresh lemon juice: Brightens up the rich filling and gives the cherry topping an extra punch of fresh flavor.
- Eggs: Give the cheesecake its structure while contributing to a rich, custardy texture.
- Canned tart cherries: Brings that deep ruby color and the perfect blend of sweet and sour for the topping.
How to Make Classic Cherry Cheesecake
Step 1: Prepare the Crust
Start by heating your oven to 350°F and lining the bottom of a 10-inch springform pan with parchment paper—a essential step for easy release later. In a medium bowl, mix your crushed graham crackers, melted butter, and sugar together until the crumbs are evenly moistened. Press the mixture firmly into the bottom of your prepared pan, making sure to create an even layer for a sturdy base. Bake the crust for 9 minutes until it’s just turning golden and aromatic, then set it aside to cool. Turn up your oven to 375°F in preparation for the next step.
Step 2: Make the Creamy Filling
This is where the magic happens! With a stand mixer fitted with a paddle attachment—or an electric hand mixer in a pinch—beat the cream cheese on medium speed until whipped and super fluffy. Next, add in the sour cream, butter, cornstarch, vanilla, lemon juice, and sugar. Beat until everything is luxuriously smooth and completely combined, making sure there are no lumps. Now, add the eggs one at a time, mixing well after each addition so the filling stays silky and bakes evenly.
Step 3: Prepare the Pan and Water Bath
Grease the sides of your springform pan with a bit of butter—this helps prevent sticking when you unmold the cake. To avoid water sneaking into your cheesecake, double-wrap the pan’s base with aluminum foil. Then, place the pan into a large roasting pan to create a water bath, which will help the Classic Cherry Cheesecake bake up creamy, without cracks.
Step 4: Bake the Cheesecake
Pour your gorgeous cheesecake filling onto the cooled crust. Carefully add about 6 cups of boiling water to the roasting pan (taking care not to let any water breach your foil barrier). Bake the cheesecake for 1 hour, until the edges are set but the center still has a slight, irresistible jiggle.
Step 5: Cool and Chill
This is the hardest part: patience! Remove the cheesecake from the water bath and allow it to cool on the countertop for a good 3 hours. Then transfer it to the fridge for at least 6 hours (overnight is even better). This resting time is what gives you that velvety, classic texture.
Step 6: Make the Cherry Topping
Now for the crowning glory. Drain your tart cherries, reserving their lovely juice in a small bowl. In a saucepan, stir the juice together with granulated sugar and cornstarch, and bring to a boil. Cook for about 2 minutes, stirring often—the mixture should thicken to a rich syrup. Turn off the heat, stir in your lemon juice and cherries, and let the topping cool a bit before spreading it generously over your chilled cheesecake.
Step 7: Final Chill and Serve
Return your masterpiece to the fridge for at least 2 hours before serving. This last bit of chilling helps the topping set and brings all the layers together in perfect harmony. When it’s time to serve, unlatch your springform pan, slice into luscious wedges, and admire every dreamy bite of your Classic Cherry Cheesecake.
How to Serve Classic Cherry Cheesecake
Garnishes
Sometimes a slice of Classic Cherry Cheesecake is perfect as is, but a few extra garnishes can truly make it shine. Try a swirl of freshly whipped cream, a handful of toasted sliced almonds for crunch, or even a light dusting of powdered sugar to add a touch of elegance. Lemon zest or a sprig of mint can also perk up each plate with color and fresh aroma.
Side Dishes
Since this dessert is so rich and decadent, simple sides work best. Think fresh berries, a scoop of vanilla bean ice cream, or even a cup of strong coffee. These pairings help brighten the palate and finish your meal on the sweetest note.
Creative Ways to Present
Classic Cherry Cheesecake is already a showstopper, but you can get creative by serving it in individual mason jars for picnics or parties. Try layering bite-size cubes in parfait glasses with extra cherry sauce and a sprinkle of crushed graham crackers. Or, for a stunning centerpiece, adorn the top with extra mounds of fresh cherries and edible flowers for that wow-factor presentation.
Make Ahead and Storage
Storing Leftovers
Any leftover Classic Cherry Cheesecake can be stored right in the fridge for up to five days. Make sure to cover it tightly with plastic wrap or aluminum foil to keep it fresh and prevent it from absorbing other flavors from your fridge. Individual slices can also be stored in airtight containers for easy grab-and-go treats.
Freezing
For longer storage, you can freeze cheesecake slices or even the whole cake (without the cherry topping, for best texture). Wrap the cake securely in plastic wrap and a layer of foil, then freeze for up to three months. Thaw the cheesecake overnight in the refrigerator before adding the cherry topping and serving.
Reheating
Cheesecake is best enjoyed chilled or at room temperature rather than heated, so no need to reheat it like a traditional cake. If you’ve frozen your Classic Cherry Cheesecake, give it plenty of time to thaw in the fridge before serving. A brief sit at room temperature (about 20 minutes) before serving can help bring out the texture and flavors.
FAQs
Can I use fresh cherries instead of canned tart cherries?
Absolutely! If using fresh cherries, you’ll want to pit them and cook them with a bit of sugar and lemon juice to create a similar sweetness and syrupy consistency. Fresh cherries make the topping exceptionally vibrant and special during their peak season.
What’s the best way to prevent cracks in my Classic Cherry Cheesecake?
Baking the cheesecake in a water bath helps it cook gently and evenly, which really minimizes cracking. Don’t skip the gradual cooling period, and avoid opening the oven door during baking—both help maintain that smooth, picture-perfect top.
Can I make Classic Cherry Cheesecake ahead of time for a party?
Yes, Classic Cherry Cheesecake is an ideal make-ahead dessert. You can prepare it one or two days before serving and keep it covered in the fridge. Add the cherry topping just before your event for the best texture and presentation.
Is it possible to make this recipe gluten-free?
Definitely! Simply substitute gluten-free graham crackers in the crust. Test your favorite brand to make sure it holds together when mixed with butter, and you’ll still get that satisfying crunch.
Why do the ingredients need to be at room temperature?
Room temperature ingredients blend together much more easily and smoothly, helping you achieve that signature creamy texture in your Classic Cherry Cheesecake without lumps.
Final Thoughts
If you’ve ever wanted to recreate a dessert that sparks joy and nostalgia in every bite, this Classic Cherry Cheesecake checks every box. It’s the perfect combination of simple ingredients, straightforward steps, and spectacular results. Give it a try, share with friends and family, and watch it become your new favorite tradition!
PrintClassic Cherry Cheesecake Recipe
Indulge in the creamy and tangy delight of this Classic Cherry Cheesecake. A perfect blend of sweet cherries atop a rich, velvety filling, encased in a golden graham cracker crust.
- Prep Time: 30 minutes
- Cook Time: 1 hour
- Total Time: 12 hours, 35 minutes
- Yield: 8-10 servings
- Category: Dessert
- Method: Baking
- Cuisine: American
- Diet: Vegetarian
Ingredients
For the Crust:
- 1 1/2 cups crushed graham crackers (10 crackers, about 5 ounces)
- 1/3 cup unsalted butter, melted
- 1/3 cup granulated sugar
For the Filling:
- 4 8-ounce packages cream cheese, room temperature
- 16 ounces sour cream, room temperature
- 8 tablespoons unsalted butter, room temperature
- 2 tablespoons cornstarch
- 1 teaspoon vanilla extract
- 1 teaspoon fresh lemon juice
- 1 1/2 cups granulated sugar
- 5 large eggs, room temperature
For the Topping:
- 1 14.5-ounce can pitted tart cherries
- 1/2 cup granulated sugar
- 2 tablespoons cornstarch
- 1 teaspoon fresh lemon juice
Instructions
- Preheat the Oven: Preheat oven to 350°F. Line the bottom of a 10-inch springform pan with parchment paper.
- Prepare Crust: Combine crust ingredients, press into pan, and bake for 9 minutes. Set aside to cool.
- Make Filling: Beat cream cheese, sour cream, butter, cornstarch, vanilla, lemon juice, and sugar. Add eggs one at a time.
- Assemble Cheesecake: Grease pan, wrap base with foil, place in a roasting pan, pour in filling, and bake in a water bath.
- Cool and Chill: Cool, then refrigerate the cheesecake for 6 hours.
- Prepare Topping: Cook cherry juice, sugar, and cornstarch until thickened. Stir in lemon juice and cherries. Spread over filling.
- Chill and Serve: Chill for at least 2 hours before slicing and serving.
Notes
- For best results, bring all ingredients to room temperature before starting.
- Ensure the water bath doesn’t leak into the springform pan while baking.
- You can customize the topping with other fruits or sauces.
Nutrition
- Serving Size: 1 slice
- Calories: 450
- Sugar: 30g
- Sodium: 350mg
- Fat: 28g
- Saturated Fat: 16g
- Unsaturated Fat: 9g
- Trans Fat: 0g
- Carbohydrates: 42g
- Fiber: 1g
- Protein: 8g
- Cholesterol: 150mg

