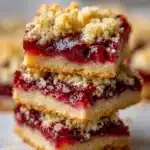
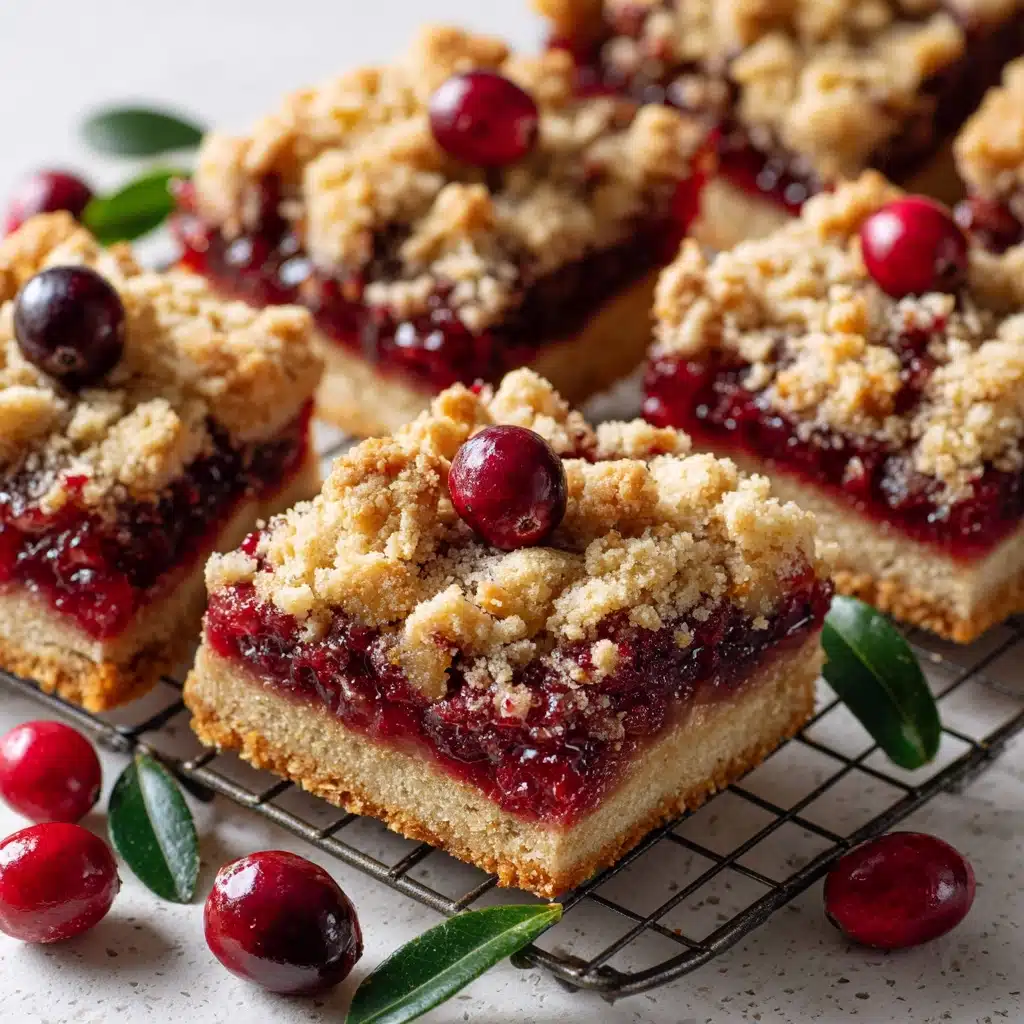
If you’re searching for a dessert that absolutely screams “summer,” look no further than this Cherry Pie Crumb Bars Recipe. Imagine buttery, golden crumbs hugging a layer of fresh, juicy cherries, all transformed into simple, hand-held bars that burst with charming old-fashioned flavor. With a crisp top, a soft base, and that luscious fruit filling, these bars are irresistible for potlucks, picnics, or those cozy moments when you crave a taste of pure cherry bliss.
Ingredients You’ll Need
Every ingredient in this Cherry Pie Crumb Bars Recipe works a little magic—some lend melt-in-your-mouth texture, some give that signature tang, and others amp up the color and aroma. Most are pantry staples, making it shockingly easy to whip up a batch whenever cherry cravings strike!
- Unsalted butter (½ cup, melted): Delivers rich flavor and keeps the crumb topping tender without being greasy.
- Granulated sugar (½ cup + 1 teaspoon): Sweetens both the crust and the cherry filling, with a final sprinkle for sparkling golden tops.
- All-purpose flour (1½ cups): The backbone of your crumb base and topping, ensuring stability with every bite.
- Baking soda (½ teaspoon): Adds just a hint of lift, so your bars aren’t too dense.
- Baking powder (½ teaspoon): Works alongside baking soda for a slightly softer bite.
- Salt (¼ teaspoon): Intensifies all the sweet, fruity, buttery flavors.
- Fresh cherries (2 cups, pitted and halved): The star! Use sweet cherries for best results—the fresher, the juicier the filling.
- Cornstarch (1 tablespoon): Thickens the cherry filling so it stays beautifully nestled between the crumb layers.
- Lemon juice (1 tablespoon): Lifts the cherry flavor, adding sparkle and balancing sweetness.
How to Make Cherry Pie Crumb Bars Recipe
Step 1: Prep Your Pan
Preheat your oven to 375℉. Line an 8-inch square baking pan with parchment paper—let the paper hang over the sides for easy bar removal later. Butter every inch, sides and bottom, to guarantee those bars pop out without sticking.
Step 2: Mix the Cherry Filling
In a medium mixing bowl, gently stir together the fresh cherries, cornstarch, and lemon juice. This combo turns sweet cherries into a pie-like filling that thickens just enough as it bakes, oozing fruity goodness without sogginess.
Step 3: Make the Crumb Mixture
Grab a large mixing bowl. Stir together the melted butter and ½ cup sugar until smooth and glossy. Add your flour, baking soda, baking powder, and salt. Use a fork (or even your hands—get in there!) to mix until the dough forms moist, sandy crumbs that hold together when squeezed.
Step 4: Press the Base
Scoop out and reserve ¾ cup of the crumb mixture for the topping. Firmly press the rest of the crumble into the base of your prepared pan. You want it compact but not too dense—just enough to form a sturdy, buttery crust.
Step 5: Add the Filling and Top
Spoon the cherry mixture over your crust, spreading it evenly all the way to the edges. Use clean fingertips to sprinkle the reserved crumb mixture over the cherry layer—a little patchy is perfect, letting those ruby-red cherries peek through. Scatter 1 teaspoon of sugar across the top for a touch of sparkle and crunch.
Step 6: Bake to Perfection
Slide your pan into the oven and bake for 23 to 25 minutes. Watch for the crumb topping to turn a perfect golden brown and the cherry filling to bubble around the edges. Let the bars cool completely in the pan to set those layers before cutting.
How to Serve Cherry Pie Crumb Bars Recipe
Garnishes
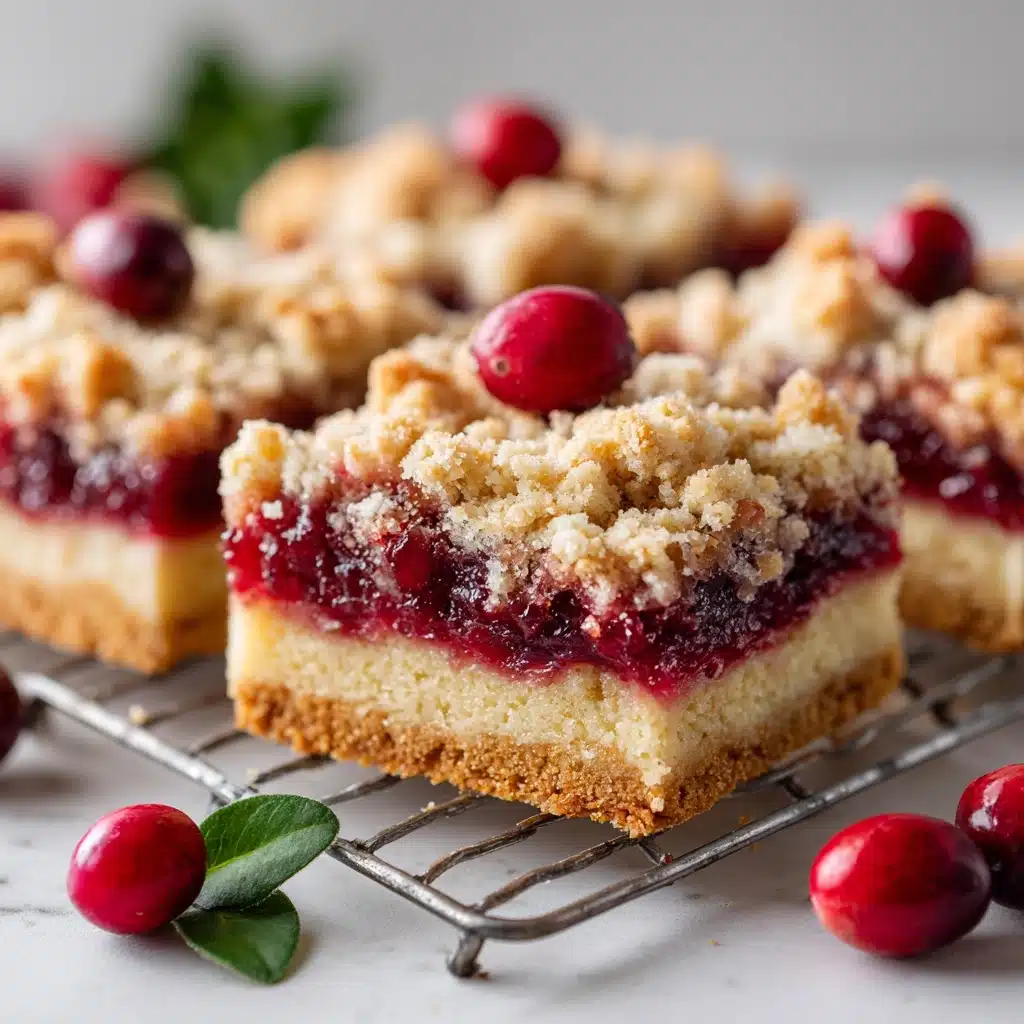
After cutting your Cherry Pie Crumb Bars Recipe into neat squares, dress them up with a light dusting of powdered sugar or an artful drizzle of vanilla glaze. A scoop of vanilla ice cream on the side is always a welcome touch for those who love creamy, cold contrasts!
Side Dishes
Pair these bars with a mug of strong coffee or a glass of iced tea for a classic afternoon treat. If serving for a special brunch, they look gorgeous alongside an assortment of fresh berries or a dollop of lightly sweetened whipped cream.
Creative Ways to Present
For picnics, stack the bars in a parchment-lined basket and tie with twine for a rustic, homespun look. At parties, serve each bar in a decorative cupcake liner. Or, for a fancy twist, slice the bars into triangles and arrange in a pretty fan on a dessert platter.
Make Ahead and Storage
Storing Leftovers
Once baked and cooled, keep your Cherry Pie Crumb Bars Recipe fresh by refrigerating them in an airtight container. They’ll taste just as delicious for up to three days, with the flavors mingling beautifully as they set.
Freezing
Want to save some summer for later? Place fully cooled bars between layers of parchment in a freezer-safe container. Freeze for up to two months! Thaw overnight in the fridge or for an hour at room temperature before serving.
Reheating
If you like your bars a little warm, simply pop one (or more!) in the microwave for 10–15 seconds or in a low oven for a few minutes. This brings back that “just-baked” aroma and softens everything up beautifully.
FAQs
Can I use frozen cherries instead of fresh?
Absolutely! Just thaw and drain the frozen cherries well before using. You may want to increase the cornstarch by an extra ½ tablespoon to account for extra liquid.
What’s the best way to pit fresh cherries?
If you don’t have a cherry pitter, use a sturdy straw or a chopstick to poke the pit out. It’s a bit messy but works like a charm and kids love to help!
Can I double the Cherry Pie Crumb Bars Recipe for a crowd?
Yes, simply double all the ingredients and use a 9×13-inch pan. The bars may need 5–10 more minutes in the oven—check for a golden top and bubbling edges.
Could I substitute other fruits in this recipe?
Definitely! Blueberries, raspberries, or even diced peaches work nicely—just use the same measurements and add a spoonful more cornstarch if your fruit is extra juicy.
How do I get clean slices when cutting?
Wait until the bars are completely cooled (even chilled for an hour, if you’re patient) and use a sharp knife, cleaning the blade between cuts for picture-perfect squares.
Final Thoughts
This Cherry Pie Crumb Bars Recipe is one of those treats you’ll find yourself making over and over, whether cherries are in season or you’re simply craving something sweet and homemade. The ease, the flavor, the nostalgia—what’s not to love? Go on, give these bars a try and let a burst of cherry happiness brighten your day!
PrintCherry Pie Crumb Bars Recipe
Cherry Pie Crumb Bars are quick and easy crumb bars with a fresh cherry filling. The buttery crumb topping and sweet fruit filling make this a perfect summer dessert.
- Prep Time: 10 minutes
- Cook Time: 23 minutes
- Total Time: 33 minutes
- Yield: 9 bars
- Category: Dessert
- Method: Baking
- Cuisine: American
- Diet: Vegetarian
Ingredients
For the Crust and Topping:
- ½ cup unsalted butter, melted and cooled to room temperature
- ½ cup granulated sugar
- 1 ½ cup all-purpose flour
- ½ teaspoon baking soda
- ½ teaspoon baking powder
- ¼ teaspoon salt
For the Cherry Filling:
- 2 cups fresh cherries, pitted and sliced in half
- 1 Tablespoon cornstarch
- 1 Tablespoon lemon juice
- 1 teaspoon granulated sugar
Instructions
- Preheat oven to 375℉. Line a square 8″ baking pan with parchment paper and butter the sides and bottom. Set aside.
- In a medium bowl, combine cherries, cornstarch, and lemon juice.
- In a large bowl, mix melted butter and sugar, then add flour, baking soda, baking powder, and salt to form crumbs.
- Reserve ¾ cup of the mixture, press the rest into the pan, top with cherry filling, remaining crumbs, and sprinkle with sugar.
- Bake for 23-25 minutes until golden. Cool before cutting.
Notes
- Refrigerate leftovers for up to 3 days.
- Makes 9 bars.
Nutrition
- Serving Size: 1 bar
- Calories: 234 kcal
- Sugar: 15g
- Sodium: 136mg
- Fat: 10g
- Saturated Fat: 6g
- Unsaturated Fat: 4g
- Trans Fat: 0g
- Carbohydrates: 33g
- Fiber: 1g
- Protein: 2g
- Cholesterol: 27mg

