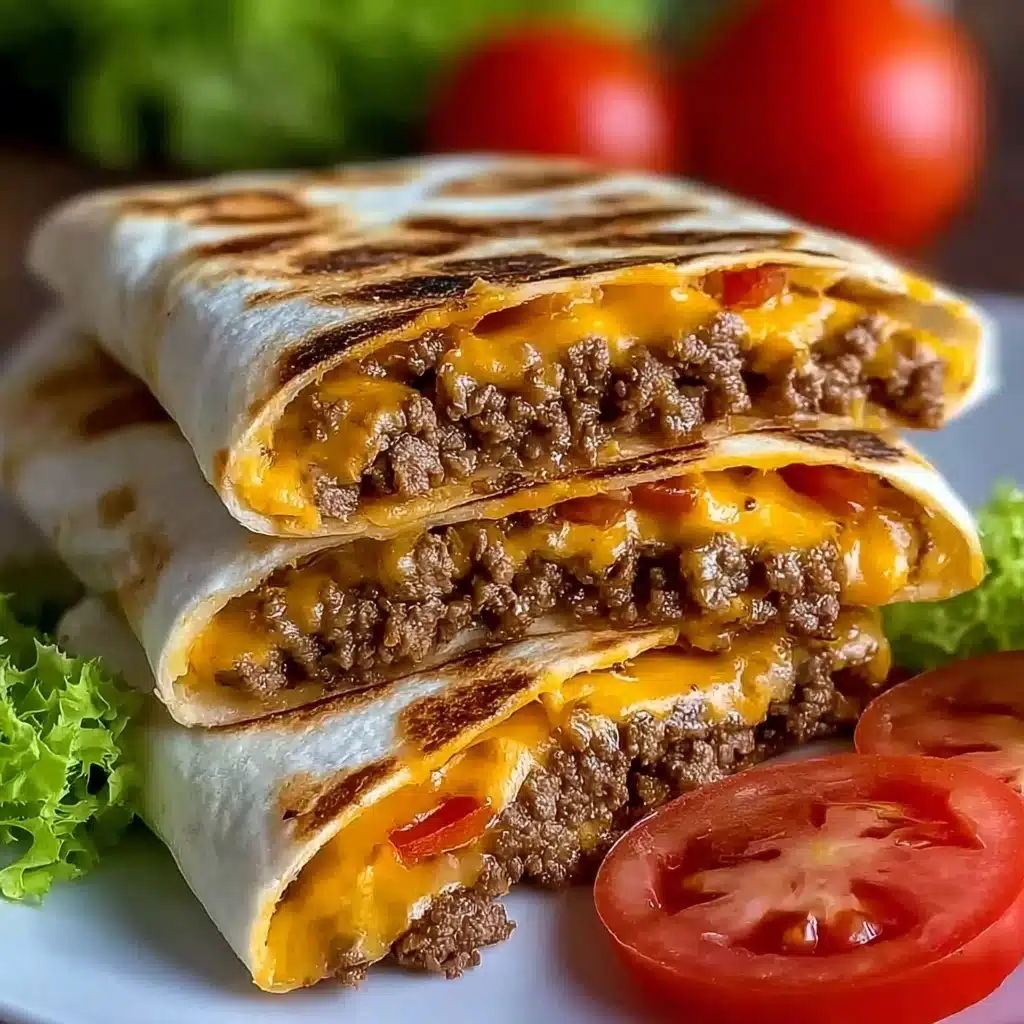
If you’re looking for the ultimate mashup of classic backyard flavors and handheld convenience, Backyard Burger Bliss: Grilled Cheeseburger Wraps are about to become your new obsession. Imagine juicy, perfectly seasoned beef, gooey cheese, and all the fixings snuggled into a warm, grilled tortilla—absolutely irresistible! Whether you’re hosting a casual cookout, packing a picnic, or hunting for a quick weeknight dinner, this fun twist on the cheeseburger is a guaranteed crowd-pleaser that brings the spirit of backyard grilling right into your hands.
Ingredients You’ll Need
One of the best parts about Backyard Burger Bliss: Grilled Cheeseburger Wraps is how the bold flavors come from humble, everyday ingredients. Every item on this list brings something special, whether it’s savory beef, melty cheese, or those pops of color and crunch from fresh toppings.
- Lean ground beef: Opt for 85-90% lean for the perfect ratio of flavor and tenderness without too much grease.
- Worcestershire sauce: Just a splash infuses the beef with that signature smoky, savory note all great burgers need.
- Ketchup: Adds a subtle sweetness and iconic burger tang to the filling.
- Salt and pepper: The classic seasoning duo to enhance every bite.
- Dried minced onion: Delivers a punchy onion flavor that blends seamlessly into the beef.
- Large flour tortillas: Choose the biggest, sturdiest you can find for easy wrapping and to hold in all the goodness.
- Shredded cheddar cheese: Melts into gooey perfection, or swap in your favorite cheese for a personal touch.
- Mustard (optional): For those craving an extra zing—spread on the tortilla for tangy depth.
- Tomato slices: Bring juiciness and vibrant color to every bite.
- Lettuce (get creative!): Adds crunch; feel free to pile on pickles, onions, avocado, or any burger favorites.
How to Make Backyard Burger Bliss: Grilled Cheeseburger Wraps
Step 1: Mix Up the Burger Magic
Start by making a flavorful beef mixture that’s the foundation of these unforgettable wraps. In a large bowl, combine your ground beef with Worcestershire sauce, ketchup, dried minced onion, plus salt and pepper. Mixing by hand ensures every morsel of meat gets an even dose of that rich, savory goodness—don’t rush this step, it’s worth the effort!
Step 2: Fire Up the Flavor!
With your beef mixture ready, preheat your grill to medium-high. Form the seasoned beef into patties slightly larger than your tortillas; they’ll shrink just a tad as they cook. Grill each patty for 3-4 minutes per side, or until they’re just how you like them. That hot grill gives your burgers those tantalizing, smoky notes that make Backyard Burger Bliss: Grilled Cheeseburger Wraps so reminiscent of classic outdoor cookouts.
Step 3: Warm Those Wraps
While the burgers are doin’ their thing, it’s time to make your tortillas warm and soft. Place each tortilla directly on the grill for just a few seconds per side, until they’re pliable and just starting to get those beautiful grill lines. No grill? No worries—just use a skillet for about 30 seconds per side. Soft tortillas make for easy and tear-free wrapping.
Step 4: Wrap It Up Right
Now the fun part! Take a warm tortilla and, if you love a little extra zing, spread on some mustard. Sprinkle on a hearty amount of shredded cheese (don’t be shy—it’s what makes every bite blissful). Add a grilled burger patty, then layer on juicy tomato slices and some crisp lettuce. This is the time to freestyle: extra pickles, onions, or avocado slices? Go for it! Each wrap can be as unique as its eater.
Step 5: The Grand Finale
To seal the deal, fold the bottom of the tortilla over the generous filling, tuck in the sides, and roll it up tight. Gently press down as you fold—the goal is a secure, tidy wrap that holds in every bit of that Backyard Burger Bliss. Repeat with your remaining tortillas and ingredients, assembling a batch of wraps ready to wow a hungry crowd.
Step 6: Ready to Devour
The only thing left to do? Sink your teeth into these piping-hot, melty, flavor-packed wraps. They’re juicy, handheld, and absolutely fuss-free—perfect for dinner, parties, or game day spreads.
How to Serve Backyard Burger Bliss: Grilled Cheeseburger Wraps
Garnishes
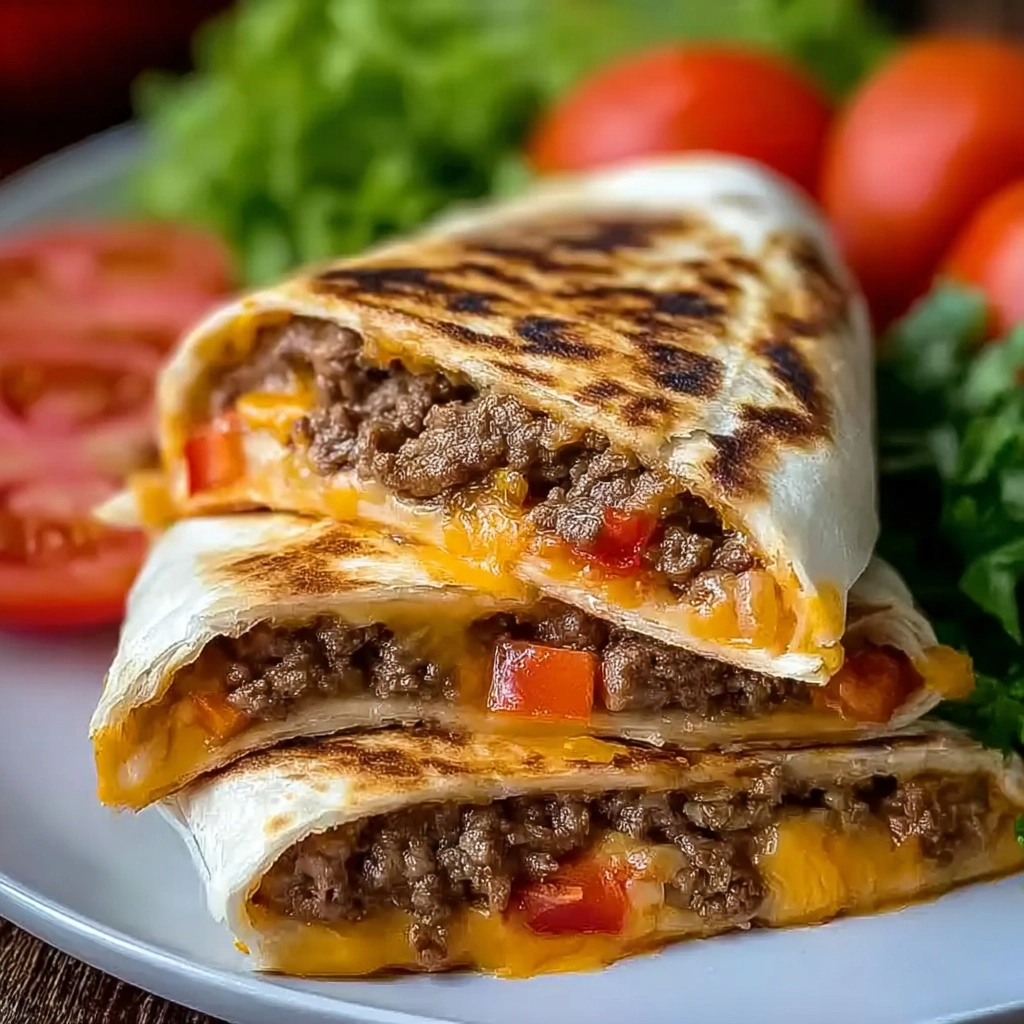
Top your wraps with a flourish of extra cheese, a few slices of crispy dill pickle, or a sprinkle of sesame seeds for that true “burger bun” vibe. A fresh crack of black pepper or a zigzag of ketchup and mustard on top can make them really pop—easy upgrades with major pay-off.
Side Dishes
Serve Backyard Burger Bliss: Grilled Cheeseburger Wraps with a big bowl of crunchy potato chips, classic fries, or a colorful side salad. A backyard favorite like corn on the cob or some tangy coleslaw makes the meal even more vibrant and fun, and keeps the picnic spirit alive.
Creative Ways to Present
Cut the wraps in half and stand them upright on a platter for a party-friendly display—perfect for serving a crowd. You can even assemble a DIY wrap bar with all the toppings and sauces, so everyone can craft their own personalized wrap. It’s a surefire way to make dinner interactive and extra memorable.
Make Ahead and Storage
Storing Leftovers
If you have extra wraps, let them cool to room temperature first. Wrap tightly in foil or plastic wrap and store in the fridge for up to 2 days. This way, the beef stays juicy and the cheese retains its melty magic, making it almost as good as fresh.
Freezing
Backyard Burger Bliss: Grilled Cheeseburger Wraps are freezer-friendly! Just wrap each cooled wrap individually in foil, then pop them in a freezer bag. They’ll keep in the freezer for up to one month. Perfect for those nights when you want an instant, grill-inspired meal.
Reheating
For best results, reheat wraps in a 350°F oven (wrapped in foil) for about 15 minutes, or until hot through. If you’re short on time, unwrap and microwave in 30-second bursts until warmed. The oven version keeps the tortilla slightly crispy and reminiscent of fresh-off-the-grill texture.
FAQs
Can I make these wraps without a grill?
Absolutely! A hot skillet or grill pan indoors will sear the patties beautifully and still deliver plenty of that classic burger flavor. You can even use a broiler in a pinch.
What kind of cheese works best?
Cheddar is a classic choice, but pepper jack, American, Swiss, or even a smoky gouda are all delicious. Mix and match cheeses for your own twist on Backyard Burger Bliss: Grilled Cheeseburger Wraps.
Can I use ground turkey or chicken instead of beef?
Definitely. Ground turkey or chicken works great, just be gentle when flipping the patties on the grill, as they’re a bit more delicate than beef.
How do I prevent the wraps from getting soggy?
Let the burger patties rest for a couple of minutes before assembling the wrap to avoid extra juices soaking through. Also, keep high-moisture toppings (like tomatoes) toward the center instead of the edge.
Are these wraps good for meal prep?
They’re fantastic for meal prep! Prepare and store the elements separately, then assemble and warm up just before serving so they stay fresh and delicious.
Final Thoughts
There’s something pure, simple, and downright fun about turning a backyard staple into a dippable, packable wrap. Backyard Burger Bliss: Grilled Cheeseburger Wraps deliver all the nostalgic flavors of a classic burger, but in a playful, portable package that everyone can enjoy. If you’re ready to turn up the grill and try something new, gather your favorite toppings and give this recipe a whirl—you might just find your new go-to backyard feast!
PrintBackyard Burger Bliss: Grilled Cheeseburger Wraps Recipe
Elevate your burger experience with these Grilled Cheeseburger Wraps! Tender seasoned ground beef, gooey cheese, and all the classic burger trimmings are wrapped in a soft flour tortilla for a convenient and flavorful handheld meal. Whether you’re grilling in the backyard, preparing a picnic spread, or seeking a fun weeknight dinner idea, these tasty wraps are guaranteed to impress.
- Prep Time: 15 minutes
- Cook Time: 10 minutes
- Total Time: 25 minutes
- Yield: 4 servings
- Category: Main Course
- Method: Grilling
- Cuisine: American
- Diet: None
Ingredients
Burgerlicious Filling
- 1 pound lean ground beef
- 1 tablespoon Worcestershire sauce
- 2 tablespoons ketchup
- Salt and pepper to taste
- 1 teaspoon dried minced onion
Wrap Wonders
- 5 large flour tortillas
- Shredded cheddar cheese (or preferred cheese)
- Mustard (optional)
- Slices of tomato
- Lettuce (additional options: pickles, onions, avocado)
Instructions
- Mix Up the Burger Magic: In a large bowl, combine ground beef, Worcestershire sauce, ketchup, dried minced onion, salt, and pepper. Mix well to evenly distribute the seasonings.
- Fire Up the Flavor: Preheat the grill to medium-high heat. Shape the beef mixture into patties slightly larger than the tortilla diameter. Grill patties for 3-4 minutes per side or to desired doneness.
- Warm Those Wraps: Heat tortillas on the grill briefly or in a skillet until warm and pliable.
- Wrap It Up Right: Lay a warm tortilla flat, spread mustard if desired, add cheese, a burger patty, tomato slices, lettuce, and any extra toppings. Fold to create a wrap.
- The Grand Finale: Fold and secure the wrap. Repeat for remaining tortillas and ingredients.
- Enjoy: Indulge in your flavorful and mess-free Grilled Cheeseburger Wrap!
Nutrition
- Serving Size: 1 wrap
- Calories: 380
- Sugar: 3g
- Sodium: 620mg
- Fat: 19g
- Saturated Fat: 8g
- Unsaturated Fat: 8g
- Trans Fat: 0g
- Carbohydrates: 26g
- Fiber: 2g
- Protein: 26g
- Cholesterol: 80mg

