If you’ve been dreaming of a dessert that’s delightfully chewy, subtly sweet, and impossible to resist, the Milk mochi Recipe is about to become your new go-to treat. With just a handful of pantry staples and hardly any effort, you’ll have pillowy-soft pieces of mochi with a comforting milky flavor and a glossy finish. Whether you’re whipping these up for a gathering, a cozy evening snack, or just to satisfy a craving for something different, you’ll find this is an irresistible dessert that brings a touch of magic to everyday moments.
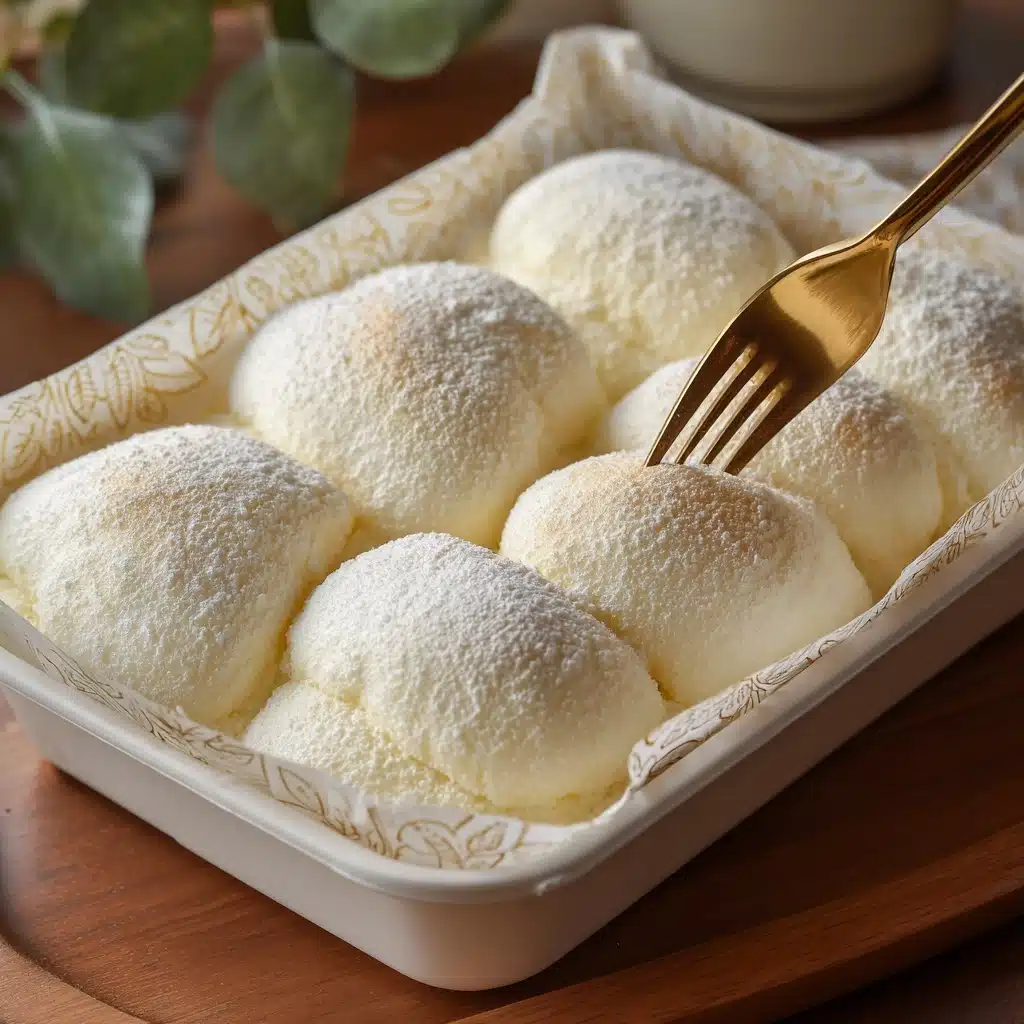
Ingredients You’ll Need
The best part about the Milk mochi Recipe is how few ingredients you need! Each one is simple, but together they create that uniquely elastic, glossy bite and mellow sweetness that sets mochi apart from any other dessert.
- Glutinous Rice Flour: This is the secret to the signature chewy texture—there’s just no substitute here!
- Cornstarch: It adds a bit of lightness and silkiness to the mochi, keeping it from turning dense.
- Sugar: Just enough to sweeten every bite without overwhelming the subtle milk flavor.
- Corn Oil: This brings a little richness and helps keep the final mochi extra soft.
- Whole Milk: The star of the show—whole milk gives the mochi its creamy flavor and smooth texture.
How to Make Milk mochi Recipe
Step 1: Mix The Batter
Combine the glutinous rice flour, cornstarch, sugar, corn oil, and whole milk in a large bowl. Stir until you have a smooth, creamy mixture—try to whisk out any lumps so your final mochi will have that signature glossy finish.
Step 2: Strain (Optional, But Worth It!)
If you want ultra-silky mochi, take a minute to strain your mixture through a fine mesh sieve. This step helps remove any sneaky clumps and results in a perfectly even dough—totally optional, but amazing for texture.
Step 3: Cook Over Low Heat
Pour the mixture into a non-stick pan and set it over low heat. Stir slowly and constantly with a spatula. As the mixture heats up, you’ll notice it start thickening, coming together into a sticky, cohesive mass. Keeping the heat low prevents burning—patience is your friend here! Keep stirring until everything is fully cooked through, glossy, and sticks together in one big blob.
Step 4: Knead And Develop That Chew
Once cooked, turn the mixture out onto a heatproof surface and let it cool until you can handle it safely. Put on gloves and knead the dough for about 5 minutes. Stretch and pull it to build up elasticity—this is where you get that satisfying mochi chew!
Step 5: Shape And Coat
When your dough is stretchy and smooth, roll it into a long strip. Sprinkle with a little cooked glutinous rice flour to prevent sticking, then cut into triangles, cubes, or any shape you like. Finish by coating each piece in roasted soybean flour for the perfect toasty finish.
How to Serve Milk mochi Recipe
Garnishes
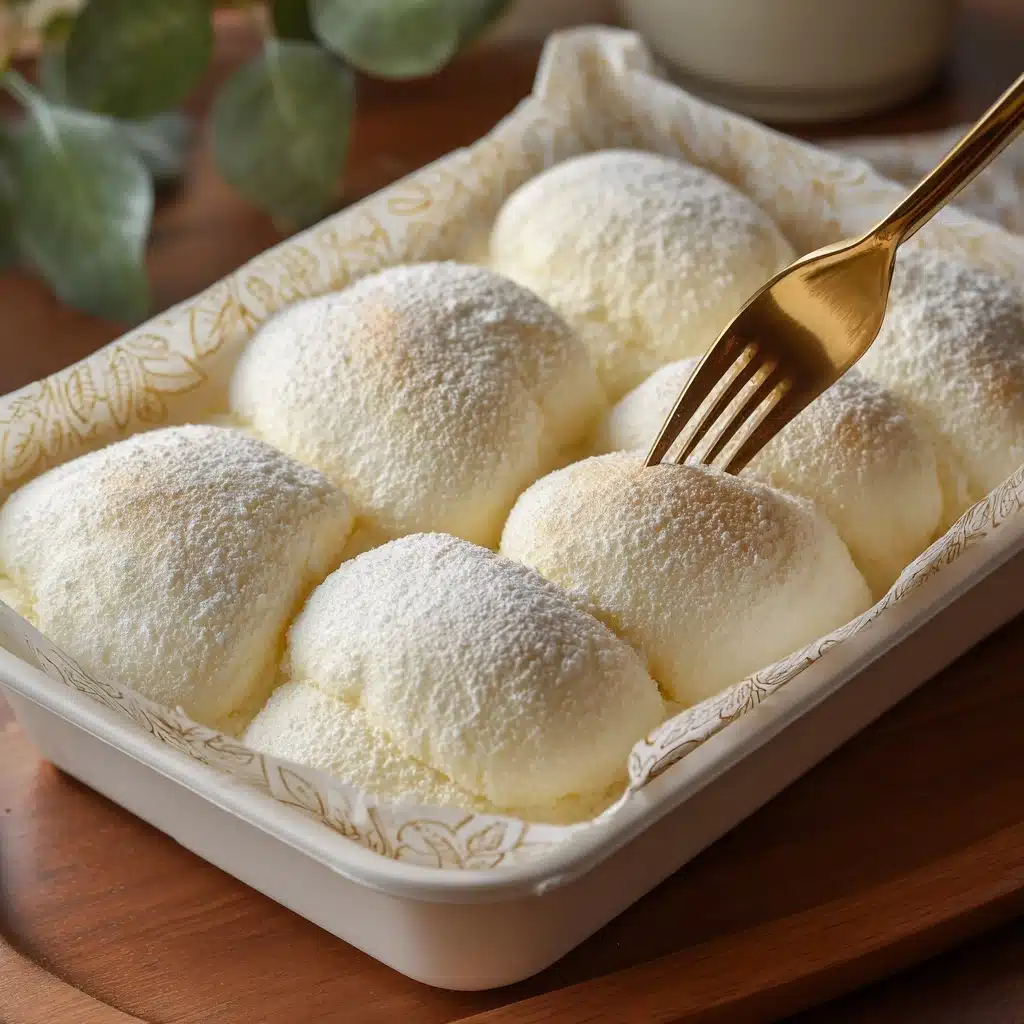
The roasted soybean flour suggested in the recipe adds a light nutty aroma and prevents sticking, but you can easily dress up your mochi with a dusting of matcha powder, cocoa, or even a drizzle of honey. Try a few flakes of coconut or a sprinkle of black sesame seeds for extra flair.
Side Dishes
Milk mochi Recipe pairs wonderfully with juicy fresh fruit like mango, strawberries, or kiwi. Serve alongside hot green tea, iced matcha, or even a tall glass of cold milk to keep the snack light and refreshing. For a homemade afternoon tea spread, add a little bowl of whipped cream on the side.
Creative Ways to Present
Make your Milk mochi Recipe pop at special gatherings by cutting the mochi into playful shapes using mini cookie cutters, threading pieces onto skewers for a fun dessert kabob, or stacking them in a dessert bento box. Toss in some edible flowers or wrap pieces in colorful parchment paper for a truly eye-catching treat.
Make Ahead and Storage
Storing Leftovers
Any leftover mochi can be stored in an airtight container at room temperature for up to 1 day. Since it’s a fresh rice-based dessert, it’s best enjoyed as soon as possible before it starts to firm up or dry out.
Freezing
The good news is, you can freeze your Milk mochi Recipe! Place cut and coated pieces on a tray, freeze until solid, then transfer to a zip-top bag. Thaw at room temperature for about 30 minutes when you’re ready for a chewy snack.
Reheating
If your mochi has gotten a bit too firm, pop a piece into the microwave for 10-15 seconds. This will revive the soft, chewy texture—just be careful not to overheat, or it could get too sticky.
FAQs
Why did my mochi turn out too hard?
Mochi can get hard if it’s cooked for too long, stored uncovered, or if you use less liquid than called for in the Milk mochi Recipe. Be sure to measure your ingredients accurately and store any leftovers tightly covered to maintain their soft texture.
Can I use something other than whole milk?
Absolutely! You can use any plant-based milk for a dairy-free version, just keep in mind that the flavor and richness will change a bit. The Milk mochi Recipe works best with creamier options like oat milk or soy milk.
Do I need roasted soybean flour for coating?
Nope! While traditional and delicious, you can swap in toasted coconut, matcha, or even powdered sugar depending on your taste and pantry supplies.
Can I steam instead of pan-cooking?
Yes, if you prefer not to pan-cook, you can steam the mixture much like in other mochi recipes. Just pour the batter into a heatproof dish and steam until fully set, then proceed as usual.
How do I know when my mochi is ready?
When your mixture turns thick, glossy, and pulls away from the pan in one big mass, you’re ready to knead. If it’s still gooey and doesn’t hold together, keep cooking—your patience will be rewarded!
Final Thoughts
There’s something truly joyous about making a soft, silky batch of Milk mochi Recipe from scratch. With just a few ingredients and simple steps, you can treat yourself and your loved ones to a dessert that feels both special and nostalgic. Give it a try—you might just find yourself making it again and again!
PrintMilk mochi Recipe
Enjoy the simplicity and sweetness of this delicious milk mochi recipe. With no complex techniques or tedious steps, it’s a delightful treat for any occasion.
- Prep Time: 15 minutes
- Cook Time: 25 minutes
- Total Time: 40 minutes
- Yield: 4 servings
- Category: Dessert
- Method: Pan-fry
- Cuisine: Chinese
- Diet: Vegetarian
Ingredients
For the Milk Mochi:
- 150g glutinous rice flour
- 30g cornstarch
- 25g sugar
- 20g corn oil
- 290g whole milk
Instructions
- Combine Dry Ingredients: In a large bowl, mix glutinous rice flour, cornstarch, sugar, corn oil, and whole milk until well combined.
- Strain (Optional): Strain the mixture if desired.
- Cook Mixture: Pour the mixture into a non-stick pan and cook over low heat, stirring slowly until fully cooked.
- Cool and Knead: Remove from heat, cool, then knead the dough for 5 minutes until elastic.
- Shape Mochi: Roll the dough into a strip, cut into desired shapes, and coat with roasted soybean flour.
Nutrition
- Serving Size: 1 serving
- Calories: 278 kcal
- Sugar: 10g
- Sodium: 28mg
- Fat: 8g
- Saturated Fat: 2g
- Unsaturated Fat: 6g
- Trans Fat: 0.02g
- Carbohydrates: 47g
- Fiber: 1g
- Protein: 5g
- Cholesterol: 9mg

