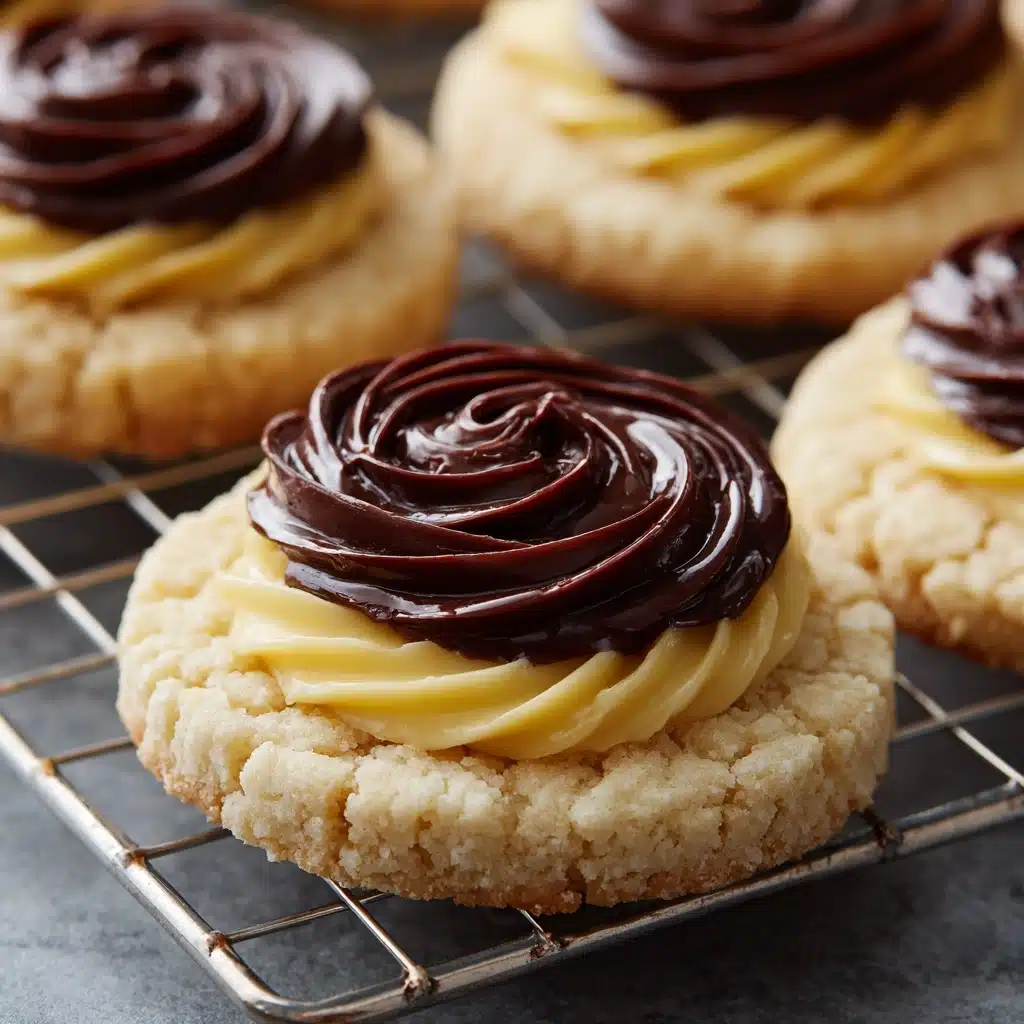
Get ready to fall in love with Sugar Free Boston Cream Cookies—an irresistible treat where pillowy-soft cookies cradle a silky vanilla cream and a glossy chocolate layer, all without a granule of added sugar. These delightful bites capture everything you adore about the classic Boston cream pie, minus the sugar crash, making them a feel-good dessert you’ll want to share (or not!). Whether you’re serving them at a party or sneaking one with your afternoon coffee, these cookies are proof that “sugar free” and “decadent” absolutely go hand-in-hand.
Ingredients You’ll Need
The beauty of these cookies lies in simple, accessible ingredients that each bring their own magic to this nostalgic treat. From the buttery cookie base to the creamy and chocolaty toppings, each element is thoughtfully chosen to replicate that iconic Boston cream flavor—without the sugar!
- Flour: The backbone of a soft, cakey cookie—don’t skimp on measuring accurately for the perfect texture.
- Cornstarch: Just a touch adds extra tenderness and gives the cookies a melt-in-your-mouth quality.
- Baking Powder: Ensures the cookies rise just right for a pillowy center.
- Butter (softened): Richens the dough and creates those irresistibly soft, golden edges.
- Sugar Alternative: Stick to a granular style that bakes like regular sugar for the best taste and crunch.
- Vanilla Extract: A dash of warmth and complexity—real vanilla makes a difference!
- Milk: Keeps the dough lush and adds moisture to the final cookie.
- Sugar Free Pudding Mix: The secret to a velvety, low-sugar cream layer—choose your favorite vanilla brand.
- Milk (for cream): Mixes with the pudding for that dreamy, custard-like filling.
- Whipped Topping (sugar free or low sugar): Folds into the pudding for a light, fluffy feel—Cool Whip style works great.
- Sugar Free Chocolate Frosting (softened): Spreads smoothly and gives that classic Boston cream finish—microwave for a few seconds if you need to soften it up.
How to Make Sugar Free Boston Cream Cookies
Step 1: Prepare the Oven and Baking Sheet
Start by preheating your oven to 350 degrees F—this ensures your cookies will bake up golden and even. Line your baking sheet with parchment paper or a silicone baking mat for easy release. Trust me, this small step saves so much cleanup and keeps cookies from sticking or getting too brown on the bottom.
Step 2: Mix the Dry Ingredients
In a medium bowl, whisk together the flour, cornstarch, and baking powder. Whisking creates even distribution, so your cookies will be consistently tender throughout, and it keeps those pesky lumps out of the dough.
Step 3: Cream the Wet Ingredients
In a larger mixing bowl, cream together your softened butter and sugar alternative until it’s light and fluffy. This step is key for a soft, wonderfully textured cookie. Add the milk and vanilla extract, mixing until everything looks smooth and inviting.
Step 4: Bring Dough Together
Gradually add the dry ingredients into your wet mixture. Use a rubber spatula to gently incorporate them—mix just until a dough forms. Overmixing at this stage can make your cookies a little tough, so as soon as you see a uniform dough, you’re done!
Step 5: Scoop and Bake
Using a medium cookie scoop, portion out the dough and place each scoop about one and a half to two inches apart on your prepared sheets. Bake until the edges are just turning golden—about 12 minutes. The smell alone will have everyone circling the kitchen!
Step 6: Create the Cookie “Wells” and Cool
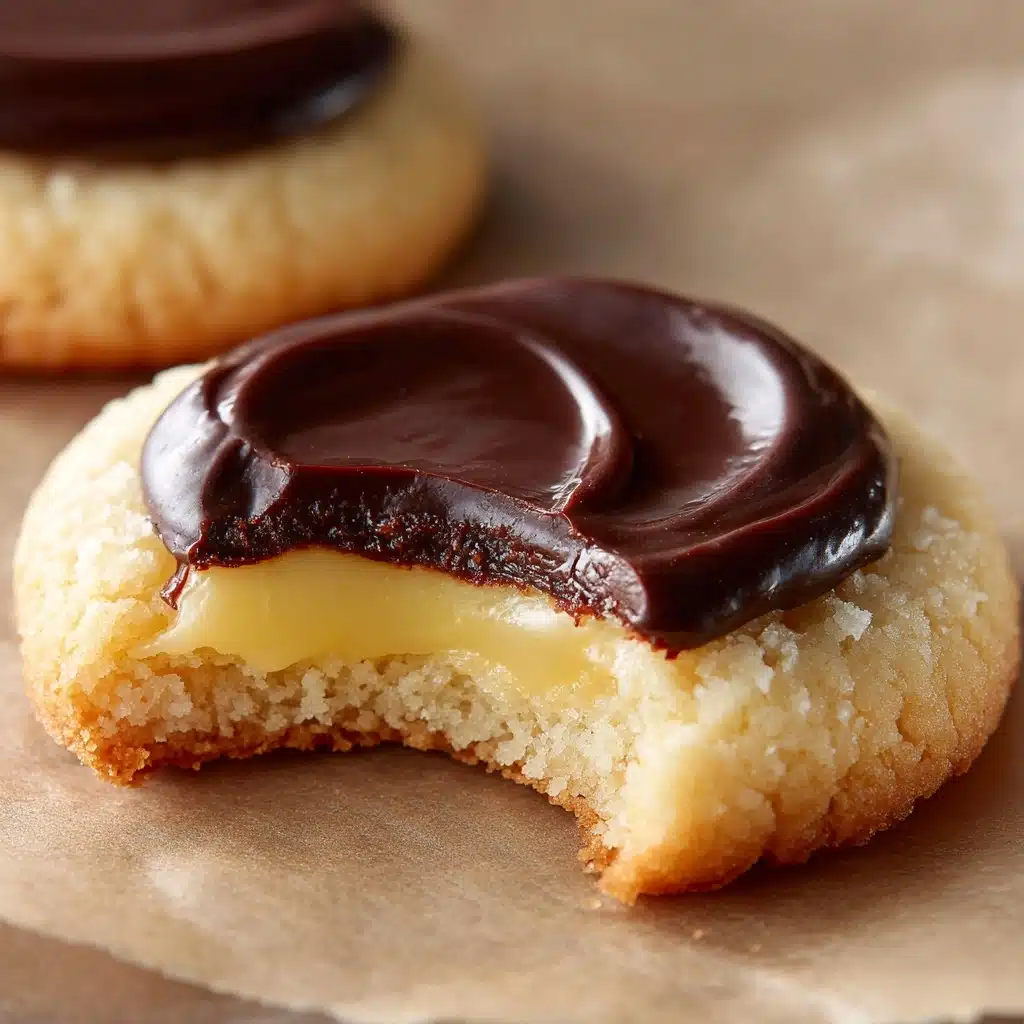
While the cookies are still hot, gently press the bottom of a measuring cup or glass (smaller than the cookie) into the center of each to create a shallow well. This clever trick makes them perfect for filling. Allow the cookies to cool completely, so your cream doesn’t melt away.
Step 7: Make the Vanilla Cream Layer
While those cookies are cooling, whip up the vanilla cream. Whisk together the sugar free pudding mix and one cup of milk until smooth, then fold in the whipped topping until light and dreamy. Pop it in the fridge for at least 30 minutes to set—it thickens into a spoonable custard, perfect for filling your cookies.
Step 8: Assemble the Sugar Free Boston Cream Cookies
Once everything is cool and set, spoon about a tablespoon of vanilla cream into each cookie well. Top with a dollop (one to two teaspoons) of softened sugar free chocolate frosting. The finishing touch is that glossy chocolate crown—iconic and oh-so-satisfying.
How to Serve Sugar Free Boston Cream Cookies
Garnishes
For an extra flourish, try adding a light dusting of sugar free cocoa powder, a sprinkle of finely chopped nuts (think pistachios for color!), or a few curls of sugar free chocolate. These little touches make them look every bit as special as they taste.
Side Dishes
Pair Sugar Free Boston Cream Cookies with a cup of strong black coffee, a glass of cold almond milk, or even a scoop of sugar free vanilla ice cream for the ultimate dessert combo. They elevate a simple snack into a full dessert spread that feels utterly indulgent and never heavy.
Creative Ways to Present
Arrange the cookies on a tiered dessert tray for afternoon tea, stack them in clear jars for edible gifts, or plate them in rows for a buffet or party platter. Their glossy tops and creamy centers make them a showstopper, and guests won’t believe they’re sugar free!
Make Ahead and Storage
Storing Leftovers
Once you’ve assembled your Sugar Free Boston Cream Cookies, keep them in an airtight container in the fridge. They’ll stay fresh and delicious for up to three days, making them perfect for prepping ahead for gatherings or late-night cravings.
Freezing
If you want to stash some away, freeze the unfilled cookies and the vanilla cream separately. Once thawed, bring the cookies to room temperature, whip the cream slightly if it feels too stiff, and assemble as usual for freshly made flavor and texture.
Reheating
While these are best enjoyed cold or at room temperature, if you want a just-baked feel, microwave the plain cookies (before filling) for a few seconds. Avoid reheating filled cookies, as the cream and frosting can melt and lose their shape.
FAQs
Can I make Sugar Free Boston Cream Cookies gluten free?
Absolutely! Swap in your favorite gluten free all-purpose flour blend, making sure it’s one designed for baking. Monitor baking time—gluten free cookies sometimes need an extra minute or two, or a quick check to ensure they’ve set up nicely.
What’s the best sugar free pudding mix to use?
Go for a well-known brand (like Jell-O) in sugar free vanilla, or choose any reputable option that’s easy to whip up. Check the ingredients to ensure no sneaky sugars are hiding in your mix.
Can I make these cookies dairy free?
Yes! Use a high-quality plant-based butter, swap in your favorite dairy free milk, and look for dairy free whipped toppings and frostings. There are many sugar free, plant-based alternatives on the market now.
How far in advance can I assemble them?
For best texture, assemble the Sugar Free Boston Cream Cookies up to 24 hours in advance. The cream layer softens the cookie just enough, and the chocolate stays glossy. Much longer and the cookies may absorb too much moisture—but trust me, they rarely last that long!
Can I add different flavors to the cream or frosting?
Definitely! Try using sugar free chocolate or butterscotch pudding mixes, or stir in a touch of orange zest or espresso powder to either the cream or the frosting for a creative twist on the classic.
Final Thoughts
There’s something so joyful about sharing a tray of Sugar Free Boston Cream Cookies, knowing you’re giving all the comfort and fun of a bakery treat—without the sugar. They’re easy enough for a weekday bake, special enough for a celebration, and flexible for all kinds of tastes and dietary needs. Give these a try and see why they’ve become a favorite in my home—you’ll be hooked from the very first creamy, chocolaty bite!
PrintSugar Free Boston Cream Cookies Recipe
Sugar Free Boston Cream Cookies, a delightful no added sugar treat featuring a soft cookie base topped with Vanilla Cream and Chocolate.
- Prep Time: 25 minutes
- Cook Time: 12 minutes
- Total Time: 37 minutes
- Yield: 20 cookies
- Category: Dessert
- Method: Baking
- Cuisine: No Added Sugar
- Diet: Diabetic
Ingredients
Cookies:
- 2 cups Flour
- 1 tbsp Cornstarch
- 1 tsp Baking Powder
- ½ cup Butter, softened
- ¾ cup Sugar Alternative
- 1 tsp Vanilla Extract
- ¼ cup Milk
Vanilla Cream:
- 1 Sugar Free Pudding Mix
- 1 cup Milk
- 4 oz Whipped Topping
Chocolate Frosting:
- 1 Sugar Free Chocolate Frosting, softened
Instructions
- Prepare: Preheat oven to 350°F and prepare baking sheet with parchment paper.
- Dry ingredients: Whisk flour, cornstarch, and baking powder in a bowl.
- Cream: Cream softened butter with sugar alternative, then mix in milk and vanilla.
- Combine: Mix dry ingredients into wet to form dough.
- Bake: Scoop dough onto baking sheet and bake for 12 minutes until golden.
- Cool: Create an imprint on cookies and let cool.
- Vanilla Cream: Whisk pudding mix with milk, fold in whipped topping, and refrigerate.
- Assemble: Fill cookies with vanilla cream and top with chocolate frosting.
Notes
- Check nutritional labels for dietary restrictions.
- Refer to the recipe post for more details.
Nutrition
- Serving Size: 1 cookie
- Calories: 109 kcal
- Sugar: 2g
- Sodium: 71mg
- Fat: 6g
- Saturated Fat: 4g
- Unsaturated Fat: 0.3g
- Trans Fat: 0.2g
- Carbohydrates: 17g
- Fiber: 0.3g
- Protein: 2g
- Cholesterol: 13mg


