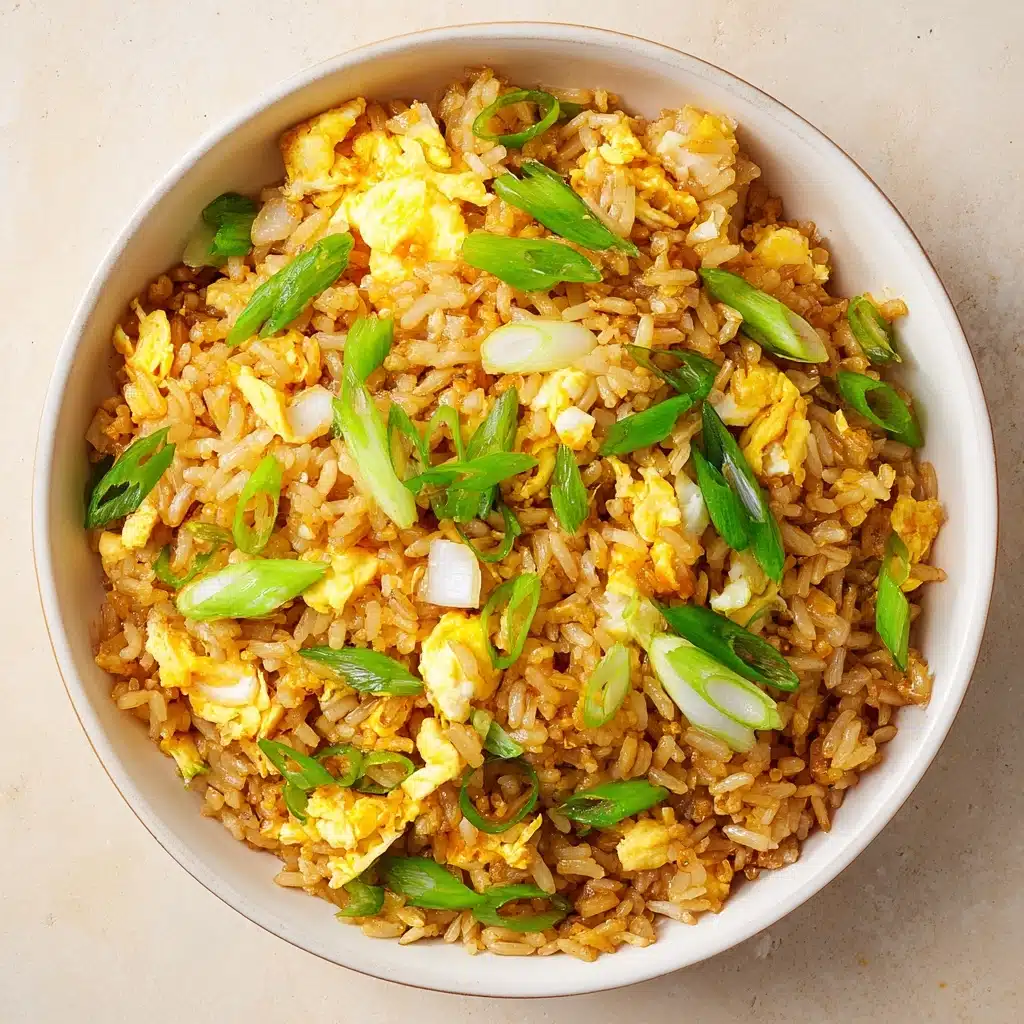
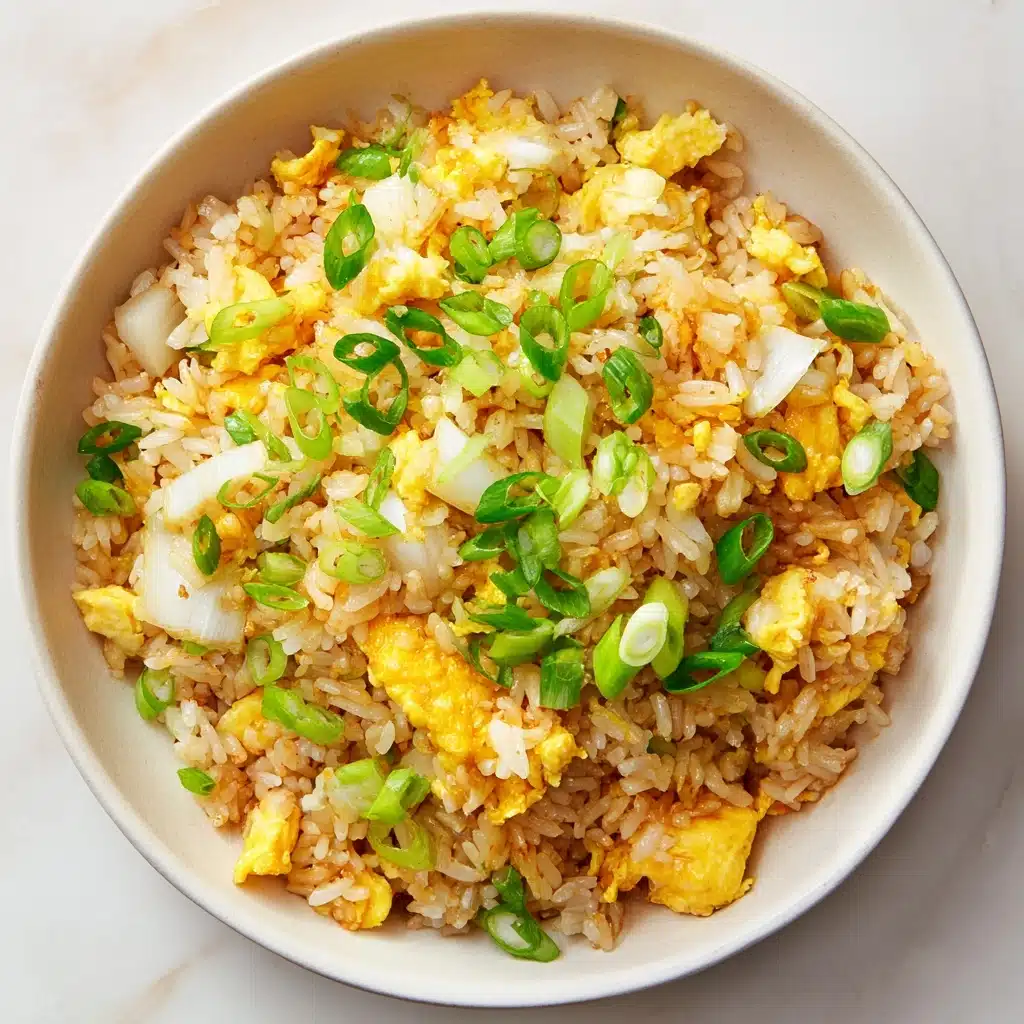
If you crave that irresistible restaurant-style Hibachi Fried Rice but want to make it in your own kitchen, you’re in for a treat. This quick and satisfying recipe brings all the sizzling flavors and smoky aroma of the hibachi grill home to you, in under 20 minutes. The combination of tender rice, fragrant garlic, sweet onions, and soft scrambled eggs—finished with a salty kiss of soy sauce—makes this a true crowd-pleaser. Whether you enjoy it as a main or alongside your favorite protein, Hibachi Fried Rice is pure comfort and nostalgia in a bowl.

Ingredients You’ll Need
One of the beauties of Hibachi Fried Rice lies in its simplicity. Each ingredient is familiar yet essential, playing an important role in achieving that signature flavor and irresistible texture you love.
- Vegetable oil: Provides a neutral base for stir-frying and keeps the rice from sticking.
- Eggs: These add richness and that signature soft, fluffy texture found in great fried rice.
- Salted butter: A little butter infuses the dish with a hint of creaminess and that classic hibachi flavor.
- Sweet onion: Diced onion not only adds a burst of sweetness but also balances the other savory elements.
- Garlic: Freshly minced garlic brings aromatic depth that’s absolutely essential.
- Cooked and cooled long-grain white rice: Leftover rice is best—it stays fluffy and never turns mushy.
- Soy sauce: The key to that iconic umami punch; use just enough to color and season the rice well.
- Green onions (green part only): Sliced thin for a fresh pop of color and mild onion flavor right at the finish.
How to Make Hibachi Fried Rice
Step 1: Scramble the Eggs
Start by heating your wok or large skillet over medium-high heat and add the vegetable oil. Once shimmering, pour in the beaten eggs and gently stir until they’re just set and still a touch glossy. This method creates delicate, tender curds that won’t dry out. Scoop the eggs back into their bowl and set aside; you’ll add them in later for the perfect texture.
Step 2: Sauté the Onions and Garlic
Add the salted butter directly to the hot pan, followed by the diced sweet onion. Stir everything together and let the onions cook until they turn translucent and fragrant, usually just three to five minutes. Toss in the minced garlic and stir for about 30 seconds, just until everything smells amazing—don’t let the garlic brown!
Step 3: Add and Fry the Rice
Scatter your cooked and cooled rice into the pan, breaking up any clumps with your spatula. Stir well so that each grain gets a light coating of those delicious onions, garlic, and butter. Keep everything moving for another three to five minutes, letting the rice warm through and pick up some of that tasty flavor from the pan.
Step 4: Combine with Egg and Season
Now, return your eggs to the skillet along with the soy sauce. Stir vigorously to break up the eggs and help the soy sauce color the rice evenly. Continue cooking for another two minutes, letting all the flavors meld together perfectly. Your kitchen should smell like your favorite Japanese steakhouse right now!
Step 5: Finish with Green Onions
As soon as everything’s piping hot and well mixed, toss in the sliced green onions for that unmistakable burst of color and freshness. Give it one final toss, and your Hibachi Fried Rice is officially ready to be devoured.
How to Serve Hibachi Fried Rice

Garnishes
Top off your Hibachi Fried Rice with a generous sprinkle of extra sliced green onions for color and crunch, or a little drizzle of toasted sesame oil to enhance its aroma. If you like a little heat, a few pinches of chili flakes or a swirl of sriracha never hurt!
Side Dishes
This dish pairs brilliantly with Japanese steakhouse favorites: think teriyaki chicken, grilled shrimp, or sauteed vegetables. A bowl of miso soup or ginger salad also brings out the meal’s comforting vibe and rounds out your homemade hibachi feast.
Creative Ways to Present
For a fun dinner party, serve Hibachi Fried Rice in little bowls with chopsticks and dipping sauces on the side. Or pack it into a small ramekin, invert onto a plate for a restaurant-style dome, and top with an egg for extra flair. Even just serving straight from the hot pan at the table invites everyone to dig in and enjoy.
Make Ahead and Storage
Storing Leftovers
If you have any Hibachi Fried Rice left (which isn’t likely!), simply let it cool to room temperature before transferring to an airtight container. Store in the refrigerator for up to 3 days, and the flavors will develop even more overnight.
Freezing
To freeze, divide the cooled rice into zip-top freezer bags or containers, squeeze out excess air, and freeze for up to one month. Thaw overnight in the fridge before reheating for best texture.
Reheating
For best results, reheat Hibachi Fried Rice in a hot skillet with a splash of oil or water, stirring constantly to revive its fluffy texture. You can also microwave individual portions, but keep the rice covered and stir halfway through to heat evenly.
FAQs
Can I use brown rice instead of white rice?
Absolutely! Brown rice brings a nuttier flavor and a bit more chew. Just be sure it’s cooked and completely cooled so it fries up nicely without sticking together.
What’s the secret to getting restaurant-style Hibachi Fried Rice at home?
The keys are leftover, chilled rice and a hot pan! Fresh rice tends to get mushy, but day-old rice fries up perfectly and soaks in all the flavors without getting soggy.
Can I add vegetables or proteins to this recipe?
Yes, feel free to toss in peas, carrots, mushrooms, or even bits of steak or shrimp. Just sauté any extras before adding the rice so everything cooks through and melds together beautifully.
How can I make this gluten-free?
Simply swap in a gluten-free soy sauce or tamari. Double-check that all your other condiments and add-ins are gluten-free as well, and you’re good to go.
Does Hibachi Fried Rice work as a meal on its own?
Absolutely, especially if you top it with a fried or poached egg, or mix in some cooked protein. But it’s also a fantastic side dish to almost any meal with Asian-inspired flavors.
Final Thoughts
This Hibachi Fried Rice delivers all the magic of your favorite Japanese steakhouse, but with the ease and comfort of home cooking. I hope you give it a try—the sizzling aroma, the salty-sweet bite, and the pure joy of homemade hibachi are just minutes away!
PrintHibachi Fried Rice Recipe
Enjoy the flavors of your favorite hibachi restaurant at home with this quick and easy hibachi fried rice recipe. Perfect as a main course or side dish, this dish is sure to satisfy your cravings.
- Prep Time: 5 minutes
- Cook Time: 14 minutes
- Total Time: 19 minutes
- Yield: 4 servings
- Category: Main Course, Side Dish
- Method: Stovetop
- Cuisine: American
- Diet: Vegetarian
Ingredients
Main Ingredients:
- 2 Tablespoons vegetable oil
- 2 large eggs, well beaten
- 2 Tablespoons salted butter
- ½ cup small diced sweet onion
- 3 cloves garlic, minced
- 2 cups cooked and cooled leftover long-grain white rice
- 2 Tablespoons soy sauce
- 2 green onions (green part only), thinly sliced
Instructions
- Cook Eggs: Heat vegetable oil in a wok or large skillet. Add beaten eggs, stir until almost cooked, then set aside.
- Sauté Onion: In the same skillet, melt butter and cook diced onion until translucent.
- Add Aromatics: Stir in minced garlic until fragrant.
- Combine Rice: Add cooked rice to the skillet, heat through.
- Finish Dish: Mix in the cooked egg, soy sauce, and green onions. Serve hot.
Nutrition
- Serving Size: 1 serving
- Calories: 262 kcal
- Sugar: 2g
- Sodium: 549mg
- Fat: 14g
- Saturated Fat: 5g
- Unsaturated Fat: 8g
- Trans Fat: 0g
- Carbohydrates: 28g
- Fiber: 1g
- Protein: 6g
- Cholesterol: 103mg


