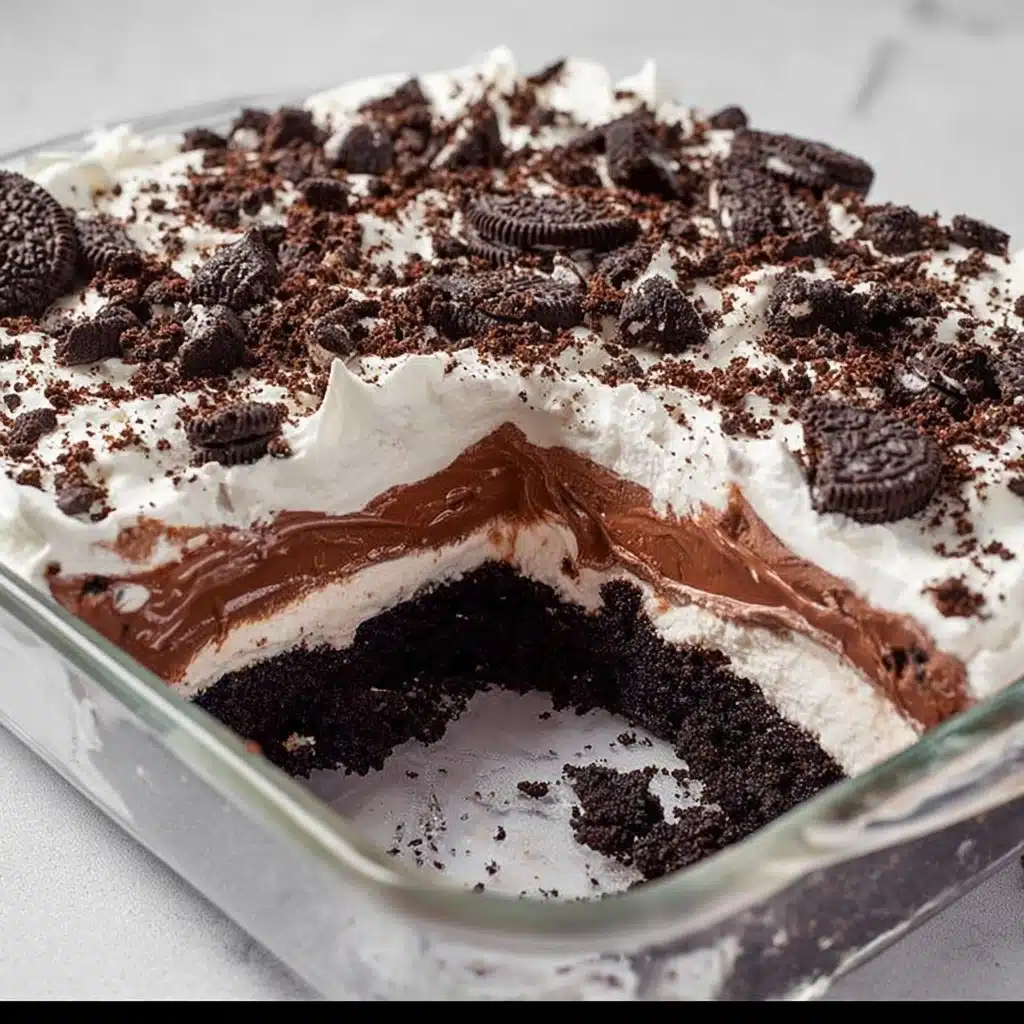
If you’ve been searching for a show-stopping, crowd-pleasing treat that will have everyone reaching for seconds, this Heavenly Oreo Dessert is your answer! Think rich layers of chocolatey Oreo crumbs, luscious and sweet cream cheese, silky chocolate pudding, and a blanket of billowy whipped topping. Every bite feels like the ultimate cookies-and-cream fantasy. Whether you’re hosting a party, making dessert for the holidays, or simply looking for an excuse to indulge, this is the decadent treat you’ll want to bring out again and again.
Ingredients You’ll Need
You’ll only need a handful of simple ingredients to whip up Heavenly Oreo Dessert, but each one plays an important part. Every component brings something magical, whether it’s crunch, creaminess, or that signature chocolate flavor. Here’s what you need, with a few tips to make sure every layer turns out spectacular:
- Oreo cookies: Crushed into fine crumbs, these form both the sturdy, chocolatey base and the irresistible topping.
- Unsalted butter: Melted and mixed with Oreos, it helps the crust set crisp and slice beautifully.
- Cream cheese: Softened to room temperature, this gives the dessert a luxuriously smooth and tangy layer.
- Confectioners’ sugar: Sweetens the cream cheese layer without any grittiness—don’t be tempted to substitute regular sugar!
- Cool Whip: This whipped topping keeps the filling light and airy and is much easier to use than fresh whipped cream for this dessert.
- Instant chocolate pudding: Using an instant mix ensures the pudding sets quickly and is rich and creamy every time.
- 2% milk: This gives the pudding the perfect consistency—neither too runny nor too thick.
How to Make Heavenly Oreo Dessert
Step 1: Prepare the Pan
Start by spraying a 9×13-inch baking dish with nonstick spray. This quick step will make serving and cleanup a breeze, so you can enjoy every bite without hassle.
Step 2: Crush the Oreos
Grab your food processor (or a zip-top bag and rolling pin if that’s more your style) and blend all the Oreo cookies until you have fine, sandy crumbs. Scoop out about 3/4 cup and save these for the top—the secret to that signature dramatic finish!
Step 3: Make the Crust
Mix the remaining Oreo crumbs with melted unsalted butter until completely combined. Press this mixture evenly into the bottom of your baking dish to form a decadent, chocolatey foundation. Slip it into the freezer for a few minutes to help the crust firm up while you create the next dreamy layer.
Step 4: Whip Up the Cream Cheese Layer
In a mixing bowl, beat softened cream cheese with confectioners’ sugar until it’s velvety smooth and luscious. Gently fold in one tub of Cool Whip—beat just long enough to combine, keeping it light and fluffy. Dollop generous spoonfuls over the chilled crust, then carefully spread it out. Take your time to avoid disturbing that perfect Oreo base underneath.
Step 5: Make the Chocolate Pudding
In a separate bowl, combine the instant chocolate pudding powder and 2% milk. Whisk or beat for about two minutes until it thickens. This chocolate layer is wonderfully soft, dreamy, and brings together the best of creamy and rich all at once. Spread it evenly over the cream cheese layer.
Step 6: Add the Final Layers
Spread your second tub of Cool Whip across the top, creating soft, fluffy peaks. Finish by showering the reserved cookie crumbs all over the surface. The magic is in that generous sprinkle of chocolatey Oreos—it’s as gorgeous as it is delicious.
Step 7: Chill and Serve
Your patience will be rewarded! Let the Heavenly Oreo Dessert chill for at least 6 hours (overnight is best if you can wait) so every layer sets up perfectly. This will give you those crisp slices and dazzling layers when it’s time to serve.
How to Serve Heavenly Oreo Dessert
Garnishes
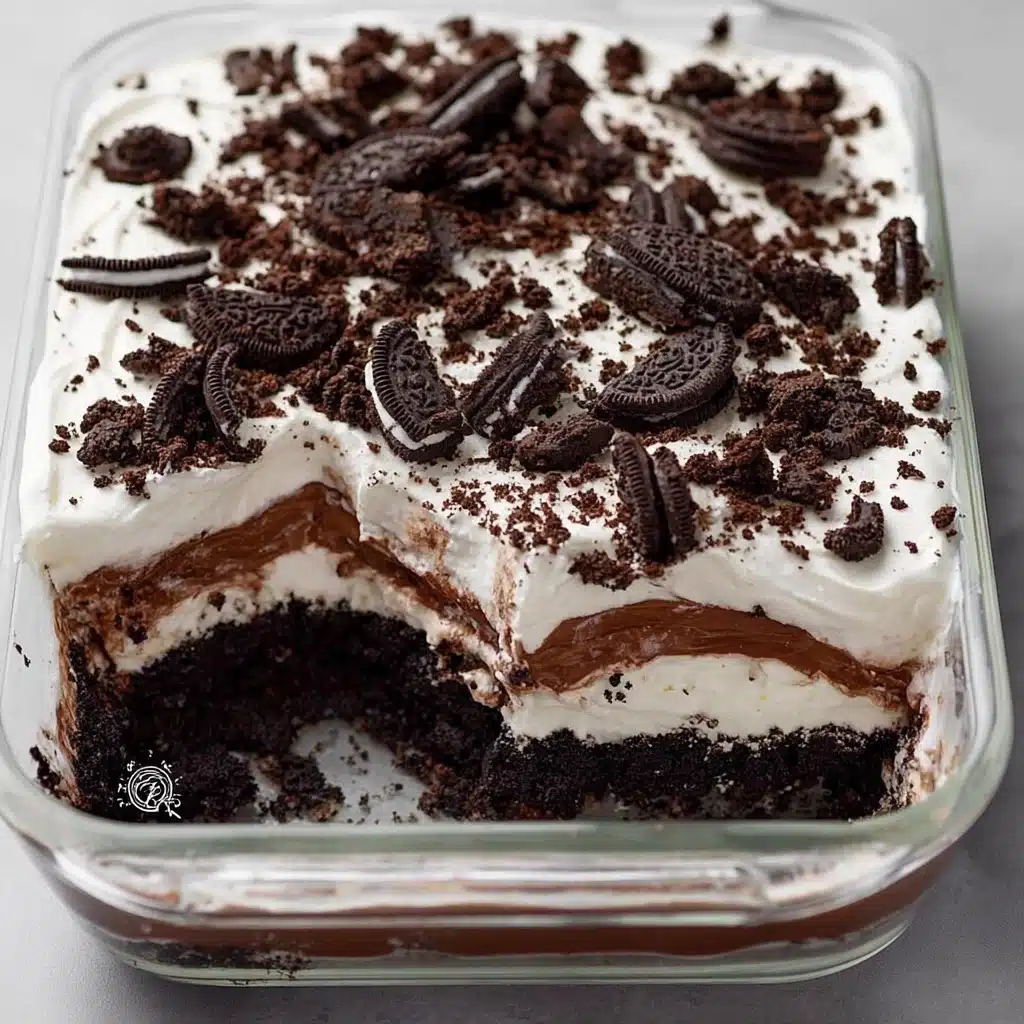
This dessert is already a stunner, but a little garnish goes a long way. Top each square with extra mini Oreos, a drizzle of chocolate syrup, or a dollop of whipped cream to make every serving feel special and extra indulgent. A fresh raspberry or a mint leaf adds a pop of color that looks incredible alongside all that chocolate.
Side Dishes
Heavenly Oreo Dessert naturally enjoys the spotlight, but it pairs wonderfully with a fresh fruit salad or a platter of berries. The light tartness of fruit is the perfect counterbalance to the creamy richness of the dessert. For parties, consider serving alongside a coffee or espresso bar—the robust flavors are the ideal match to the sweet and creamy layers.
Creative Ways to Present
While the classic casserole-style presentation is easy for a crowd, you can also assemble Heavenly Oreo Dessert in individual parfait cups or fancy glasses for dinner parties or special occasions. Layer it up in mason jars for picnics or potlucks—everyone adores their own personal portion! Play with shapes by using a cookie cutter to make hearts or circles once chilled for an extra-charming twist.
Make Ahead and Storage
Storing Leftovers
Leftovers (if you’re lucky enough to have any) keep beautifully in the refrigerator. Just cover the dish tightly with plastic wrap or foil, or transfer pieces to an airtight container. Heavenly Oreo Dessert will stay soft and fabulous for three to four days, though the cookie layer may soften more over time. Still delicious!
Freezing
You can absolutely freeze this dessert if you want to make it even farther in advance. Cut into squares and wrap each piece individually, or cover the whole dish well. Thaw in the refrigerator overnight. While the texture will be slightly softer after freezing, the flavors remain just as delightful. It’s a great trick for saving a surprise treat for later!
Reheating
This is one dessert you never need to reheat—in fact, it’s best served straight from the refrigerator. Let it sit at room temperature for about 10 minutes before serving for the creamiest texture. If you’ve frozen it, make sure it’s fully thawed for a perfect slice every time.
FAQs
Can I use homemade whipped cream instead of Cool Whip?
Absolutely! You can substitute homemade whipped cream for Cool Whip—just make sure to whip it to stiff peaks and measure out the same amount (16 ounces total). Keep in mind, homemade whipped cream isn’t quite as stable, so the dessert may soften a bit more quickly, especially if made ahead.
Can I use other flavors of pudding?
Yes! While classic chocolate is a match made in heaven for cookies and cream fans, you can swap in white chocolate, cheesecake, or even instant vanilla pudding for a fun twist on Heavenly Oreo Dessert. Just be sure to stick to the instant kind for best results.
What’s the best way to crush the Oreos?
A food processor is the easiest and quickest way to get the fine, sandy crumbs you need for both the crust and topping. If you don’t have one, place the cookies in a large zip-top bag, seal it tightly, and crush with a rolling pin. Kids love helping with this step!
Can I make Heavenly Oreo Dessert gluten-free?
Definitely! Just use gluten-free chocolate sandwich cookies in place of regular Oreos, and double-check that your pudding mix is gluten-free. All other ingredients should be naturally gluten-free, so with these simple swaps, everyone can enjoy.
How far ahead can I make this dessert?
Heavenly Oreo Dessert is perfect for making ahead. Prepare up to two days in advance and keep it chilled until ready to serve. It actually improves as it sits because the flavors meld and the layers set, making for gorgeous, clean slices when you serve.
Final Thoughts
There’s a reason why Heavenly Oreo Dessert is a favorite at every gathering—it’s easy, gorgeous, and brings pure joy with every bite! I can’t wait for you to try it and see how quickly it becomes a requested treat in your home. So gather those Oreos and let’s make something unforgettable together!
PrintHeavenly Oreo Dessert Recipe
Indulge in the heavenly delight of this Oreo dessert featuring layers of rich chocolate cookies, creamy pudding, velvety cream cheese, and fluffy whipped cream. A decadent treat you’ll love!
- Prep Time: 15 minutes
- Total Time: 6 hours 15 minutes
- Yield: 24 servings
- Category: Dessert
- Cuisine: American
- Diet: Vegetarian
Ingredients
Oreo Crust:
- 50 Oreo cookies
- ½ cup unsalted butter, melted
Cream Cheese Layer:
- 8 ounces cream cheese, softened
- 1 cup confectioners’ sugar
- 8 ounces Cool Whip (one tub)
Chocolate Pudding Layer:
- 6.8 ounces instant chocolate pudding mix (two 3.4-ounce packages)
- 2½ cups 2% milk
Instructions
- Spray the baking dish: Coat a 9×13-inch dish with nonstick spray.
- Prepare Oreo Crust: Crush Oreos in a food processor, mix with melted butter, press into dish, then freeze briefly.
- Make Cream Cheese Layer: Beat cream cheese and sugar until smooth, then fold in Cool Whip. Spread over the crust.
- Prepare Chocolate Pudding: Beat milk and pudding mix, spread over cream cheese layer.
- Add Cool Whip and Oreos: Spread remaining Cool Whip over pudding layer, sprinkle with reserved Oreo crumbs.
- Chill: Refrigerate for at least 6 hours before serving.
Notes
- For best results, refrigerate the dessert overnight to allow it to set properly.
- When layering, dollop the cream cheese mixture to avoid disturbing the Oreo base.
Nutrition
- Serving Size: 1 slice
- Calories: 273 kcal
- Sugar: 25g
- Sodium: 267mg
- Fat: 13g
- Saturated Fat: 7g
- Unsaturated Fat: 6g
- Trans Fat: 0.2g
- Carbohydrates: 36g
- Fiber: 1g
- Protein: 3g
- Cholesterol: 25mg

