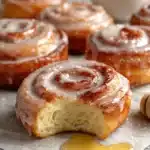
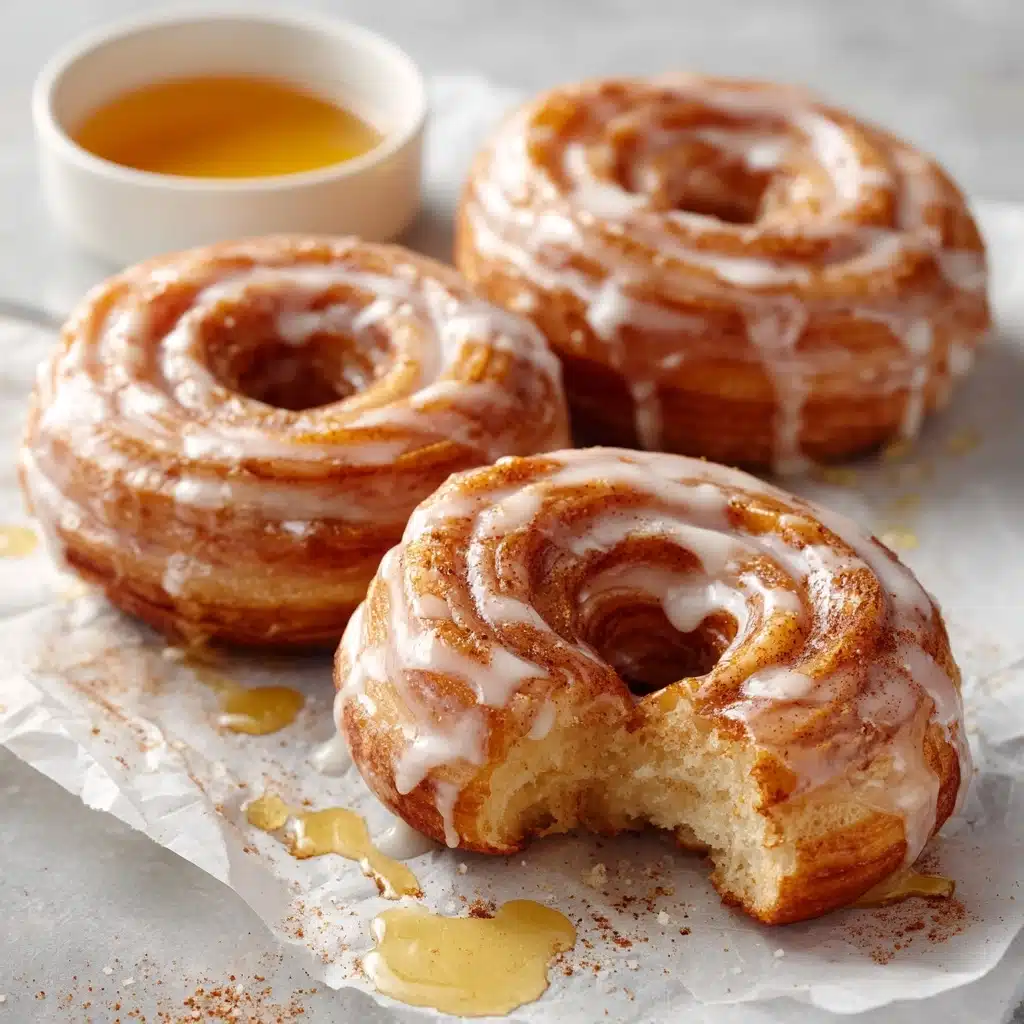
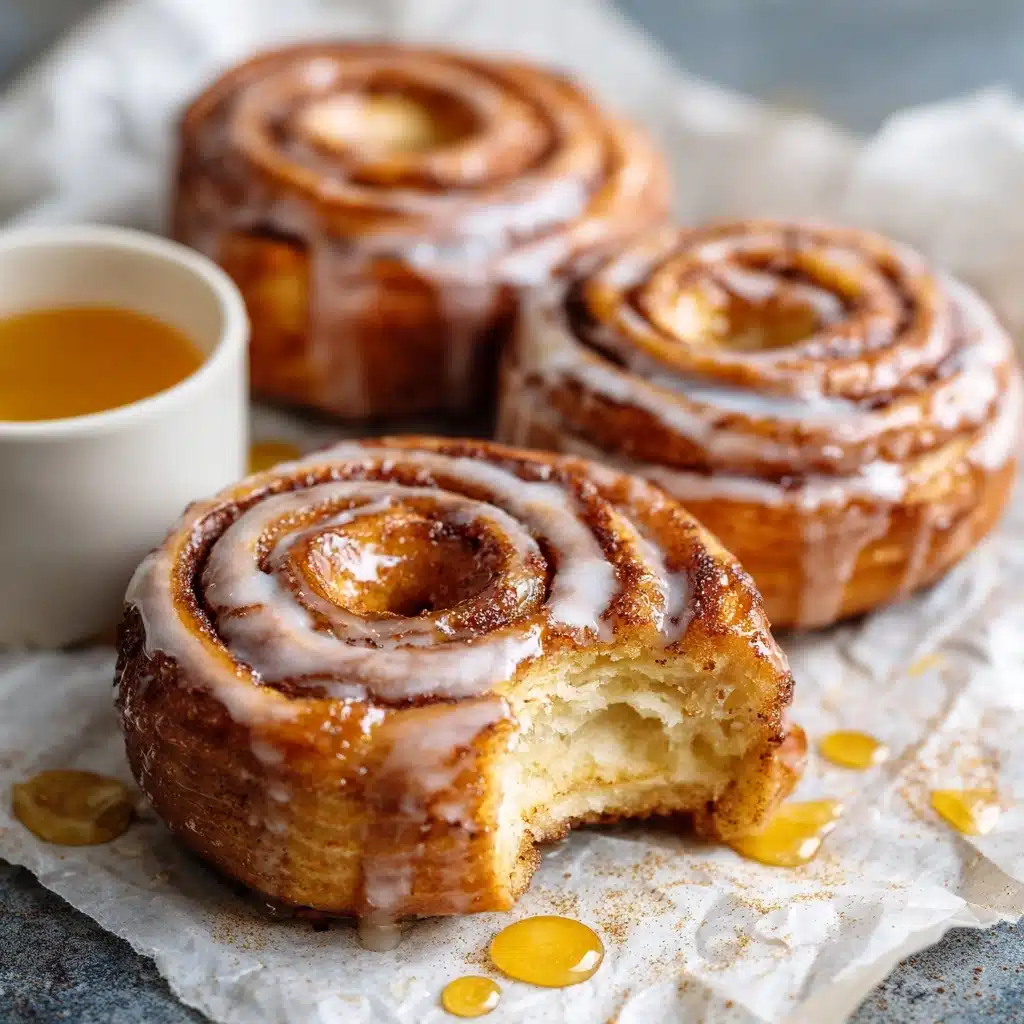
Get ready to fall in love with HOMEMADE HONEY BUNS! Imagine biting into a pillow-soft, swirled pastry with a cinnamon-kissed center, then discovering it’s been dipped in a shimmering, sweet honey glaze. Whether you enjoy them with a cozy mug of coffee or share them after dinner, there’s something utterly magical about the golden crisp edges and rich, fluffy interior. Once you try making these at home, those boxed honey buns will never taste the same again!
Ingredients You’ll Need
These HOMEMADE HONEY BUNS come together with kitchen staples, but every ingredient plays an essential role in creating those signature flavors and textures. Don’t worry, you probably have most of these on hand already!
- Warm Water: Gets the yeast off to a bubbly, happy start for dough that rises perfectly.
- Granulated Sugar: Adds gentle sweetness to the dough and the cinnamon sugar swirl.
- Active Yeast: The star behind those beautiful, fluffy layers.
- All-Purpose Flour: Gives the buns their structure and light, airy texture.
- Honey: Provides the signature sweetness and a lovely floral depth in both the dough and glaze.
- Shortening (melted): Ensures a tender crumb that practically melts in your mouth.
- Egg Yolks: Contribute richness and beautiful golden color.
- Vanilla Extract: Adds another layer of subtle sweetness and aroma—don’t skip it!
- Salt: Enhances the flavors and balances out the sweetness.
- Vegetable Oil (for frying): Delivers the iconic crispy exterior we all love.
- Cinnamon: Gives each bun a warm, comforting spice swirl.
- Powdered Sugar: Sets up that luscious glaze that clings to every swirl and curve.
- Melted Butter: Rounds out the glaze with extra richness.
- Warm Water (for glaze): Helps achieve the perfect consistency for easy dipping.
How to Make HOMEMADE HONEY BUNS
Step 1: Activate the Yeast
Pour your warm water, a couple teaspoons of sugar, and active yeast into the bowl of your stand mixer. Whisk until just combined—then let that frothy magic happen for about 5 minutes. This step is the secret handshake for lovely, fluffy buns!
Step 2: Create the Dough
Switch to a dough hook, and add in the rest of the sugar, flour, honey, melted shortening, egg yolks, vanilla, and salt. Let the mixer knead away for about 8 minutes, until the dough is smooth, elastic, and just a tad sticky, but easy to stretch.
Step 3: Let it Rise
Transfer that glorious dough to a greased bowl. Cover with a clean towel or plastic wrap, and give it an hour—watch as it doubles in size, becoming pillowy and light!
Step 4: Make the Cinnamon Sugar
While your dough takes its beauty nap, whisk together your cinnamon and sugar. This duo is going to bring those signature sweet and spicy swirls to every bite.
Step 5: Roll, Fill, and Shape
Gently roll the risen dough onto a floured surface to about 12 by 8 inches. Sprinkle the cinnamon sugar all over, pressing it softly in. Then, roll it up tightly from the long side—almost like a cinnamon roll—then cut off the ends and portion the dough into 8 equal, beautiful pieces.
Step 6: Second Rise
Place each bun on a parchment-lined baking sheet with space in-between. Press and shape gently with your fingers. Cover and let rise for about 45 more minutes—they’ll puff up and become even more irresistible.
Step 7: Fry to Golden Perfection
Bring your oil up to 365°F in a heavy pan. Once the buns have risen, gently press them down a bit and fry in small batches, about 90 seconds per side, until they’re golden brown and smell absolutely heavenly.
Step 8: Make the Honey Glaze
While the buns fry, whisk together powdered sugar, honey, melted butter, vanilla, and salt. Add warm water slowly, mixing until silky smooth and perfectly pourable—the glaze should cling but not run off.
Step 9: Glaze and Cool
As soon as your honey buns come out of the fryer, set them on a wire rack (with a paper towel below to catch drips). Gently press them down, then dip them generously into the glaze for a gorgeous, glossy finish!
Step 10: Enjoy!
Repeat with the rest of your HOMEMADE HONEY BUNS, then dive in while they’re fresh and warm—or save some for later if you can resist!
How to Serve HOMEMADE HONEY BUNS
Garnishes
For an extra-special touch, sprinkle warm buns with crushed walnuts or toasted almonds before glazing. Or, try a dusting of powdered sugar or a handful of colorful sprinkles for a playful look that delights kids and adults alike!
Side Dishes
Fresh fruit salad, creamy vanilla yogurt, or even a strong cup of coffee make the perfect partners to HOMEMADE HONEY BUNS. Serve them as a show-stopping brunch centerpiece, or alongside a scoop of ice cream for dessert.
Creative Ways to Present
Arrange the honey buns on a tiered cake stand for a beautiful brunch spread, or wrap them individually in wax paper for a sweet take-home treat at parties. You could even stack mini versions in a glass jar for a fun, edible gift!
Make Ahead and Storage
Storing Leftovers
Once cooled, place your HOMEMADE HONEY BUNS in an airtight container at room temperature for up to two days. They’ll stay soft and delicious, perfect for breakfast the next day.
Freezing
You can absolutely freeze these: just let the buns cool completely (unglazed or glazed), then wrap tightly in plastic wrap and foil. They’ll keep for up to 2 months—just thaw at room temperature when you crave a sweet treat.
Reheating
To revive that just-baked magic, pop a honey bun in the microwave for 10–15 seconds or warm them up in a low oven for a few minutes. The glaze will soften and the interior will be as pillowy as ever!
FAQs
Can I make the dough by hand if I don’t have a stand mixer?
Absolutely! Knead the ingredients together in a large bowl, then transfer to a floured surface and knead by hand for about 10 minutes. It takes a bit more muscle, but the results will be just as dreamy.
Can I bake instead of fry HOMEMADE HONEY BUNS?
Yes! They won’t quite have that signature crispy edge, but bake at 350°F for about 20 minutes, then glaze while warm for a lighter (and slightly less decadent) version.
Is there a dairy-free option?
You can easily swap the melted butter in the glaze for a plant-based alternative, and use vegetable shortening or coconut oil instead of regular shortening in the dough. Just double-check your ingredients to be sure!
Can I use instant yeast instead of active dry?
Yes, you can use instant yeast—just skip the proofing step and add it directly with the dry ingredients. Your dough should rise beautifully all the same.
What’s the best way to get a super-thick glaze?
For a glaze that really clings, use less water and make sure your buns are slightly warm (but not hot) when you dip them. The glaze will set up into that perfect, sweet shell everyone loves.
Final Thoughts
Once you experience the aroma and pure joy of pulling a tray of HOMEMADE HONEY BUNS from your own kitchen, you’ll never look at store-bought the same way again. Gather your ingredients, grab a friend or two, and bake a little happiness into your day—these buns are truly worth every bite!
PrintHOMEMADE HONEY BUNS Recipe
These Homemade Honey Buns are a delightful treat that’s perfect for any occasion. With their fluffy interior and crispy exterior, they’re dipped in a sweet honey glaze for an irresistible finish. Whether you’re serving them as a dessert or a snack, these honey buns are sure to impress!
- Prep Time: 60 minutes
- Cook Time: 15 minutes
- Total Time: 1 hour 15 minutes
- Yield: 12 honey buns
- Category: Dessert
- Method: Frying, Baking
- Cuisine: American
- Diet: Vegetarian
Ingredients
Dough:
- 1/2 cup warm water
- 3 tablespoons granulated sugar
- 1 tablespoon active yeast
- 2 2/3 cups all-purpose flour
- 1/3 cup honey
- 1/4 cup shortening (melted)
- 3 large egg yolks
- 1 teaspoon vanilla extract
- 1/2 teaspoon salt
Cinnamon Sugar Coating:
- 1/4 cup granulated sugar
- 1 1/2 teaspoon cinnamon
Honey Glaze:
- 4 2/3 cups powdered sugar
- 2 1/2 tablespoons honey
- 1 tablespoon melted butter
- 1/2 teaspoon vanilla extract
- 1/4 teaspoon salt
- Warm water (as needed)
Instructions
- Prepare the Dough: Combine warm water, sugar, and yeast. Let sit for 5 minutes. Add remaining dough ingredients and knead. Let rise for 1 hour.
- Make Cinnamon Sugar Coating: Combine cinnamon and sugar.
- Roll Out the Dough: Roll out dough, sprinkle with cinnamon sugar, and roll up. Cut into pieces and let rise.
- Fry the Buns: Heat oil to 365°F. Fry rolls until golden brown.
- Make Honey Glaze: Whisk together powdered sugar, honey, melted butter, vanilla, and salt. Add warm water gradually for desired consistency.
- Dip and Glaze: Dip fried buns into glaze and let cool.
Notes
- For added crunch, sprinkle crushed nuts like walnuts or almonds over the buns before frying.
- Leftover honey buns can be stored in an airtight container at room temperature for up to 2 days. Reheat in the microwave or oven before serving.
- For a different flavor, substitute the honey glaze with vanilla or cream cheese glaze.
Nutrition
- Serving Size: 1 honey bun
- Calories: 290
- Sugar: 32g
- Sodium: 150mg
- Fat: 5g
- Saturated Fat: 2g
- Unsaturated Fat: 3g
- Trans Fat: 0g
- Carbohydrates: 58g
- Fiber: 1g
- Protein: 4g
- Cholesterol: 35mg

