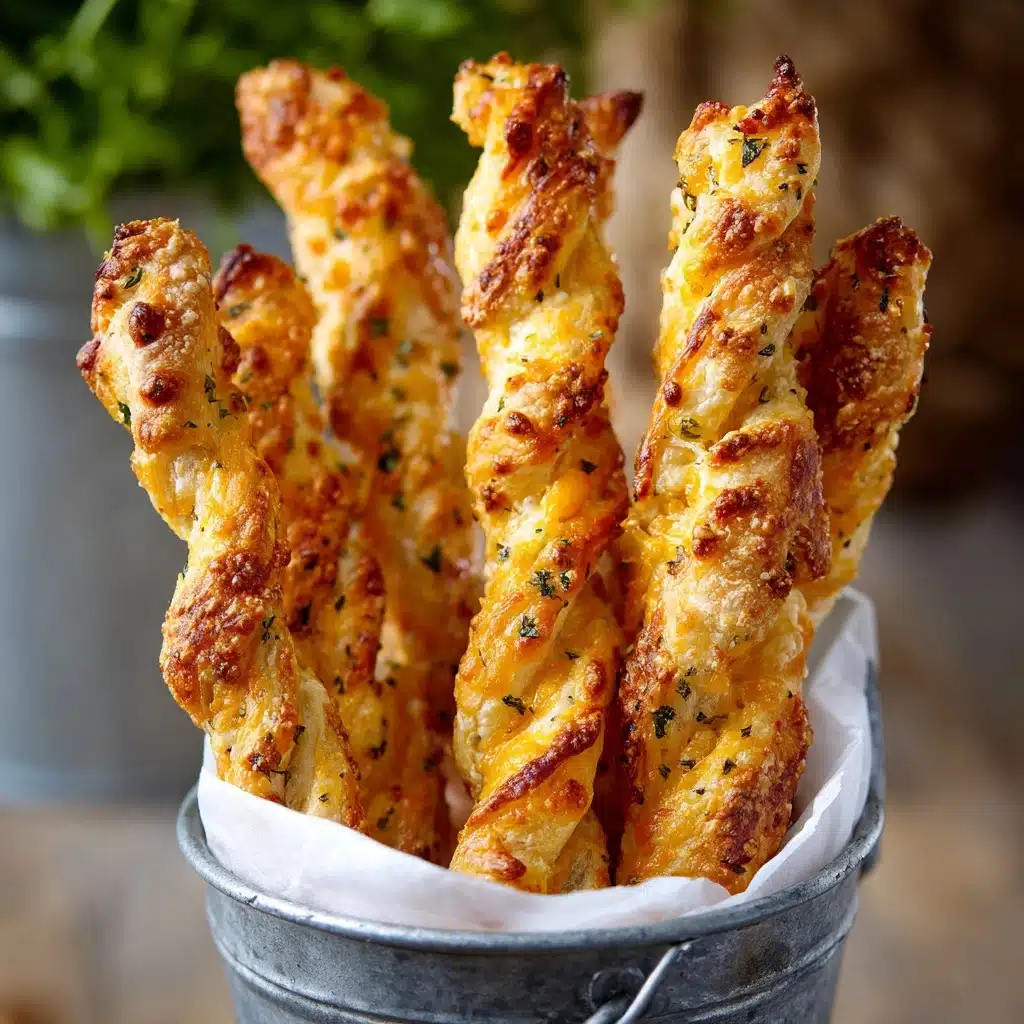
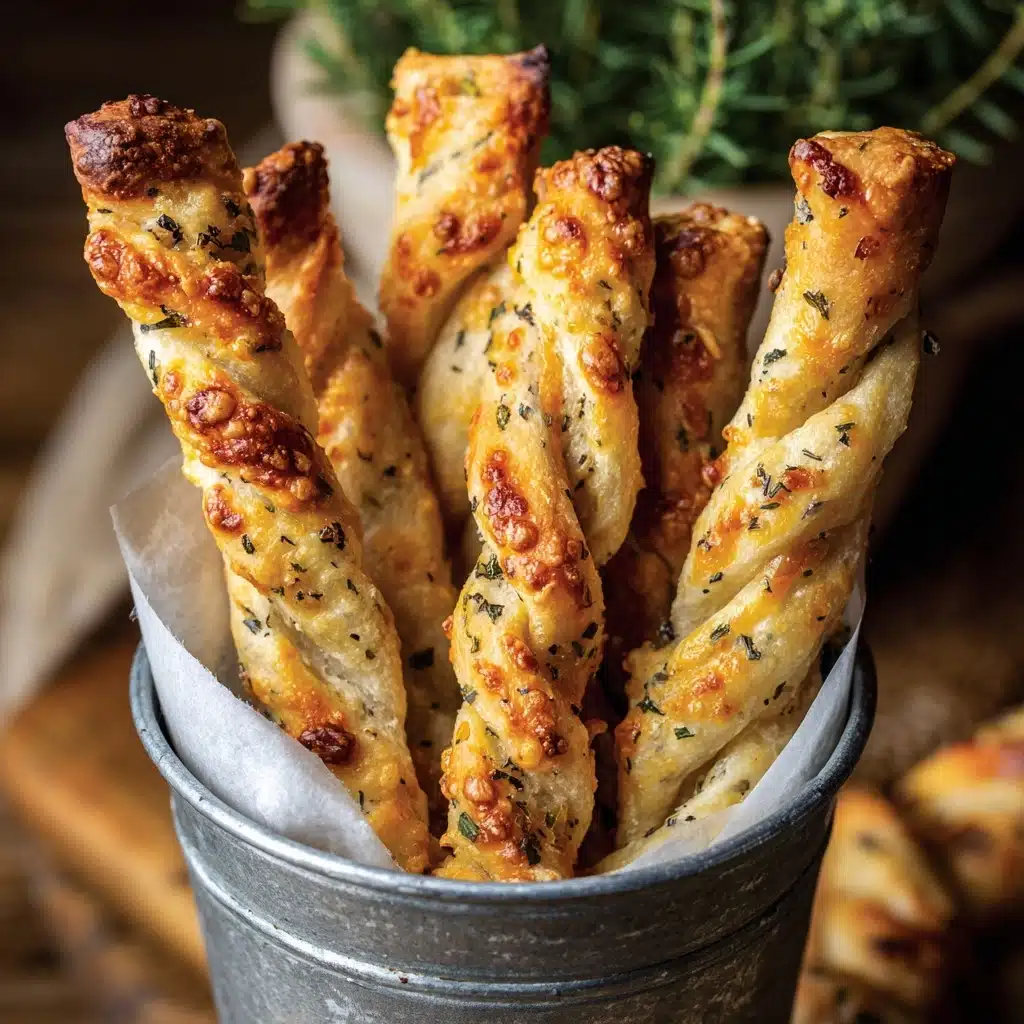
Prepare yourself for the ultimate comfort treat: Easy, Cheesy Breadsticks are everything their name promises and more. Imagine warm, golden sticks of fluffy, two-ingredient dough lavished with melted butter, garlic, and loads of bubbling cheese—these breadsticks taste just like your pizzeria favorite but are shockingly quick and simple to whip up at home. They’re the perfect appetizer, side dish, or even stand-alone snack, guaranteed to earn legendary status with your family and friends.

Ingredients You’ll Need
Part of the magic of Easy, Cheesy Breadsticks lies in how such humble ingredients combine for such mouthwatering results. Each item plays a unique role, from ensuring a perfect rise to infusing buttery, sharp, and savory flavors throughout every cheesy bite.
- Self-Rising Flour: This is the backbone of your dough, already mixed with leaveners for light, fluffy breadsticks without any fuss.
- Whole Milk Greek or Plain Yogurt: Choose a creamy, tangy yogurt like Stonyfield Organic to bind the dough while adding tenderness and subtle flavor.
- Salt: Don’t skip this—just a touch balances and heightens all the cheesy, buttery notes.
- Minced Garlic: Fresh minced garlic infuses every breadstick with that irresistible, classic aroma.
- Onion Powder: A simple pantry staple that backs up the garlic with a sweet-salty note.
- Melted Butter: Rich melted butter makes every inch golden, decadent, and crave-worthy—save a bit for finishing, too!
- Garlic Salt (optional): For the full pizzeria experience, add this—you won’t regret the boost in garlicky goodness.
- Shredded Cheese (Mozzarella, Parmesan, Monterey Jack): Go wild! This mix melts beautifully and brings stretchy, salty, and sharp cheese pulls to every bite.
How to Make Easy, Cheesy Breadsticks
Step 1: Get Ready to Bake
Preheat your oven to 400 degrees F so it’s piping hot and ready for action. Give your baking sheet a generous spray with non-stick spray—you want to ensure those gooey, cheesy breadsticks can slide right off when they’re golden and bubbling.
Step 2: Mix the Dough
In a large bowl or directly on a clean cutting board, combine your self-rising flour and yogurt. Don’t worry if it looks a little dry and crumbly as you start—just trust the process and use your hands to gently knead and squeeze everything together. The dough will come together as you mix, promising that soft, pillowy texture that makes Easy, Cheesy Breadsticks so special.
Step 3: Knead Until Smooth
Dust your work surface with some extra flour and turn out the dough. Knead it for about eight minutes until it becomes smooth, slightly elastic, and springs back when you poke it. If it ever gets too sticky, add just a touch more flour—think of this as a mini therapeutic arm workout!
Step 4: Roll It Out
Spray your countertop and rolling pin lightly with non-stick spray to keep things easy. Roll your dough into a big rectangle roughly 1/4-inch thick. If it looks a bit rustic and uneven, embrace it—no two homemade breadsticks should look exactly the same.
Step 5: Flavors On!
In a small bowl, combine your melted butter with salt, minced garlic, and garlic salt (if you’re going all-in). Now, brush this fragrant buttery blend all across your rolled-out dough. This is what sets Easy, Cheesy Breadsticks apart—the aroma is absolutely irresistible.
Step 6: Cheese, Please
Now for the fun: Shower the top half of your dough rectangle with as much cheese as your heart desires—any combo of mozzarella, Parmesan, and Monterey Jack works. The more, the merrier, and don’t worry if some spills over the edges; it will crisp up deliciously during baking.
Step 7: Fold and Seal
Take the bottom half of your dough rectangle and carefully fold it up over the cheesy top half so all those glorious shreds are tucked inside. Gently press the edges to seal and create a cheese pocket that’s ready for slicing.
Step 8: Slice and Twist
With a pizza cutter, slice the dough into 1 to 2-inch wide strips. Wider strips are best if you’re using oodles of cheese! Now, gently twist each strip a couple of times. Some cheese might tumble out—that’s your chef’s snack. Arrange all your twists on the prepared baking sheet with space between for crisp edges.
Step 9: Bake Until Golden
Pop your breadsticks in the oven and bake for 20–25 minutes. When they’re perfectly golden and the cheese is bubbling in all the right places, you’ll know you’ve achieved Easy, Cheesy Breadsticks greatness. Let them cool just enough that you can grab one without burning your fingers—if you can wait that long!
How to Serve Easy, Cheesy Breadsticks

Garnishes
You’ll love a simple sprinkle of chopped fresh parsley or basil for a fresh, herby finish. A little extra Parmesan grated on top as soon as the breadsticks come out of the oven melts into glorious little salty studs that no one can resist.
Side Dishes
Pair your Easy, Cheesy Breadsticks with a classic marinara or pizza sauce for dipping. They’re also dreamy alongside a crisp Caesar salad or as a companion for homemade soup—think tomato basil or minestrone for ultimate comfort.
Creative Ways to Present
For special gatherings, arrange the breadsticks in a basket lined with a checkered napkin, or stack them criss-cross on a wooden board with little bowls of sauces, dips, or whipped ricotta. You can even serve them “pizza style” with toppings like pepperoni or olives before they bake for an extra twist!
Make Ahead and Storage
Storing Leftovers
If you happen to have any Easy, Cheesy Breadsticks left (it’s rare!), cool them completely and store in an airtight container at room temperature for a day, or in the fridge for up to three days. Their flavors often deepen after a bit of rest, making leftovers extra tasty.
Freezing
These breadsticks freeze surprisingly well. Wrap them individually in foil or plastic, then stash in a freezer bag. When the craving strikes, just pull one out—they’ll keep for a month and make a speedy cheesy snack or side on busy nights.
Reheating
To reheat, warm breadsticks in the oven at 350 degrees F for about 8 minutes until hot and crisp around the edges. You can also pop them in an air fryer for a quick refresh, which revives both their tender inside and golden exterior. Avoid microwaving if you want to keep that beautiful texture.
FAQs
Can I use all-purpose flour instead of self-rising?
Absolutely! Just add 3 teaspoons of baking powder and 1/2 teaspoon of salt to every 2 cups of all-purpose flour to mimic self-rising flour. This quick fix keeps Easy, Cheesy Breadsticks fluffy and tender.
What other cheeses work well in this recipe?
You can swap in cheddar, provolone, gouda, or your favorite blends—just ensure they melt well. Customizing the cheese blend makes every batch of Easy, Cheesy Breadsticks a little different and a lot of fun.
Can I add herbs or spices to the dough?
Definitely! Try mixing in dried Italian herbs, crushed red pepper flakes, or a little black pepper with the flour or sprinkled on top for extra flavor. Personal touches make the breadsticks even more addictive.
What’s the best way to serve these for a party?
Serve your Easy, Cheesy Breadsticks warm in a big basket with a trio of dipping sauces like marinara, ranch, and garlic butter. You can even skewer the twists for easy, mess-free grabbing!
Is it possible to make the dough ahead of time?
Yes! Make the dough, wrap tightly, and refrigerate up to 24 hours ahead. When ready to bake, let the dough sit at room temperature for 15 minutes before rolling, filling, and baking your Easy, Cheesy Breadsticks.
Final Thoughts
There’s just something magical about tearing into a batch of warm, Easy, Cheesy Breadsticks with family or friends. Give this recipe a try with your favorite cheese combo and let it become a delicious new tradition at your table—you won’t be able to eat just one!
PrintEasy, Cheesy Breadsticks Recipe
These Easy Cheesy Breadsticks are a simple and delicious appetizer made with a 2-ingredient dough. Perfectly cheesy and flavorful, they are a crowd-pleaser for any occasion.
- Prep Time: 15 minutes
- Cook Time: 25 minutes
- Total Time: 40 minutes
- Yield: 8 sticks
- Category: Appetizer
- Method: Baking
- Cuisine: American
- Diet: Vegetarian
Ingredients
Dough Ingredients:
- 2 cups self-rising flour, plus more for dusting
- 1 cup Stonyfield Organic Whole Milk Greek Plain Yogurt or Stonyfield Organic Traditional Whole Milk Plain Yogurt
Coating Ingredients:
- 1 tsp salt
- 1 tsp minced garlic
- 2 tsp onion powder
- 5 Tbsp melted butter, divided
- 1 tsp garlic salt (optional)
- 2–3 cups shredded cheese (mozzarella, Parmesan, and Monterey Jack)
Instructions
- Preheat Oven: Preheat oven to 400 degrees F and spray a baking sheet with non-stick spray.
- Mix Dough: Combine flour and yogurt until a dough forms. Knead on a floured surface until smooth.
- Roll Out Dough: Roll dough into a rectangle, brush with melted butter and seasonings.
- Add Cheese: Sprinkle shredded cheese on half of the dough, then fold over and press edges to seal.
- Twist and Bake: Cut strips of dough, twist, and place on a baking sheet. Bake until golden and bubbly.
- Cool and Serve: Let the breadsticks cool slightly before serving.
Nutrition
- Serving Size: 1 breadstick
- Calories: 220
- Sugar: 2g
- Sodium: 480mg
- Fat: 12g
- Saturated Fat: 7g
- Unsaturated Fat: 4g
- Trans Fat: 0g
- Carbohydrates: 20g
- Fiber: 1g
- Protein: 8g
- Cholesterol: 30mg


