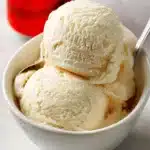
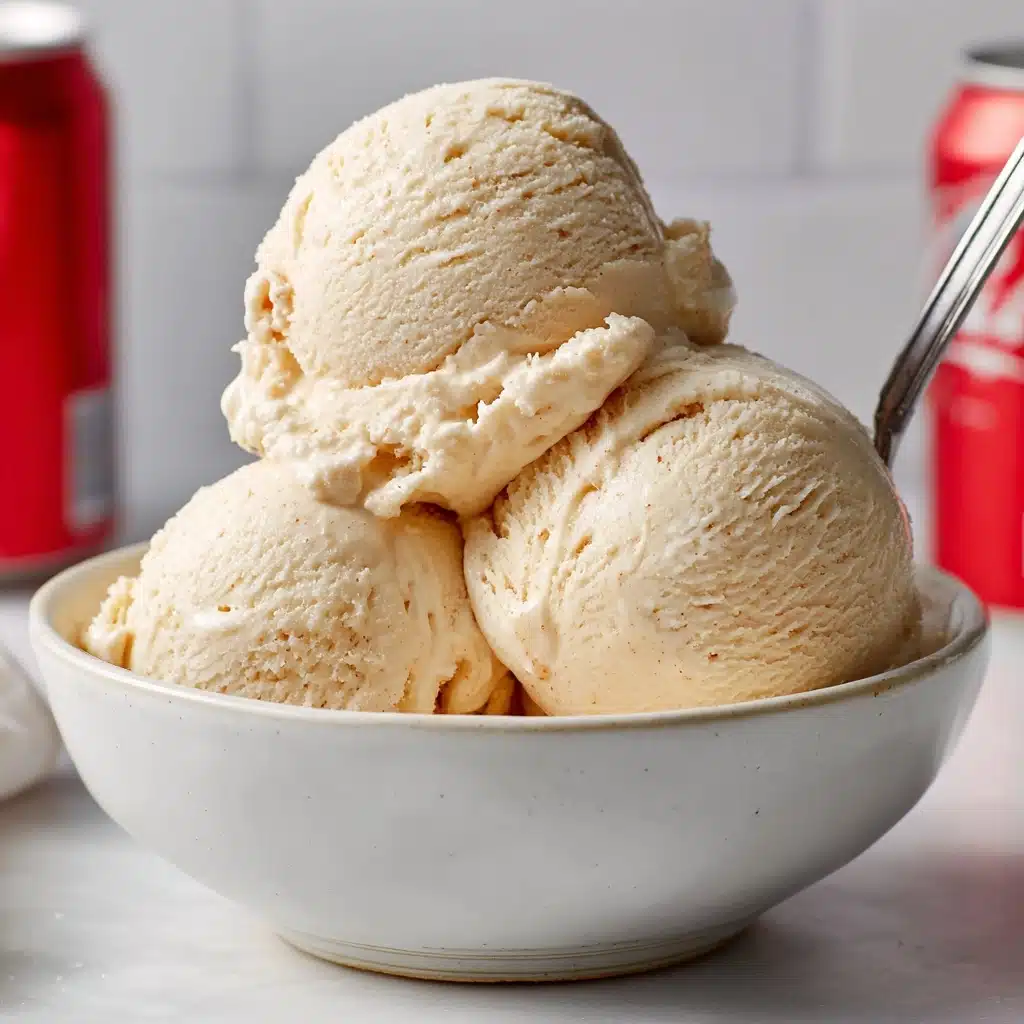
If you’ve ever wanted to capture the unmistakable fizz and cherry-vanilla nostalgia of Dr Pepper in a frozen treat, Dr Pepper Ice Cream is about to become your new summer obsession. This creamy, dreamy dessert blends the iconic flavors of Dr Pepper soda with luscious whipped cream and condensed milk, so each scoop is rich, smooth, and brimming with subtle spice. Even better, it’s a no-churn recipe! With just a handful of ingredients and a few easy steps, you’ll be making memories (and smiles) at every barbecue, birthday, or cozy night in.
Ingredients You’ll Need
Amazingly, you only need three main ingredients to conjure up this luscious Dr Pepper Ice Cream. Each one plays a starring role: the soda brings that signature flavor, cream gives the ice cream its rich, velvety body, and condensed milk delivers the sweetness and smooth scoopability of old-fashioned parlor ice cream.
- Sweetened condensed milk (14 ounces): This acts as the sweetener and the “secret” to creamy texture—don’t swap it for regular milk!
- Dr Pepper, cold (12 ounces): Chilled soda is crucial for quick freezing and for keeping excess foam to a minimum. The colder, the better!
- Cold heavy cream (2 cups): Whipping this into stiff peaks gives your ice cream its airy, scoopable texture. Always use it straight from the fridge.
How to Make Dr Pepper Ice Cream
Step 1: Prep Your Tools
Start by popping your loaf pan and either your stand mixer bowl and whisk or your hand mixer beaters and a mixing bowl in the freezer for 30 minutes. This little trick helps everything whip up cold and stiff, which means a better, fluffier ice cream base in the end.
Step 2: Mix Sweetened Condensed Milk and Soda
Pour the condensed milk into a medium bowl. Slowly add the cold Dr Pepper, gently stirring as you go. Pouring it in slowly is key—this keeps bubbles and foam at bay, so your Dr Pepper Ice Cream will freeze up ultra-smooth and luscious.
Step 3: Whip the Heavy Cream
When your bowl and whisk are icy-cold, add the heavy cream and beat on medium-high until it’s a little frothy (about a minute). Then, kick things up to high speed until you see beautiful stiff peaks form—another 1 1/2 to 2 minutes. This step gives your ice cream that signature lightness and helps it hold its shape.
Step 4: Fold the Cream into the Soda Mixture
Now for the magic: gently fold the whipped cream into the soda and condensed milk mix, one cup at a time. Use a silicone spatula and a soft touch. Folding keeps all that precious air in the mixture, making your Dr Pepper Ice Cream outrageously creamy and dreamy.
Step 5: Pour and Smooth the Ice Cream
Pour the airy, bubbly base into your cold loaf pan. Use a spatula to smooth the top for a pretty finish. This step is all about even freezing, so spread it out as evenly as you can.
Step 6: Freeze Until Firm
Cover the pan tightly with heavy-duty foil and slide it into the freezer. The waiting might test your patience, but after a minimum of 6 hours, you’ll have perfectly scoopable, crave-worthy Dr Pepper Ice Cream. Start checking firmness around the 4-hour mark—every freezer is a little different!
Step 7: Scoop and Serve
Once the ice cream is firm, it’s time for the best part. Grab your favorite bowls or cones and scoop away. Get ready for a wave of fizzy, creamy Dr Pepper nostalgia in every bite.
How to Serve Dr Pepper Ice Cream
Garnishes
The fun is just getting started! Try topping your Dr Pepper Ice Cream with whipped cream, maraschino cherries, or a sprinkle of chocolate shavings. A drizzle of cherry syrup or a handful of crushed cookies turns a simple scoop into a showstopper.
Side Dishes
Pair your ice cream with warm brownies, fudgy chocolate cake, or classic sugar cookies—the interplay of warm and cold will give you instant dessert bliss. Or, keep it simple with an ice cream cone or a crisp waffle cup.
Creative Ways to Present
Turn Dr Pepper Ice Cream into a float by adding an extra splash of soda, or sandwich it between two cookies for the ultimate ice cream sandwich. For parties, try serving mini scoops in shot glasses or topping cupcakes with a quenelle of ice cream for a playful twist.
Make Ahead and Storage
Storing Leftovers
Keep any leftover Dr Pepper Ice Cream tightly covered in the freezer. A layer of plastic wrap under the foil helps prevent ice crystals, so every scoop stays smooth and creamy. It’s best enjoyed within two weeks for maximum freshness and flavor.
Freezing
This ice cream freezes beautifully! Make sure your container is airtight and always store it at the back of the freezer (where the temperature is most consistent). If your family’s anything like mine, though, it rarely lasts long before disappearing!
Reheating
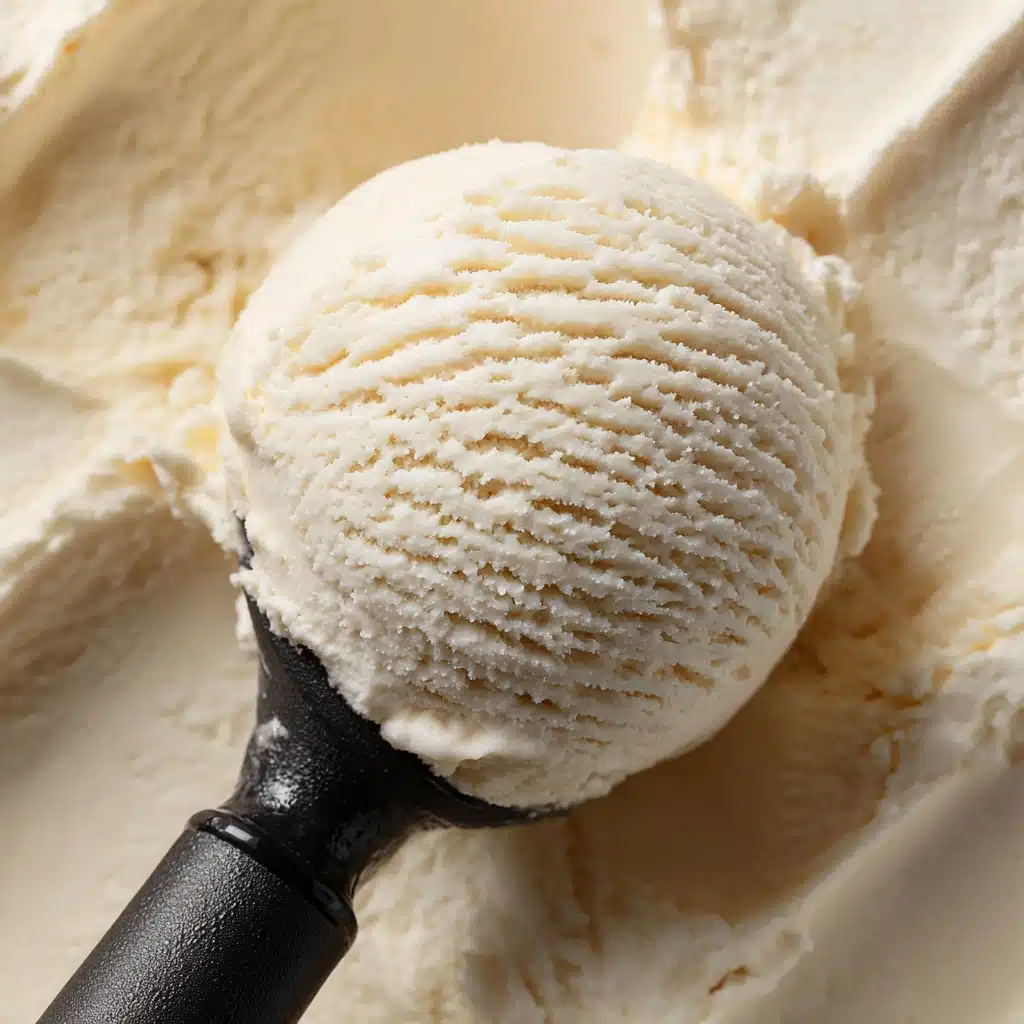
You actually don’t need to reheat, but if your Dr Pepper Ice Cream is super firm, let it sit on the counter for 5 to 10 minutes before scooping. This softens it just enough for those perfect, round scoops.
FAQs
Can I use diet Dr Pepper instead of regular?
Yes, you can substitute diet Dr Pepper in the ice cream, but keep in mind that the artificial sweeteners might change the texture slightly. The flavor will still shine, though!
Do I need an ice cream maker for this recipe?
Nope! Dr Pepper Ice Cream is totally no-churn. The whipped cream and condensed milk create all the creaminess and body you need—no fancy gadgets required.
Will this recipe work with other sodas?
Absolutely! Feel free to experiment with root beer, cream soda, or even orange soda for your own custom sodapop-inspired flavors. Just make sure the soda is cold for best results.
Can I double the recipe for a crowd?
Definitely! Just double all ingredients and use two loaf pans—or a larger freezer-safe dish—to ensure even freezing. It’s a hit at parties and potlucks, so go big!
How do I get the creamiest texture possible?
Make sure everything is super cold before you begin, pour the soda in slowly to minimize bubbles, and don’t rush the freezing process. Folding the cream gently is another key—these little tricks add up to dreamy Dr Pepper Ice Cream every time!
Final Thoughts
If you’re ready for a playful trip down memory lane and a big dose of yum, give Dr Pepper Ice Cream a try. It’s easy, nostalgic, and just plain fun to make. I promise, one bite will turn any day into a celebration—go ahead, make it your new signature treat!
PrintDr Pepper Ice Cream Recipe
Indulge in the delightful combination of the unique flavor of Dr Pepper and creamy homemade ice cream with this easy and fun Dr Pepper Ice Cream recipe. Perfect for any occasion!
- Prep Time: 20 minutes
- Total Time: 6 hours 50 minutes
- Yield: 6 servings
- Category: Dessert
- Cuisine: American
- Diet: Vegetarian
Ingredients
Sweetened Condensed Milk
- 14 ounces
Dr. Pepper
- 12 ounces, cold
Heavy Cream
- 2 cups, cold
Instructions
- Prepare Freezing Equipment: Chill a loaf pan, mixing bowl, and beaters for 30 minutes.
- Mix Sweetened Condensed Milk and Dr Pepper: Combine in a bowl.
- Whip Heavy Cream: Beat until stiff peaks form.
- Fold Cream into Dr. Pepper Mixture: Gently combine.
- Freeze: Transfer to loaf pan, cover, and freeze for 6 hours.
- Serve: Scoop into bowls or cones.
Notes
- Adding soda slowly reduces foam for a smoother texture.
- Chilling the soda speeds up freezing time.
Nutrition
- Serving Size: 1 serving
- Calories: 507 kcal
- Sugar: 45g
- Sodium: 116mg
- Fat: 34g
- Saturated Fat: 22g
- Carbohydrates: 45g
- Protein: 7g
- Cholesterol: 112mg

