If you’ve ever dreamed of sinking your teeth into a rich, melt-in-your-mouth treat that carries the nostalgia of grandma’s kitchen, this Old Fashioned Chocolate Fudge Recipe is exactly what you need. It’s the kind of fudge that wraps you in warm memories and satisfies your chocolate cravings with a perfect balance of creamy sweetness and deep cocoa flavor. The slow cooking process and simple, wholesome ingredients come together to create a timeless dessert that’s utterly irresistible and perfect to share or savor solo.
Ingredients You’ll Need
The magic behind this Old Fashioned Chocolate Fudge Recipe lies in its simplicity. Each ingredient plays a crucial role in building the texture, sweetness, and that signature chocolate depth you crave without any fuss or fancy add-ins.
- 3 cups granulated sugar: The foundation of sweetness that gives fudge its classic candy texture.
- 2/3 cup Dutch-processed unsweetened cocoa: Offers a rich, smooth chocolate flavor with a beautiful dark color.
- 1/8 teaspoon salt: Just a pinch to balance the sweetness and enhance all the chocolate notes.
- 1 1/2 cups whole milk: Provides creamy moisture and a silky mouthfeel that makes the fudge tender.
- 1/4 cup butter (room temperature, preferably salted): Adds luscious richness and helps the fudge set with a slight sheen.
- 1 teaspoon vanilla extract: Infuses warmth and depth to round out the chocolate perfectly.
You’ll find the full ingredient list, instructions, and print option in the recipe card below.
How to Make Old Fashioned Chocolate Fudge Recipe
Step 1: Prepare Your Pan
Begin by lining an 8-inch square pan with buttered parchment paper. This step not only prevents sticking but also makes sure you can lift out the fudge in one perfect slab once it’s set.
Step 2: Combine Dry Ingredients
In a medium heavy-bottomed saucepan, stir together the granulated sugar, Dutch-processed cocoa, and salt. Adding the dry ingredients first lets you evenly distribute the chocolate and salt before adding the liquid layer of richness.
Step 3: Add Milk and Cook
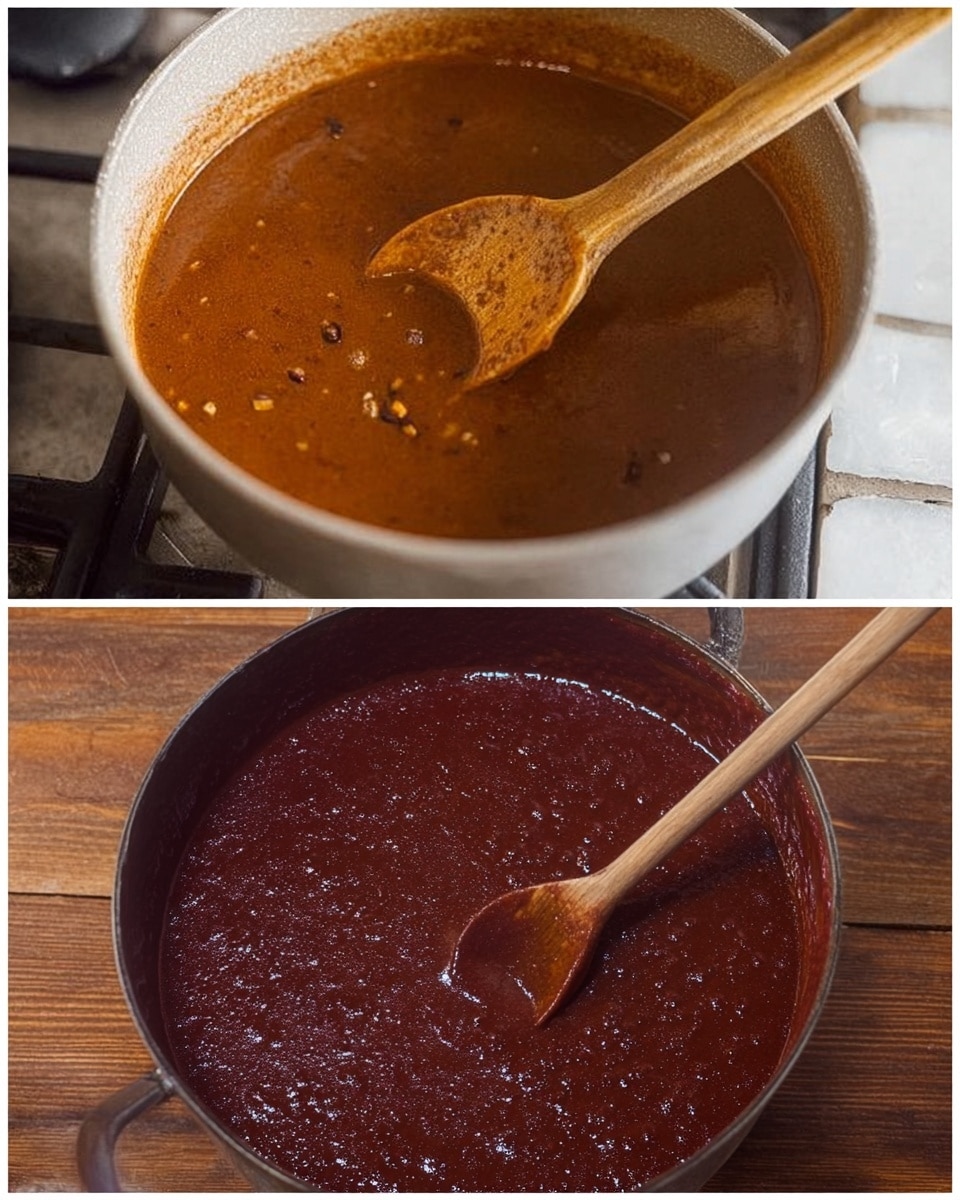
Pour the whole milk into your cocoa mixture and stir gently using a wooden spoon. Cook over medium heat, stirring continuously, until it reaches a strong boil—about 15 minutes. This initial boiling step dissolves the sugar fully and starts building a smooth base.
Step 4: Slow Cooking to Perfect Temperature
Turn the heat down to low-medium and continue to cook without stirring until the mixture reaches 234°F (112°C). This part takes around 30 minutes and is critical—it sets the foundation for the fudge’s creamy texture by achieving the perfect candy stage.
Step 5: Add Butter and Vanilla, Then Cool
Remove the pan from heat and immediately stir in the butter and vanilla without mixing. Let the mixture cool at room temperature to about 110°F (43°C), roughly 30 minutes. This resting period is essential—it lets the fudge thicken just right before beating.
Step 6: Beat and Set
Using a wooden spoon, beat the mixture energetically for 6 to 8 minutes until it loses its glossy sheen. This aeration step transforms the fudge from a thick syrup into the smooth, creamy candy you’re after. Quickly spread the fudge into your prepared pan and allow it to cool completely, ideally overnight, at room temperature.
Step 7: Cut and Store
Once fully set, cut your fudge into squares and store them in an airtight container at room temperature. This helps keep your fudge soft yet firm enough to hold its shape, ready for whenever a chocolate craving hits.
How to Serve Old Fashioned Chocolate Fudge Recipe
Garnishes
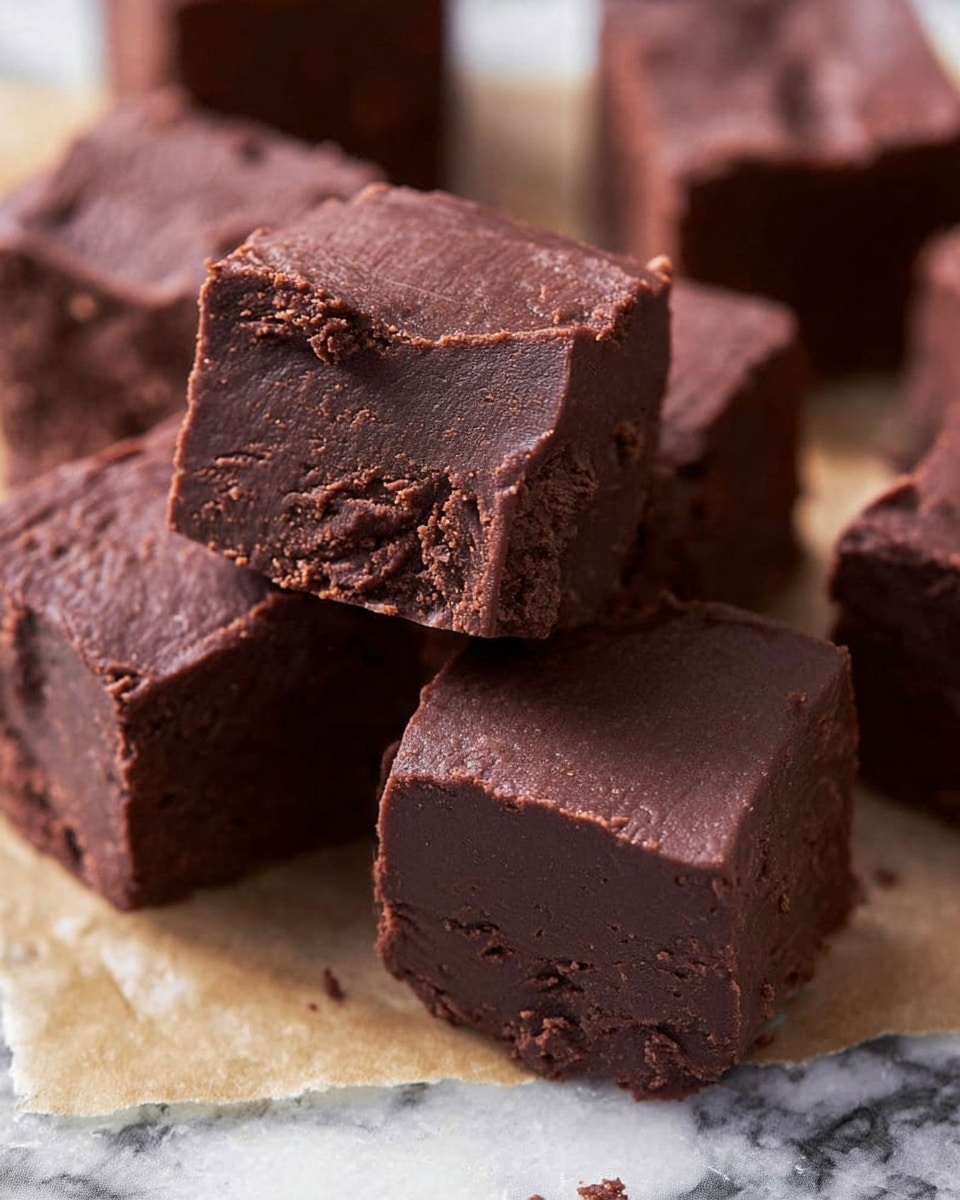
A sprinkle of flaky sea salt or a dusting of cocoa powder can elevate your fudge by contrasting the sweetness and enhancing the chocolate’s richness. For a festive touch, chopped nuts or crushed peppermint candies add texture and flavor twists that delight any palate.
Side Dishes
This fudge stands beautifully on its own but can also be served alongside a hot cup of coffee or tea. The warm bitterness of the beverage pairs impeccably with the sweet dense fudge, creating a balanced tasting experience perfect for cozy afternoons or after-dinner indulgence.
Creative Ways to Present
Think outside the box by gifting your Old Fashioned Chocolate Fudge Recipe as charming homemade presents. Wrap pieces in parchment paper tied with twine or arrange squares in decorative boxes for birthdays or holidays. You could even layer fudge with crushed cookies and whipped cream in a clear jar for a decadent dessert gift.
Make Ahead and Storage
Storing Leftovers
Leftover fudge keeps wonderfully at room temperature in an airtight container for up to two weeks. Make sure to place parchment sheets between layers if stacking to prevent sticking, so each piece remains pristine and ready to enjoy.
Freezing
You can freeze leftover fudge by wrapping it tightly in parchment paper and placing it in a double plastic bag to avoid freezer burn. Freeze the whole slab or cut into pieces for up to three months. Thaw at room temperature before serving to retain that perfect texture.
Reheating
Since fudge is best enjoyed cool or at room temperature, reheating isn’t usually necessary. However, if you prefer a softer texture, briefly warm pieces with a microwave at low power in short bursts, watching carefully to avoid melting.
FAQs
Can I use milk chocolate or dark chocolate bars instead of cocoa powder?
This recipe relies on unsweetened Dutch-processed cocoa to control sweetness and texture precisely. Using chocolate bars will alter the sugar content and fats, so adjustments would be needed. For authentic results, stick to the cocoa powder here.
Why do I need to use a wooden spoon instead of metal or a whisk?
A wooden spoon is gentle and prevents unwanted reactions with the cocoa and sugar mixture. Metal spoons can sometimes affect flavor, and whisks introduce too much air too early, which can change your fudge’s texture.
What if I don’t have a candy thermometer?
The temperature is crucial in this Old Fashioned Chocolate Fudge Recipe, so a candy thermometer is the best tool for success. If you don’t have one, test the soft-ball stage by dropping a small amount of the cooked syrup into cold water; it should form a soft, pliable ball.
Can I substitute butter with margarine or a non-dairy alternative?
Butter adds richness and helps with the fudge’s creamy texture and flavor. Margarine may work but might result in slightly different taste and consistency. Non-dairy alternatives can be tried, but expect some variation in the final texture and flavor.
How long should I beat the fudge for the best texture?
Beating for about 6 to 8 minutes is key in this recipe. This time frame helps the fudge lose its glossy sheen and develop that classic smooth, creamy texture. Underbeating will leave the fudge sticky; overbeating might cause it to dry out.
Final Thoughts
There’s something truly special about an Old Fashioned Chocolate Fudge Recipe that brings comfort and happiness with every bite. Whether you’re new to fudge-making or revisiting a beloved classic, this recipe’s simplicity and depth of flavor are sure to make it a favorite in your home. Don’t hesitate—grab those simple ingredients and treat yourself to a taste of timeless deliciousness today!
PrintOld Fashioned Chocolate Fudge Recipe
This Old Fashioned Chocolate Fudge recipe delivers a rich, creamy, and perfectly textured homemade treat. Made with simple pantry ingredients like granulated sugar, unsweetened cocoa, whole milk, butter, and vanilla, it captures the nostalgic flavor of classic fudge. The slow cooking and careful temperature control create a smooth, melt-in-your-mouth sweetness perfect for holidays, gifts, or anytime indulgence.
- Prep Time: 15 minutes
- Cook Time: 45 minutes
- Total Time: 9 hours 15 minutes (including cooling and setting time)
- Yield: 20 servings
- Category: Dessert
- Method: Stovetop
- Cuisine: American
Ingredients
Fudge Ingredients
- 3 cups granulated sugar
- 2/3 cup unsweetened dutch-processed cocoa powder
- 1/8 teaspoon salt
- 1 1/2 cups whole milk
- 1/4 cup butter (salted, room temperature)
- 1 teaspoon vanilla extract
Instructions
- Prepare Pan: Line an 8-inch square pan with buttered parchment paper to ensure easy removal of the fudge once set.
- Combine Dry Ingredients: In a medium heavy saucepan, stir together the granulated sugar, cocoa powder, and salt to evenly mix the dry ingredients.
- Add Milk and Heat: Pour in the whole milk and stir with a wooden spoon (avoid whisk or metal spoon) until combined. Cook over medium heat, stirring continuously, until the mixture reaches a strong boil, about 15 minutes.
- Cook to Soft Ball Stage: Reduce heat to low-medium and cook without stirring until the mixture reaches 234°F (112°C), the soft ball stage, which takes approximately 30 minutes. Use a candy thermometer for accuracy.
- Add Butter and Vanilla, Cool: Remove the pot from heat. Add the room temperature butter and vanilla extract but do not stir. Allow the mixture to cool to about 110°F (43°C), roughly 30 minutes.
- Beat the Mixture: Using a wooden spoon, beat the mixture vigorously for 6 to 8 minutes until it begins to lose its gloss and thickens, indicating it’s ready to set.
- Set the Fudge: Quickly spread the beaten fudge into the prepared pan. Let it cool completely at room temperature, at least several hours or overnight, to firm up.
- Cut and Store: Once fully set, cut the fudge into squares. Store in an airtight container at room temperature. It keeps for about 2 weeks.
- Freeze for Longer Storage: For longer storage, wrap tightly in a double bag and freeze up to 3 months. Freeze either as pieces or the whole slab. Thaw before serving.
Notes
- Use a candy thermometer to ensure accurate cooking temperature for perfect fudge consistency.
- Do not stir the mixture while it reaches 234°F to avoid grainy texture.
- Beat the fudge only after it has cooled to losing gloss to get a creamy finish.
- Room temperature butter and vanilla help incorporate flavors smoothly.
- Store fudge in an airtight container to keep it moist and fresh.
- Freezing fudge extends shelf life and maintains texture if wrapped well.

