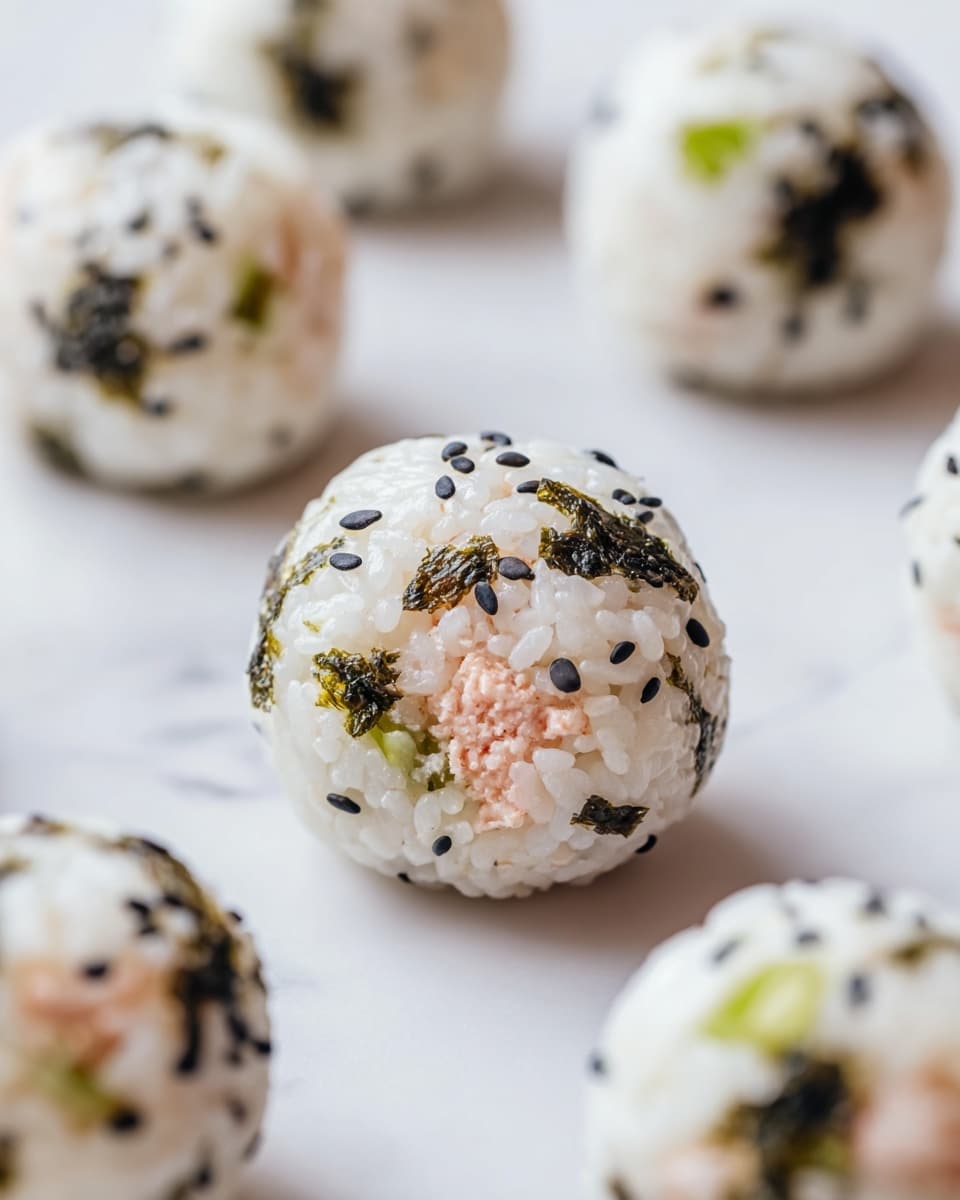
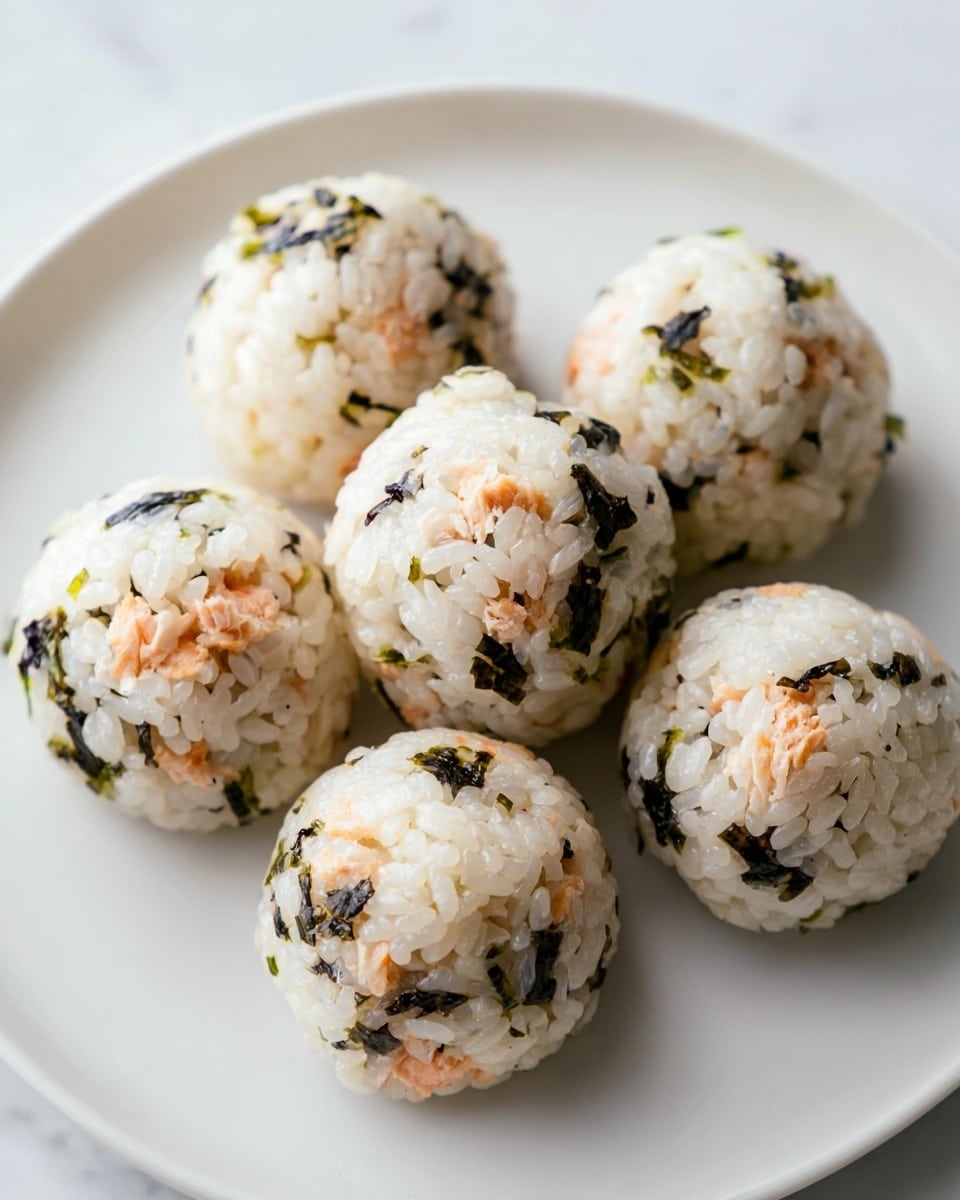
If you’re craving a bite-sized snack that bursts with umami and satisfying texture, look no further than this Easy Tuna Rice Balls Recipe. These little gems are a delightful combo of fluffy sushi rice, creamy Japanese mayonnaise, savory canned tuna, and the delightful crunch of roasted seaweed. Perfectly portable and wonderfully tasty, they make for a quick lunch, snack, or appetizer that anyone can whip up in no time!
Ingredients You’ll Need

Gathering the ingredients for this recipe is a breeze because each component plays a starring role in building flavor and texture. From the soft, sticky sushi rice to the fragrant sesame oil and crispy seaweed, every ingredient contributes to making these tuna rice balls irresistibly delicious and visually appealing.
- 2 cups prepared sushi rice: The soft, sticky base that holds everything together perfectly.
- 150 grams canned tuna: Conveniently packed protein that provides a rich and savory taste.
- 1 tablespoon sesame oil: Adds a toasty depth and nutty aroma that takes the flavor up a notch.
- 2-3 tablespoons Japanese mayonnaise (Kewpie style): Creamy, slightly sweet mayo that binds the mixture and adds indulgent moisture.
- 1 to 1½ cups torn roasted seaweed: Offers a delightful crunch and a subtle oceanic taste that complements the tuna beautifully.
You’ll find the full ingredient list, instructions, and print option in the recipe card below.
How to Make Easy Tuna Rice Balls Recipe
Step 1: Combine Ingredients
Start with a large bowl and add your prepared sushi rice, sesame oil, Japanese mayonnaise, canned tuna, and torn roasted seaweed. Mix everything thoroughly until the tuna and mayo evenly coat the rice and the seaweed is evenly distributed. This step ensures every bite delivers that perfect balance of flavors and textures. If you find the mixture a bit dry, feel free to add a little more mayo until you reach your preferred creaminess.
Step 2: Shape the Mixture
Press the mixture down gently to flatten the surface in the bowl. Using a spatula, cut the mixture into eight triangular sections, similar to how you would slice a pizza. No need to obsess over exact measurements here — just eyeball it and divide the mixture into roughly equal portions for ease and speed.
Step 3: Form the Rice Balls
With clean hands or gloves, scoop each triangular portion up and carefully roll it into a ball shape. The key is to pack them firmly enough so they hold together, but not so tight that they become dense and hard. Once you’ve formed all eight, your rice balls are almost ready to dazzle.
Step 4: Serve and Enjoy
Serve these delectable Easy Tuna Rice Balls right away for the best texture—a tender, creamy center wrapped in soft yet cohesive rice. They shine on their own or paired with your favorite side items for a fun, fuss-free meal or snack.
How to Serve Easy Tuna Rice Balls Recipe

Garnishes
Sprinkle additional toasted sesame seeds over the rice balls for extra crunch and nuttiness. Thinly sliced green onions or a small drizzle of soy sauce can add a fresh, savory zing. For a pop of color, bright red pickled ginger makes for a beautiful and palate-cleansing garnish.
Side Dishes
Pair your tuna rice balls with miso soup for a warm pairing or a crisp seaweed salad to double down on that wonderful ocean flavor. Freshly sliced cucumber or carrot sticks offer crunch and freshness alongside these creamy rice balls, rounding out the meal beautifully.
Creative Ways to Present
To impress guests or add a flair to your meal, serve rice balls on a platter lined with shiso leaves or bamboo leaves. You could also skewer a few rice balls with pickled vegetables for a fun, portable appetizer. Wrapping individual rice balls in half a sheet of nori adds visual appeal and keeps fingers clean.
Make Ahead and Storage
Storing Leftovers
If you happen to have leftovers, store them in an airtight container in the refrigerator. It’s best to enjoy them within 24 hours to maintain freshness and the soft texture of the rice.
Freezing
While you can freeze tuna rice balls, be mindful that the texture of sushi rice may change slightly upon thawing. To freeze, wrap each rice ball individually in plastic wrap, then place in a freezer-safe container. They can be kept frozen for up to one month.
Reheating
To reheat, gently steam the frozen rice balls or microwave them wrapped in a damp paper towel to retain moisture. Avoid overheating as the rice can become dry or hard. Enjoy immediately after reheating for the best flavor and texture.
FAQs
Can I use regular mayonnaise instead of Japanese mayonnaise?
Absolutely! While Japanese mayonnaise like Kewpie adds a slightly sweeter and richer flavor, regular mayo will still work fine. You might want to add a pinch of sugar or a dash of rice vinegar to mimic the subtle tang of Japanese mayo.
Is it necessary to use sushi rice?
Sushi rice is preferred because of its sticky texture which helps the rice balls hold their shape. Using regular long-grain rice won’t work as well since it tends to be less sticky and more fluffy.
Can I add other ingredients to the rice balls?
Definitely! Feel free to mix in finely chopped vegetables like cucumber or pickled radish, or substitute the tuna for cooked salmon or crab for variety and extra flavor.
How long do these rice balls stay fresh?
For the best taste and texture, eat the rice balls within a day of preparation. Stored in the fridge, they can last up to 24 hours but tend to dry out or lose their soft texture after that.
Are these rice balls suitable for a picnic or packed lunch?
Yes! These rice balls are great for on-the-go meals as they’re portable and easy to eat with fingers. Just keep them chilled and pack them in an insulated lunchbox to ensure freshness.
Final Thoughts
Making this Easy Tuna Rice Balls Recipe is a joyful experience that results in an incredibly satisfying snack or light meal. The harmonious blend of creamy tuna, fragrant sesame oil, and crisp seaweed nestled in soft sushi rice is comfort food at its best. I encourage you to give this recipe a try and enjoy the delicious simplicity it brings to your table. Trust me, once you taste these, they’ll become a beloved go-to that you want to share with everyone.
PrintEasy Tuna Rice Balls Recipe
Easy Tuna Rice Balls are a quick and delicious Japanese-inspired snack made with sushi rice, canned tuna, roasted seaweed, and a creamy Japanese mayonnaise dressing. These hand-formed rice balls come together in just 15 minutes, making them perfect for a light meal or a tasty on-the-go bite.
- Prep Time: 5 minutes
- Cook Time: 0 minutes
- Total Time: 15 minutes
- Yield: 4 servings (8 rice balls)
- Category: Snack
- Method: No-Cook
- Cuisine: Japanese
- Diet: Halal
Ingredients
Main Ingredients
- 2 cups prepared sushi rice
- 150 grams canned tuna
- 1 tablespoon sesame oil
- 2–3 tablespoons Japanese mayonnaise (Kewpie style)
- 1 to 1½ cups torn roasted seaweed
Instructions
- Combine Ingredients: In a large bowl, add the prepared sushi rice, sesame oil, Japanese mayonnaise, canned tuna, and torn roasted seaweed. Mix all the ingredients thoroughly with a spatula or spoon until everything is well combined. If the mixture feels too dry or not creamy enough, gradually add more mayonnaise to reach the desired consistency.
- Shape the Mixture: Press the combined rice mixture down gently in the bowl to create a flat surface. Using a spatula, cut the rice mixture into 8 triangular portions, similar to slicing a pizza. Alternatively, you can estimate portions by eye to form equally sized rice balls.
- Form the Rice Balls: With clean hands or disposable gloves, scoop each triangular portion and gently roll it into a tight, compact ball. Press firmly to ensure each rice ball holds its shape well without falling apart.
- Serve and Enjoy: Serve the rice balls immediately to enjoy the best texture and flavor. They can be enjoyed on their own or paired with favorite side dishes or dipping sauces for added flavor.
Notes
- Using warm sushi rice makes it easier to combine and shape.
- Adjust the amount of Japanese mayonnaise according to desired creaminess.
- For added flavor, you can sprinkle some furikake (Japanese rice seasoning) over the rice mixture.
- Make sure your hands are slightly wet or oiled to prevent sticking while forming the rice balls.
- Rice balls are best enjoyed fresh but can be stored in the refrigerator for up to 1 day.


