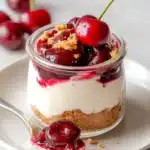
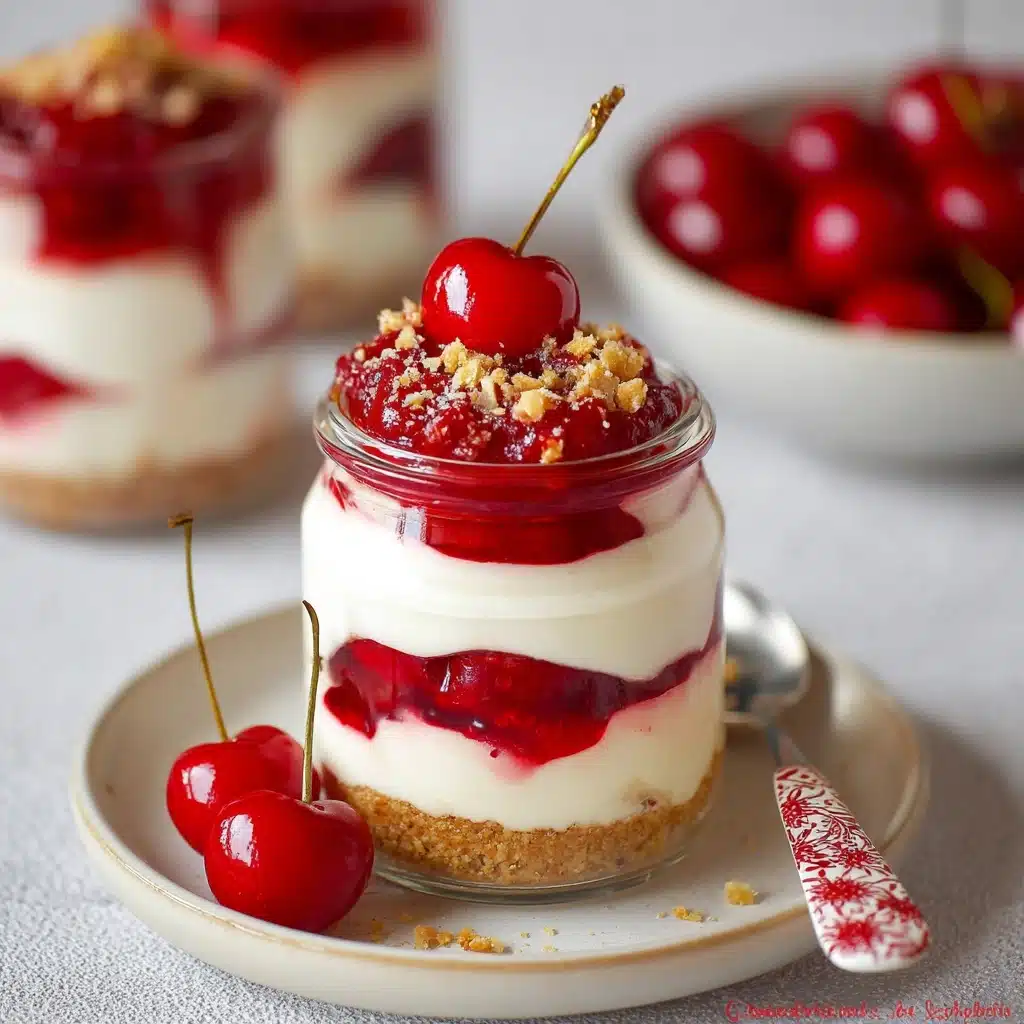
If you’re on the lookout for a dessert that’s as easy to assemble as it is absolutely irresistible, you need to try this NO BAKE CHERRY CHEESECAKE. Picture it: cool and creamy cheesecake layered between juicy cherry sauce and buttery graham cracker crumbs, all without ever turning on the oven. Whether served in individual jars for a summer party or one big trifle bowl to scoop and share, this treat brings pure joy with every bite. The contrast of tart cherries, silky cream cheese, and a crisp crust hits every sweet spot—no matter the season!
Ingredients You’ll Need
The beauty of a NO BAKE CHERRY CHEESECAKE is how every ingredient shines in its own way—each one is essential for luscious texture, vibrant flavor, and gorgeous color. You’ll find these are all easy to find, and many can be prepped ahead for stress-free dessert magic.
- Cherries (2 cups, fresh or frozen): Their natural sweetness and tang make the cherry layer pop; cut and pit for maximum flavor dispersion.
- Water (½ cup): Forms the base of your cherry sauce, helping the fruit break down gently.
- Fresh Lemon Juice (2 tablespoons): Brightens the cherries and balances the sweetness.
- Granulated Sugar (½ cup): Sweetens the cherry filling just enough without masking its fruity flair.
- Cornstarch (1 tablespoon): Thickens the sauce so it’s luxuriously glossy and stays perfectly layered.
- Heavy Whipping Cream (1 cup): Whipped to airy perfection, giving your cheesecake layer that cloud-like lift.
- Powdered Sugar (¾ cup, divided): Provides sweetness and stabilizes both the whipped cream and the cheesecake filling.
- Cream Cheese (8 ounces, 1 block): The backbone of your cheesecake—a little tang, a lot of creaminess.
- Vanilla Extract (1 teaspoon): Adds depth and warmth to the cheesecake filling.
- Graham Crackers (5 full sized, crushed): The classic crust: sweet, buttery, and just a bit toasty for crunch and nostalgia.
How to Make NO BAKE CHERRY CHEESECAKE
Step 1: Prep the Cherry Filling
Start by washing, pitting, and halving your cherries if you haven’t already—measure two cups once prepared. In a medium saucepan, combine water and fresh lemon juice and warm over medium heat, bringing out a little brightness right from the start. In a bowl, whisk sugar and cornstarch together so the starch disperses evenly (no lumps here!). Add this mix into your warming pan and stir with a whisk for a minute or two. Now, add in the cherries and keep stirring gently as the sauce thickens and turns glossy and beautiful. Once thickened, transfer the sauce into a bowl and let it cool in the fridge—this helps everything set up nicely for gorgeous layers later.
Step 2: Whip the Cream
For cloud-like cheesecake, don’t rush this crucial step! Pop your mixing bowl and beaters in the freezer for 5-10 minutes to chill—this makes the cream whip up even faster and fluffier. Pour in the heavy cream and beat until it starts to thicken. Gradually add in 1/4 cup of powdered sugar and continue beating until stiff peaks form. Remember: you want it thick, but don’t overdo it or you’ll get butter. Scoop the whipped cream into a bowl and stash it in the fridge while you prep the next layer.
Step 3: Make the Cheesecake Base
In the same bowl (no need to wash!), beat the cream cheese until smooth and creamy. Add the remaining 1/2 cup of powdered sugar and the vanilla extract, blending until everything’s beautifully combined. Gently fold in a scoop of your fresh whipped cream to lighten the mixture, then add the remaining whipped cream and mix until smooth—careful not to overmix, you want this layer to stay fluffy.
Step 4: Assemble the Layers
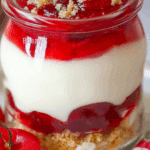
Add a spoonful of crushed graham crackers to the bottom of each serving dish or your trifle bowl. Next, pipe or spoon in that dreamy cheesecake filling—using a piping bag or a large zip-top bag with the corner snipped off makes neater layers. Then comes a generous layer of cooled cherry filling, spreading those plump, glossy cherries right up to the edges. Repeat with another cheesecake layer, followed by more cherries, then finish with a sprinkle of graham crumbs for texture. If you’re not serving right away, save the final graham cracker sprinkle until just before serving.
Step 5: Chill and Serve
Your NO BAKE CHERRY CHEESECAKE is ready to eat right now, but letting it chill for up to 4 hours will make everything marry together for the creamiest, dreamiest dessert. If you’re making ahead, cover the dishes and store, but hold off on that last scatter of graham crumbs until you’re ready to dig in!
How to Serve NO BAKE CHERRY CHEESECAKE
Garnishes
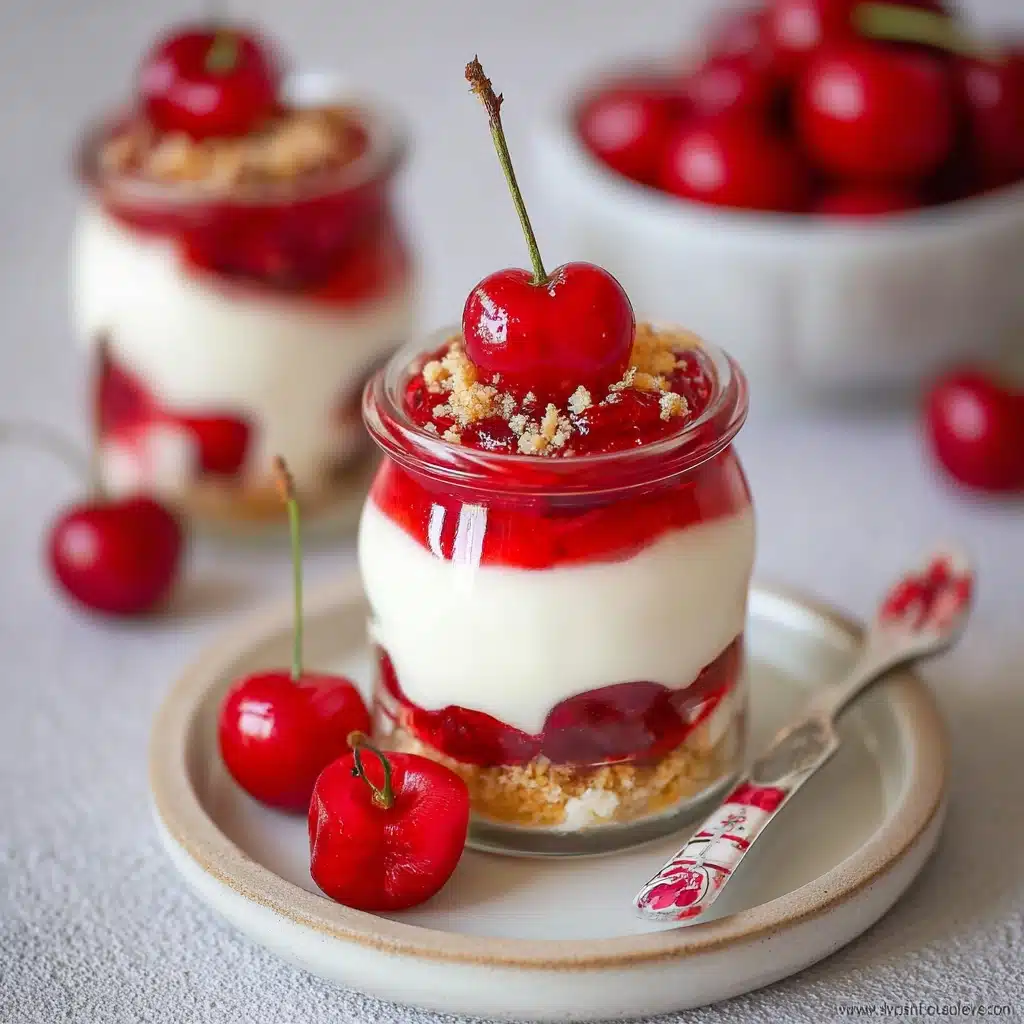
The simplest touch is often the best: a final flourish of crushed graham crackers delivers a welcome crunch and visual contrast. Try a dollop of whipped cream, a few fresh cherries, or a sprinkle of lemon zest for brightness—each option enhances the dessert’s already stunning looks.
Side Dishes
While NO BAKE CHERRY CHEESECAKE is a showstopper on its own, it pairs beautifully with a mug of hot coffee or a scoop of vanilla ice cream on the side. For an extra-festive table, serve with an array of fresh berries to contrast the creamy richness.
Creative Ways to Present
Layered in small mason jars or stemless wine glasses, each cheesecake becomes a personal treat that wows. For parties, make a dramatic trifle in a clear bowl to show off those luscious layers. Or, for picnics, pack individual servings into lidded jars—no utensils needed!
Make Ahead and Storage
Storing Leftovers
No worries if you have leftovers—simply cover and refrigerate for up to 4 hours. If you’re saving for later, add the last sprinkle of graham cracker crumbs just before serving so they stay crisp, not soggy. This makes the NO BAKE CHERRY CHEESECAKE taste as fresh as the moment you made it.
Freezing
To freeze, assemble your NO BAKE CHERRY CHEESECAKE without the top graham cracker garnish and store in an airtight container. When ready to enjoy, let it thaw overnight in the fridge and finish off with fresh graham crumbs just before digging in. The texture won’t be quite as airy after freezing, but the flavor holds up beautifully.
Reheating
Luckily, you don’t have to worry about reheating this dessert—it’s best enjoyed chilled! If you’ve frozen it, simply defrost in the fridge overnight and serve cold. It’s never meant to be served hot, so you can relax and let it come to the perfect cool temperature in the refrigerator.
FAQs
Can I use canned cherry pie filling instead of homemade?
Yes! If you’re really pressed for time, canned cherry pie filling works perfectly well for this recipe. The homemade version offers a little more brightness and flavor, but either will yield a delicious NO BAKE CHERRY CHEESECAKE.
How far in advance can I make this dessert?
You can prep the cherry filling up to a week ahead and store it in the fridge. The cheesecake portion is best made up to a day in advance and assembled the day you plan to serve for the very best texture.
What if I don’t have fresh cherries?
You can absolutely use frozen cherries—just thaw and drain them before cooking down with the sugar and lemon. In a pinch, quality canned cherries work too; just be mindful of their sweetness and adjust accordingly.
Can I make a gluten-free version?
Absolutely! Substitute the graham crackers with a gluten-free cookie or graham-style crumb, and you’ll have a gluten-free NO BAKE CHERRY CHEESECAKE everyone will adore.
What’s the best way to get neat layers?
Using a piping bag or a large zip-top bag with a corner cut off gives you fantastic control over the cheesecake layer, making the layers sharp and consistent. Be sure the cherry filling is fully cooled—warm sauce will melt the cheesecake layer and blur the flavors.
Final Thoughts
I can’t recommend this NO BAKE CHERRY CHEESECAKE enough for anyone who loves a dessert that’s both simple and spectacular. You get all the classic flavors of cheesecake without turning on your oven—and there’s something magical about digging your spoon through creamy layers of cherry and cheesecake. Gather your ingredients and see just how easy and joyful dessert can be!
PrintNO BAKE CHERRY CHEESECAKE Recipe
This no-bake cherry cheesecake recipe is a delightful, creamy summer dessert featuring a luscious cherry filling, smooth no-bake cheesecake, and a classic graham cracker crust. Perfect for any occasion, you can assemble it in individual containers or a large trifle. Enjoy the convenience of preparing elements ahead of time or savor it right away. A hassle-free treat for warm days!
- Prep Time: 12 minutes
- Cook Time: 5 minutes
- Total Time: 50 minutes
- Yield: 4 servings
- Category: Dessert
- Method: No-Bake
- Cuisine: American
- Diet: Vegetarian
Ingredients
Cherry Filling:
- 2 cups cherries, fresh or frozen, pitted and halved
- 1/2 cup water
- 2 tablespoons fresh lemon juice
- 1/2 cup granulated sugar
- 1 tablespoon cornstarch
Cheesecake Layer:
- 1 cup heavy whipping cream
- 3/4 cup powdered sugar, divided
- 8 ounces cream cheese (1 block)
- 1 teaspoon vanilla extract
- 5 full-sized graham crackers, crushed
Instructions
- Prepare the Cherry Filling: Wash and pit cherries, then cut in half. In a saucepan, combine water and lemon juice over medium heat. Mix sugar and cornstarch in a bowl, then add to the pan. Cook until thickened, add cherries, and cool.
- Prepare the Cheesecake: Whip cream until thick, adding 1/4 cup sugar. In another bowl, beat cream cheese with remaining sugar and vanilla. Gently fold in whipped cream.
- Assemble the Desserts: Layer graham cracker crumbs, cheesecake filling, cherry filling, more cheesecake, and top with cherry filling and crumbs. Refrigerate or serve immediately.
Notes
- Store in the fridge for up to 4 hours. Add top crumbs just before serving if storing.
- Cherry filling can be made ahead and refrigerated for up to a week.
- Cheesecake can be refrigerated for a day.
Nutrition
- Serving Size: 1 serving
- Calories: 714 kcal
- Sugar: 64 g
- Sodium: 312 mg
- Fat: 43 g
- Saturated Fat: 25 g
- Unsaturated Fat: 13 g
- Trans Fat: 0 g
- Carbohydrates: 79 g
- Fiber: 2 g
- Protein: 7 g
- Cholesterol: 125 mg

