If you’ve ever wanted to make perfectly soft, fluffy sandwich rolls without spending forever kneading dough, you’re going to love this No Knead Sandwich Rolls Recipe. It’s an absolute game-changer for busy days or when you want fresh homemade bread with minimal fuss. The result is a batch of golden, tender rolls with a subtle crust that hold together beautifully for any filling you can dream up. Trust me, these rolls will become your go-to bread for sandwiches, snacks, and even dinners.
Ingredients You’ll Need

This No Knead Sandwich Rolls Recipe relies on a handful of simple, straightforward ingredients that you probably already have in your pantry. Each one plays a critical role in creating the perfect texture, flavor, and crust of these irresistible rolls.
- Bread flour (4 1/2 cups / 600g): This high-protein flour gives the rolls the good structure and chewiness classic to sandwich bread.
- Warm water (1 3/4 cups / 420-450ml): Just the right warm temperature activates the yeast without killing it for a perfect rise.
- Instant or quick yeast (2 tablespoons): Ensures a speedy and reliable fermentation to spring these rolls up nicely.
- Sugar (1 tablespoon): Feeds the yeast and adds a subtle sweetness to balance the savory bread.
- Salt (2 teaspoons): Enhances flavor and strengthens the dough’s gluten network for that satisfying bite.
You’ll find the full ingredient list, instructions, and print option in the recipe card below.
How to Make No Knead Sandwich Rolls Recipe
Step 1: Activate the Yeast
Start by mixing warm water about 35 to 40 degrees Celsius with sugar and instant yeast in a container. Give it a good stir and let it sit for 2 to 3 minutes. This awakens the yeast and gets it bubbling, which is the first step to light, airy rolls.
Step 2: Combine Dry Ingredients
While the yeast is getting lively, mix the bread flour and salt in a large bowl to evenly distribute the salt and prevent clumps of flour. Stir them together lightly using a silicone spatula just a few times.
Step 3: Form the Dough
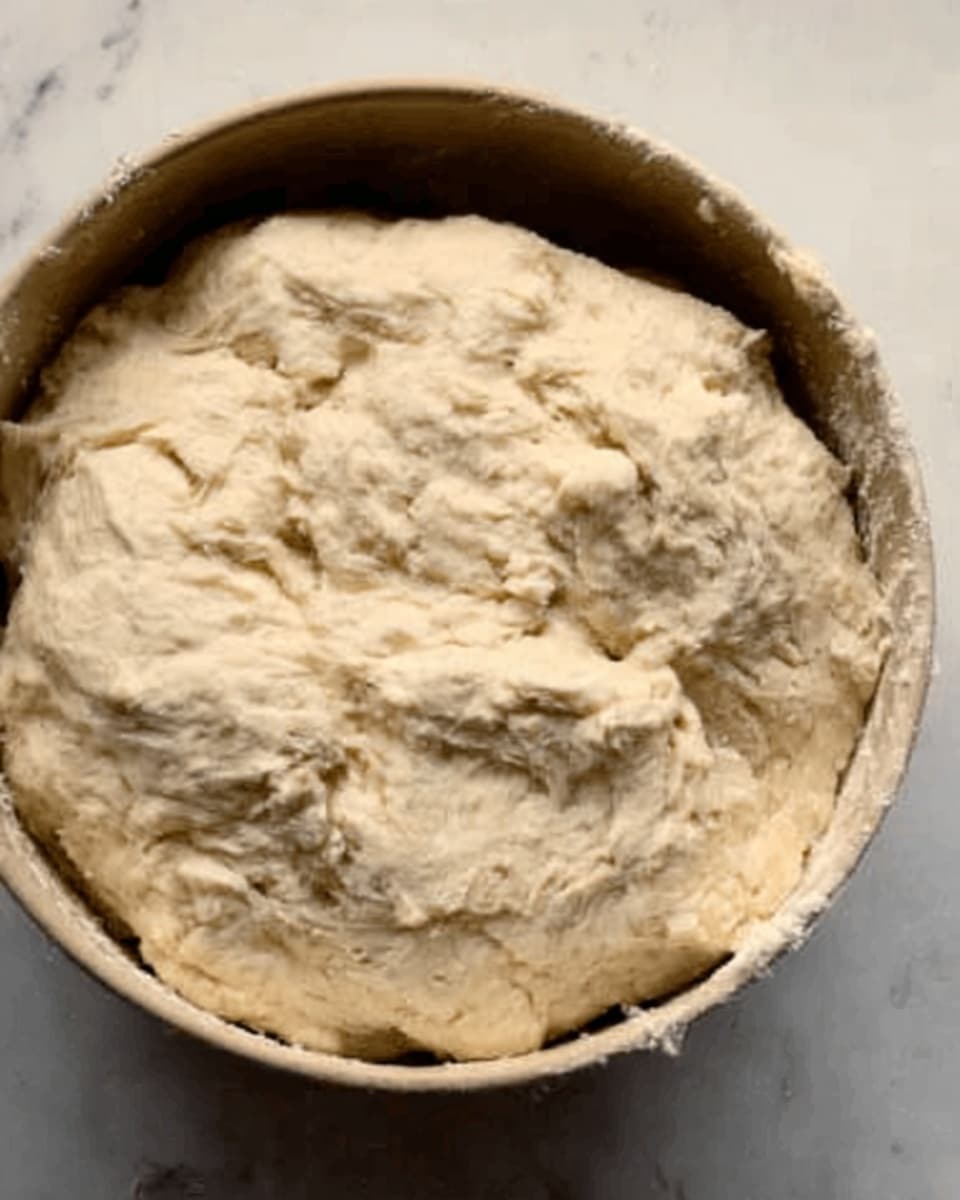
Pour the warm yeast water into the flour mixture and stir with your spatula until everything is combined into a shaggy dough. Don’t worry about kneading here — the magic of this No Knead Sandwich Rolls Recipe is that the dough develops on its own!
Step 4: First Rise
Cover your container with a lid or plastic wrap, then leave the dough to ferment and rise for about 50 minutes until it’s roughly doubled in size. This slow rise works wonders for flavor and texture without any heavy lifting from you.
Step 5: Shaping the Small Rolls
Open the dough and use the spatula to gently fold it several times in all directions—right to left, front to back, and so on—to gently release some air. Dust your work surface generously with flour to prevent sticking, then scrape the dough out onto it.
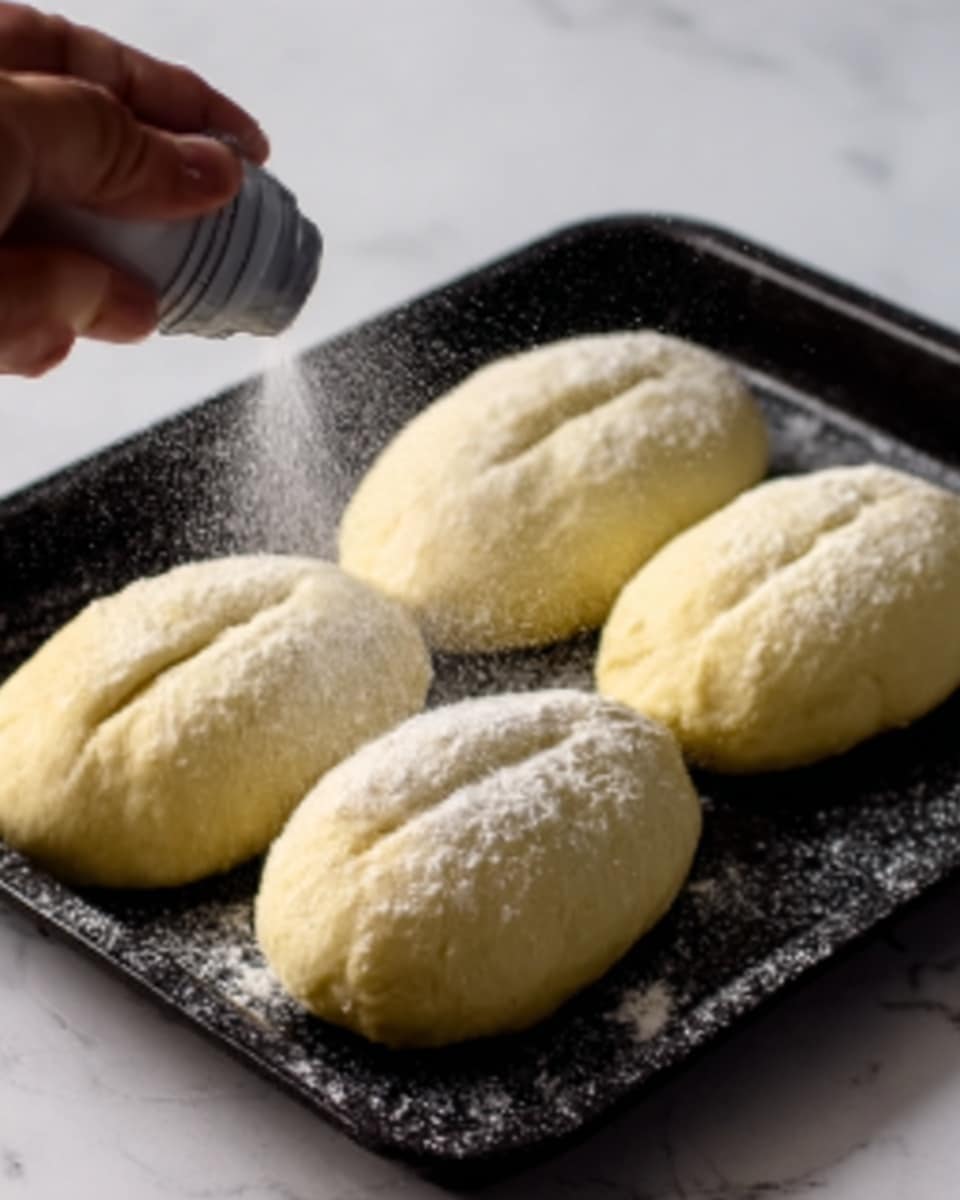
Sprinkle flour over the dough and your hands, then divide it into 8 equal pieces using a dough scraper. Flour each piece and fold the edges inward a few times, rounding them into balls. Flatten slightly, then roll up and seal the dough. Place each roll on a baking sheet lined with parchment paper, leaving space for expansion.
Step 6: Second Rise
Cover the rolls with a dry cloth and let them rest for another 30 minutes. They’ll puff up to twice their size during this final proof, just before baking.
Step 7: Bake the Rolls
Preheat the oven to 400F (200C) and place a glass of water on the lower rack inside the oven to create steam — this helps achieve a beautiful crust. Bake the rolls for 30 minutes until golden and cooked through. Let them cool slightly and enjoy!
How to Serve No Knead Sandwich Rolls Recipe

Garnishes
While these rolls are terrific plain, brushing them lightly with melted butter right out of the oven gives them a shiny glaze and rich flavor. You can also sprinkle a bit of coarse sea salt or poppy seeds on top before baking for a special touch.
Side Dishes
These sandwich rolls pair beautifully with comforting soups, crisp salads, or even a hearty charcuterie board. Their soft crumb holds up really well, making them perfect to accompany stews, chili, or roasted vegetable medleys.
Creative Ways to Present
Try slicing these rolls and filling them with your favorite deli meats, cheeses, and fresh veggies for delicious homemade sandwiches. Or transform them into sliders by adding pulled pork or grilled chicken and your favorite sauces — they’re utterly versatile!
Make Ahead and Storage
Storing Leftovers
Wrap cooled rolls tightly in plastic wrap or store them in an airtight container. They stay fresh at room temperature for up to 2 days, perfect if you want to make a batch ahead for the week.
Freezing
These rolls freeze beautifully. Just flash freeze them individually on a baking sheet, then transfer to a freezer bag for up to 3 months. When ready to enjoy, thaw at room temperature or pop them in the oven to warm.
Reheating
To revive the softness and fresh-baked smell, reheat rolls in a 350F (175C) oven for 5 to 7 minutes wrapped in foil. This keeps them moist and tender without becoming too crusty.
FAQs
Can I use all-purpose flour instead of bread flour?
Yes! While bread flour gives you that classic chewy texture, all-purpose flour works just fine and makes softer rolls. The key is to keep an eye on the dough consistency.
Do I have to use instant yeast?
Instant yeast is ideal for speed and ease, but you can substitute active dry yeast if you let it bloom longer in warm water before mixing with flour.
What causes the dough to be sticky?
Because this is a no knead dough, the dough will naturally be wetter and stickier than traditional doughs. Use plenty of flour on your hands and surface when shaping.
Can I make larger sandwich rolls?
Absolutely! Just adjust the size by dividing the dough into fewer pieces and increase baking time slightly until golden and cooked through.
Why add water to the oven when baking?
The water creates steam which helps the rolls develop a thinner, crisper crust while keeping the inside soft and fluffy. It’s a simple but mighty trick!
Final Thoughts
I can’t wait for you to try this No Knead Sandwich Rolls Recipe because it truly makes homemade bread approachable and fun. With minimal effort and everyday ingredients, you’ll have fresh, bakery-quality rolls perfect for any meal or occasion. Once you taste them, they’ll become a staple in your kitchen just like they are in mine!
PrintNo Knead Sandwich Rolls Recipe
These no-knead sandwich rolls are soft, fluffy, and easy to make with just a few simple ingredients. The dough ferments naturally to develop flavor and texture, requiring minimal effort and no kneading. Perfect for sandwiches or as dinner rolls, these bread rolls are baked to golden perfection in just 30 minutes.
- Prep Time: 15 minutes
- Cook Time: 30 minutes
- Total Time: 2 hours 15 minutes
- Yield: 8 sandwich rolls (serves 3)
- Category: Bread
- Method: Baking
- Cuisine: American
Ingredients
Dough Ingredients
- 4 1/2 cups (600g) bread flour (or all-purpose/white flour)
- 1 3/4 cups (420-450ml) warm water (35-40°C / 95-104°F)
- 2 tablespoons instant or quick yeast
- 1 tablespoon sugar
- 2 teaspoons salt
Instructions
- Prepare Yeast Mixture: Pour the warm water (35-40°C) into a container and add the sugar and instant yeast. Mix well and let it ferment for 2-3 minutes until slightly frothy.
- Mix Dry Ingredients: In a large container, combine the bread flour and salt. Stir 3-5 times with a silicone spatula to distribute evenly.
- Form Dough: Pour the yeast-water mixture into the flour container. Mix the flour and water together thoroughly using the silicone spatula until a rough dough forms.
- First Fermentation: Cover the container with a pot lid or plastic wrap and let the dough ferment at room temperature for about 50 minutes, or until it has risen 1 to 2 times its original size.
- Prepare for Shaping: Uncover the dough and gently fold it to release air by folding it from right to left, front to back, left to right, and back to front, repeating twice in total. Sprinkle flour on a clean surface to prevent sticking.
- Divide Dough: Dust the dough and your floured hands with flour. Using a plastic dough scraper, divide the dough into 8 equal pieces on the floured surface.
- Shape Rolls: Lightly flour each piece. Fold each piece inward from all four sides 2-3 times by hand to tighten. Flatten each piece into a round shape, then roll it up and seal the edges neatly.
- Arrange on Baking Sheet: Line a baking sheet with parchment paper. Place the 8 dough rolls on the sheet with the sealed side down, leaving space between them for expansion.
- Second Fermentation: Cover the rolls with a dry cloth and let them rise for about 30 minutes until doubled in size.
- Preheat Oven with Steam: Place a glass of water on the lower rack of the oven to create steam. Preheat the oven to 400°F (200°C).
- Bake Rolls: Bake the rolls on the middle rack for 30 minutes at 400°F (200°C) until golden brown.
- Serve: Remove from the oven and let rolls cool slightly before serving. Enjoy fresh as sandwich rolls or with butter and spreads.
Notes
- Use warm water (not hot) to activate yeast without killing it.
- Folding the dough gently instead of kneading preserves air bubbles for a fluffy texture.
- If you do not have instant yeast, active dry yeast can be used but may require a longer proofing time.
- Sprinkling flour on the surface and hands prevents sticking and makes shaping easier.
- Adding a glass of water during baking creates steam, giving the rolls a soft crust.
- Allow rolls to cool slightly before slicing to avoid tearing the bread.


